A masonry wall is a system, not a single material. Whether you’re working with brick, block, natural stone, flashing, anchors, sealants, or coatings, all these materials need to work together to do a simple-sounding yet complex job – keep bulk water out, let the small amount that gets in to dry away, and allow the assembly to dry.
When a wall fails, the cause is rarely the material itself. It’s usually one overlooked detail, a step down out of order, or a product used in the wrong place.
Three areas account for a large share of the problems that masons could encounter in the field:
- Water management details at flashings, windows, and transitions;
- Anchoring of the masonry cladding to the backup wall; and
- Cleaning and protecting the finished masonry.
Here’s where things tend to go wrong in each area, and how contractors can avoid it.

Water management: The leaks you cannot see
For as many years as Guy Long, Technical Specialist with PROSOCO, has worked in the industry (40+) and considering the number of window and wall details he’s seen, you may think he’s seen it all. He has not.
“Sometimes we all assume that we know what the answer is when we’re called out to a leaky building,” he says. “Reality is, most of the time when you assume without doing a lot of investigative openings, or pulling things apart, you find out what you perceived is not that path at all. It’s something completely different. The successful consultant understands that it’s best to have an open mind to a wide range of possibilities.”
For example, on a leaky building Long was recently called on to help troubleshoot, he, and others, assumed that the installation was completed according to the simple design sequence commonly understood in the industry.
It was a brick ribbon-window condition, where the window should be fastened to the lintel, typically at the sill, and the through-wall flashing should then be installed to direct water over to the top of the lintel and weep it out above the window.

Instead, the through-wall flashing was installed on the lintel first, before the windows. When the windows did go in, the fasteners punctured the flashing every 12 to 16 inches – exactly where the leaks appeared.
The fasteners turned the flashing into a sieve.
“The correct way is to install windows and then the through-wall flashing,” Long explains. “Then you can accommodate the fasteners, cut them off, or protect them from being punctured. Don’t puncture the through-wall flashing.”
Once flashing is punctured, it usually needs to be replaced. A patch is a temporary solution at best, Long says. The same applies to other trades working after the flashing is in place. At the base of a wall, for example, some masons find that tie placement or loose flashing makes stacking brick awkward, and the flashing is cut or punctured along the way.
“We see it all the time,” Long says.
"Most of the time when you assume without doing a lot of investigative openings, or pulling things apart, you find out what you perceived is not that path at all."
Penetrations and transitions
Flashing is only part of the story. Wall assemblies are full of penetrations, joints, and transitions between dissimilar materials: window and door openings, brackets, conduit, and the interface between the wall and the roof or foundation. Each is a place where water can get behind the barrier.
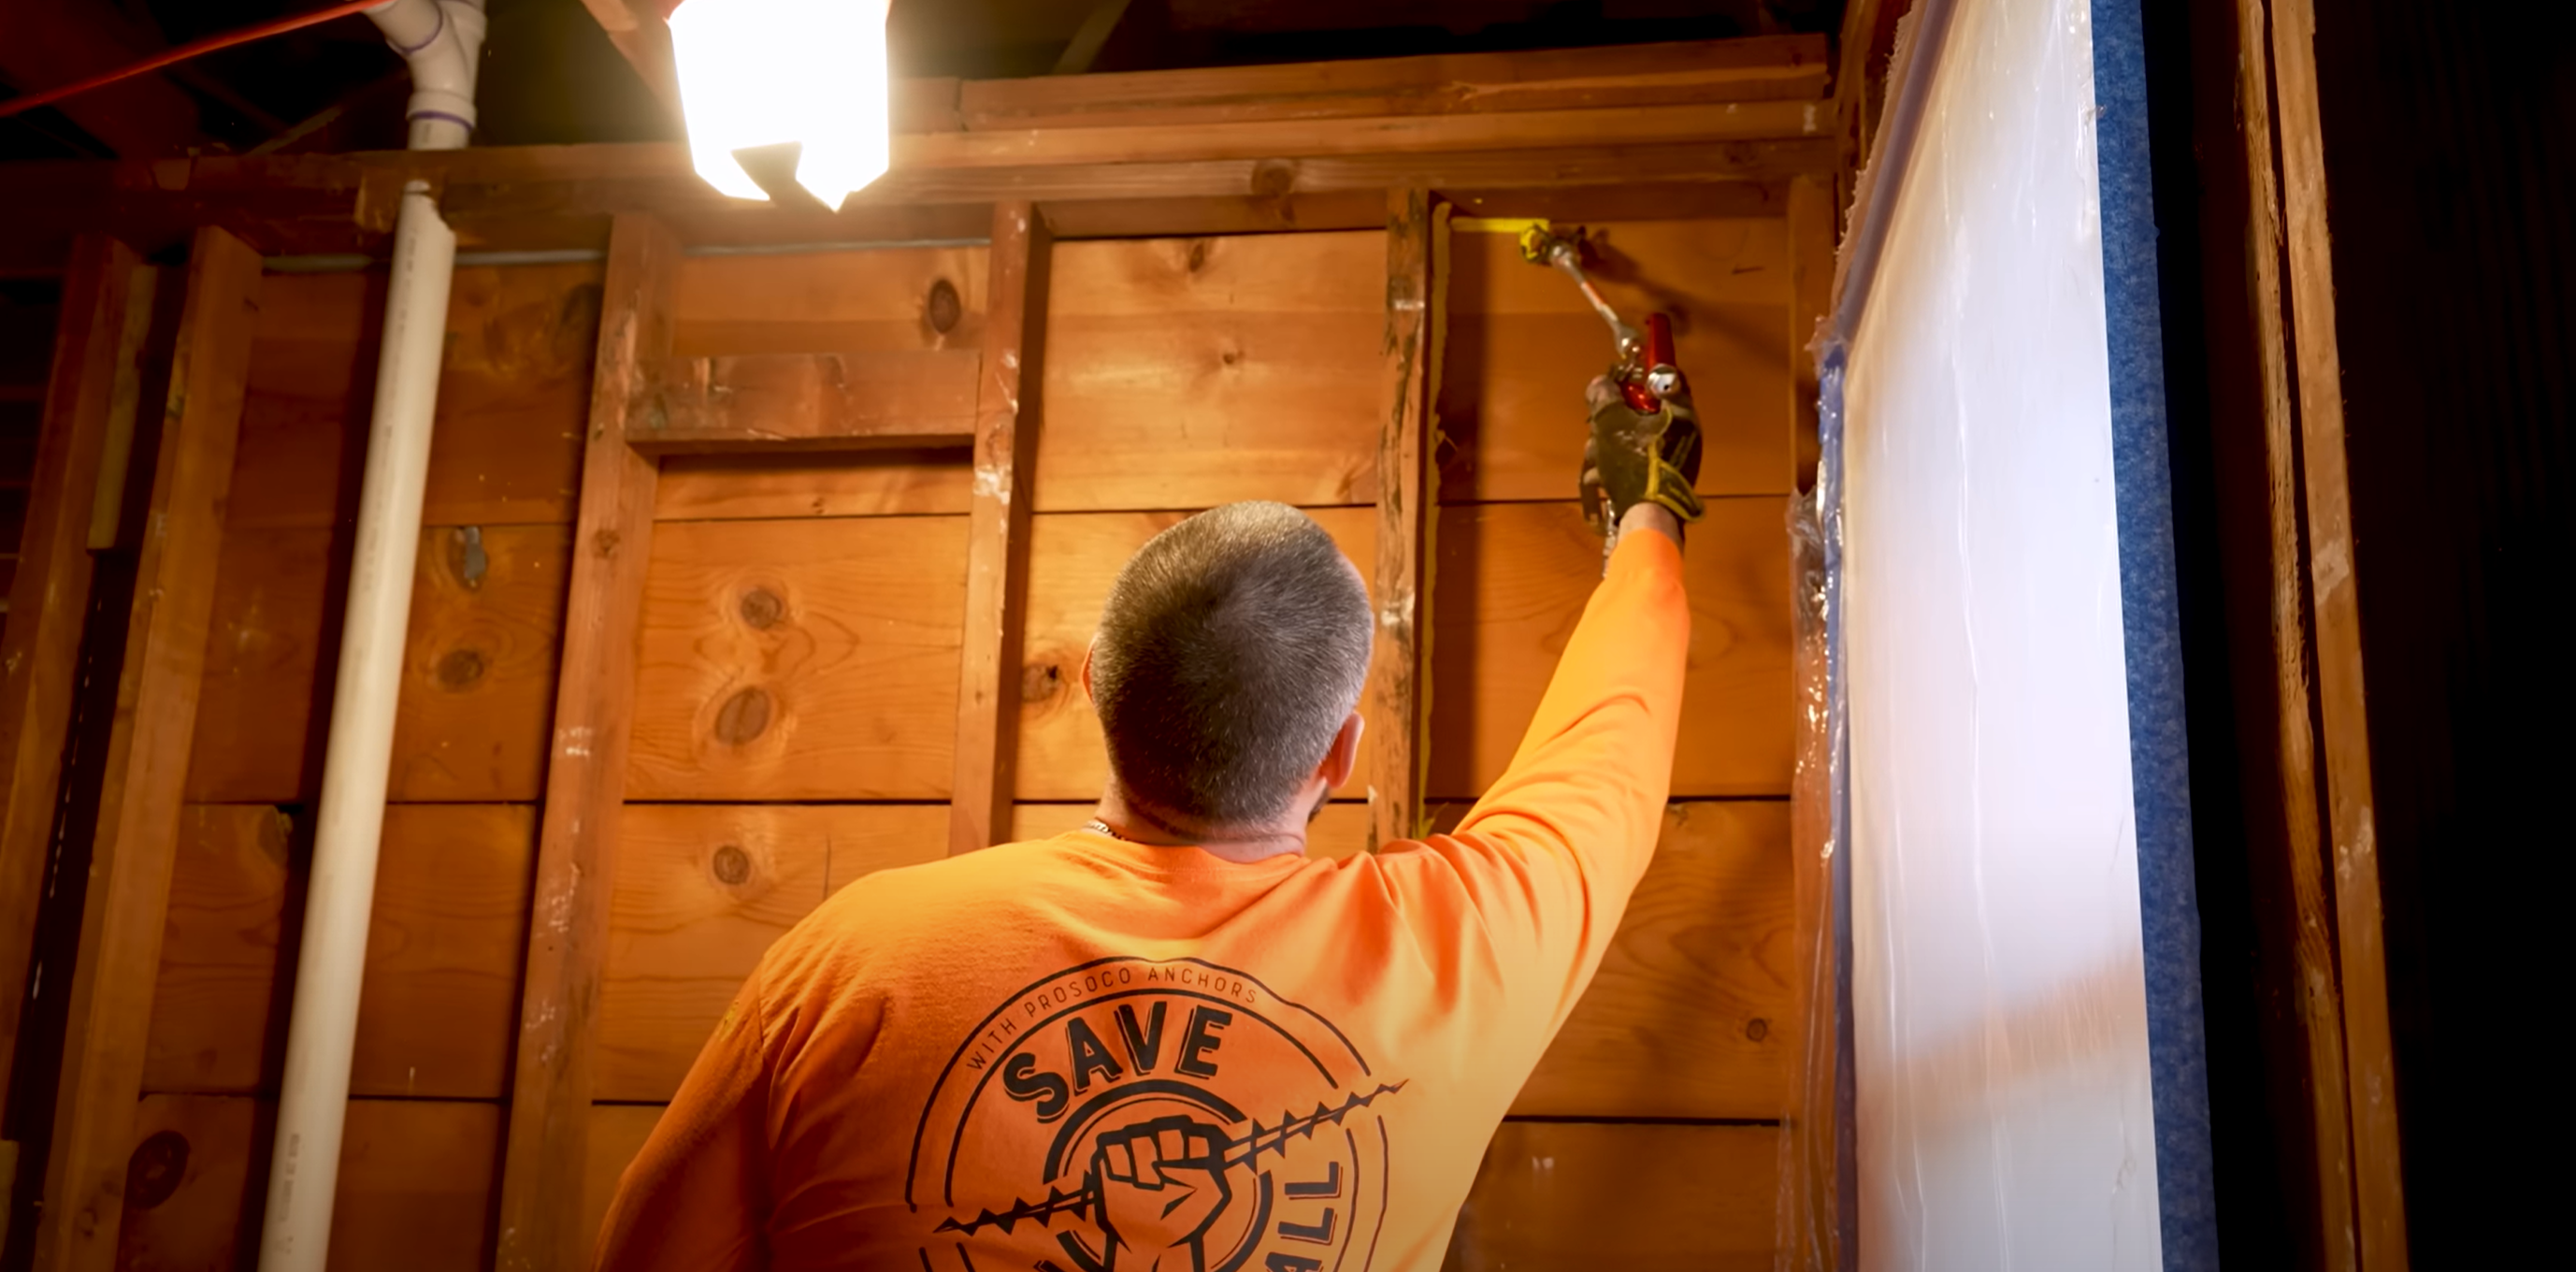
A fluid-applied air and water-resistive barrier helps here because it forms a continuous, seamless layer that conforms to irregular shapes and bonds around penetrations. Fluid-applied systems like PROSOCO’s R-Guard silyl-terminated polymer air and water barrier products are designed to waterproof those penetrations and transitions, and its two types of through-wall flashings give designers and contractors options for directing water out of the wall at the base, at lintels, and at other interruptions in the cavity. These are only as good as the details around them, which brings us back to sequencing again.
Don’t skip the basics
Long has seen too often what happens when basic construction logic is ignored. On a four-story building in Jacksonville, Fla., the roof was sitting unfinished with CMU walls left open. Six weeks of rain filled the block cores with water. When the team tried to apply a coating, it failed and blew off the wall.
“Our literature says no material goes on the wall until horizontal conditions are sealed,” Long says. “None of them were sealed. It might seem like common sense, but the crew had no field experience.”
The same contractor repeated the pattern on a job in Tallahassee, where plywood sheathing went up, but the roof edges were never completed, leaving water to cascade down the back side of the wall and splinter the plywood.
The takeaway for contractors is to finish the horizontal surfaces first, protect open walls, and make sure experienced field knowledge gets passed from veteran installers to newer crew members. Many of the best practices in masonry are learned on the job, and they only survive if they’re shared.
Anchoring: Stabilize the cladding to the backup while fixing the root cause
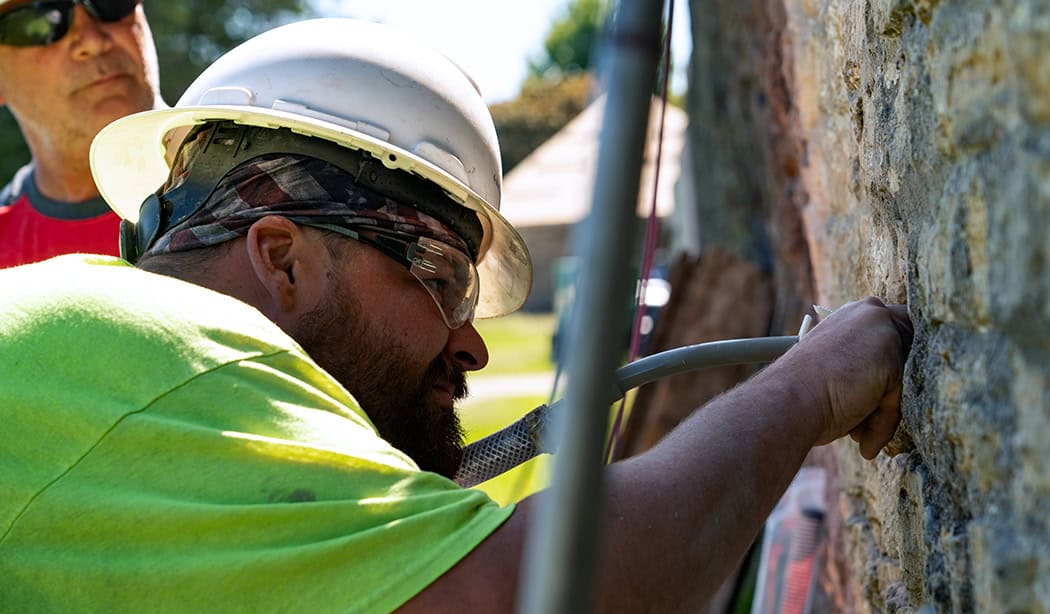
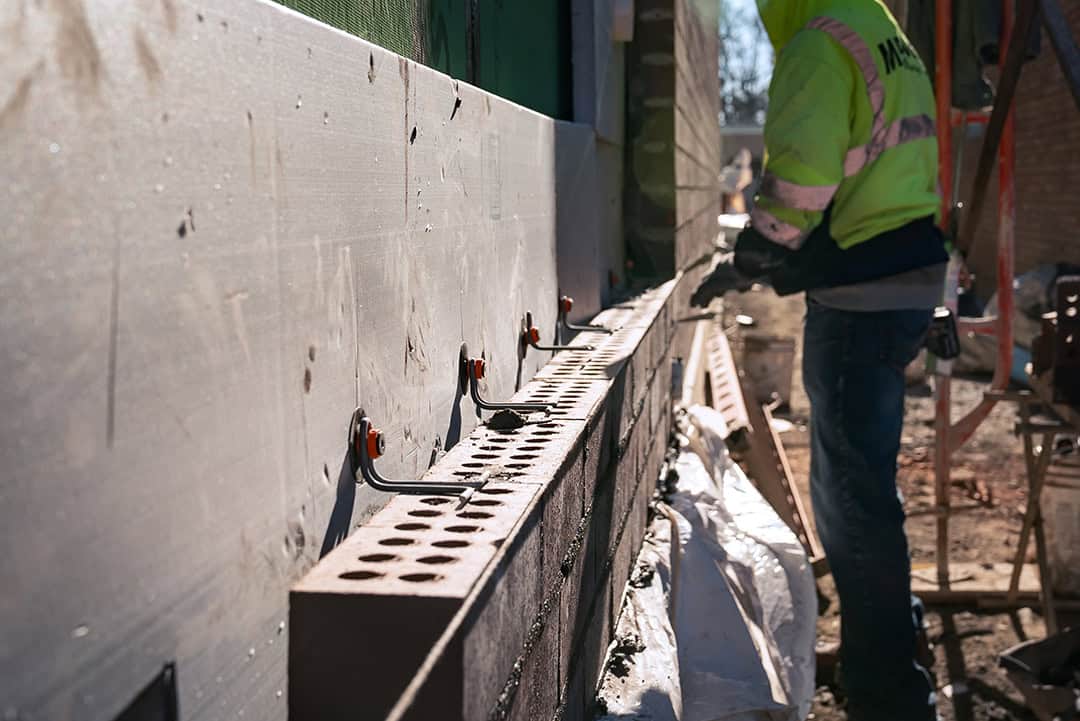
Masonry cladding must stay attached to the backup wall for the life of the building. Whether anchors are part of new construction or a retrofit to stabilize a veneer that’s lost its connection, installation quality decides how well they perform.
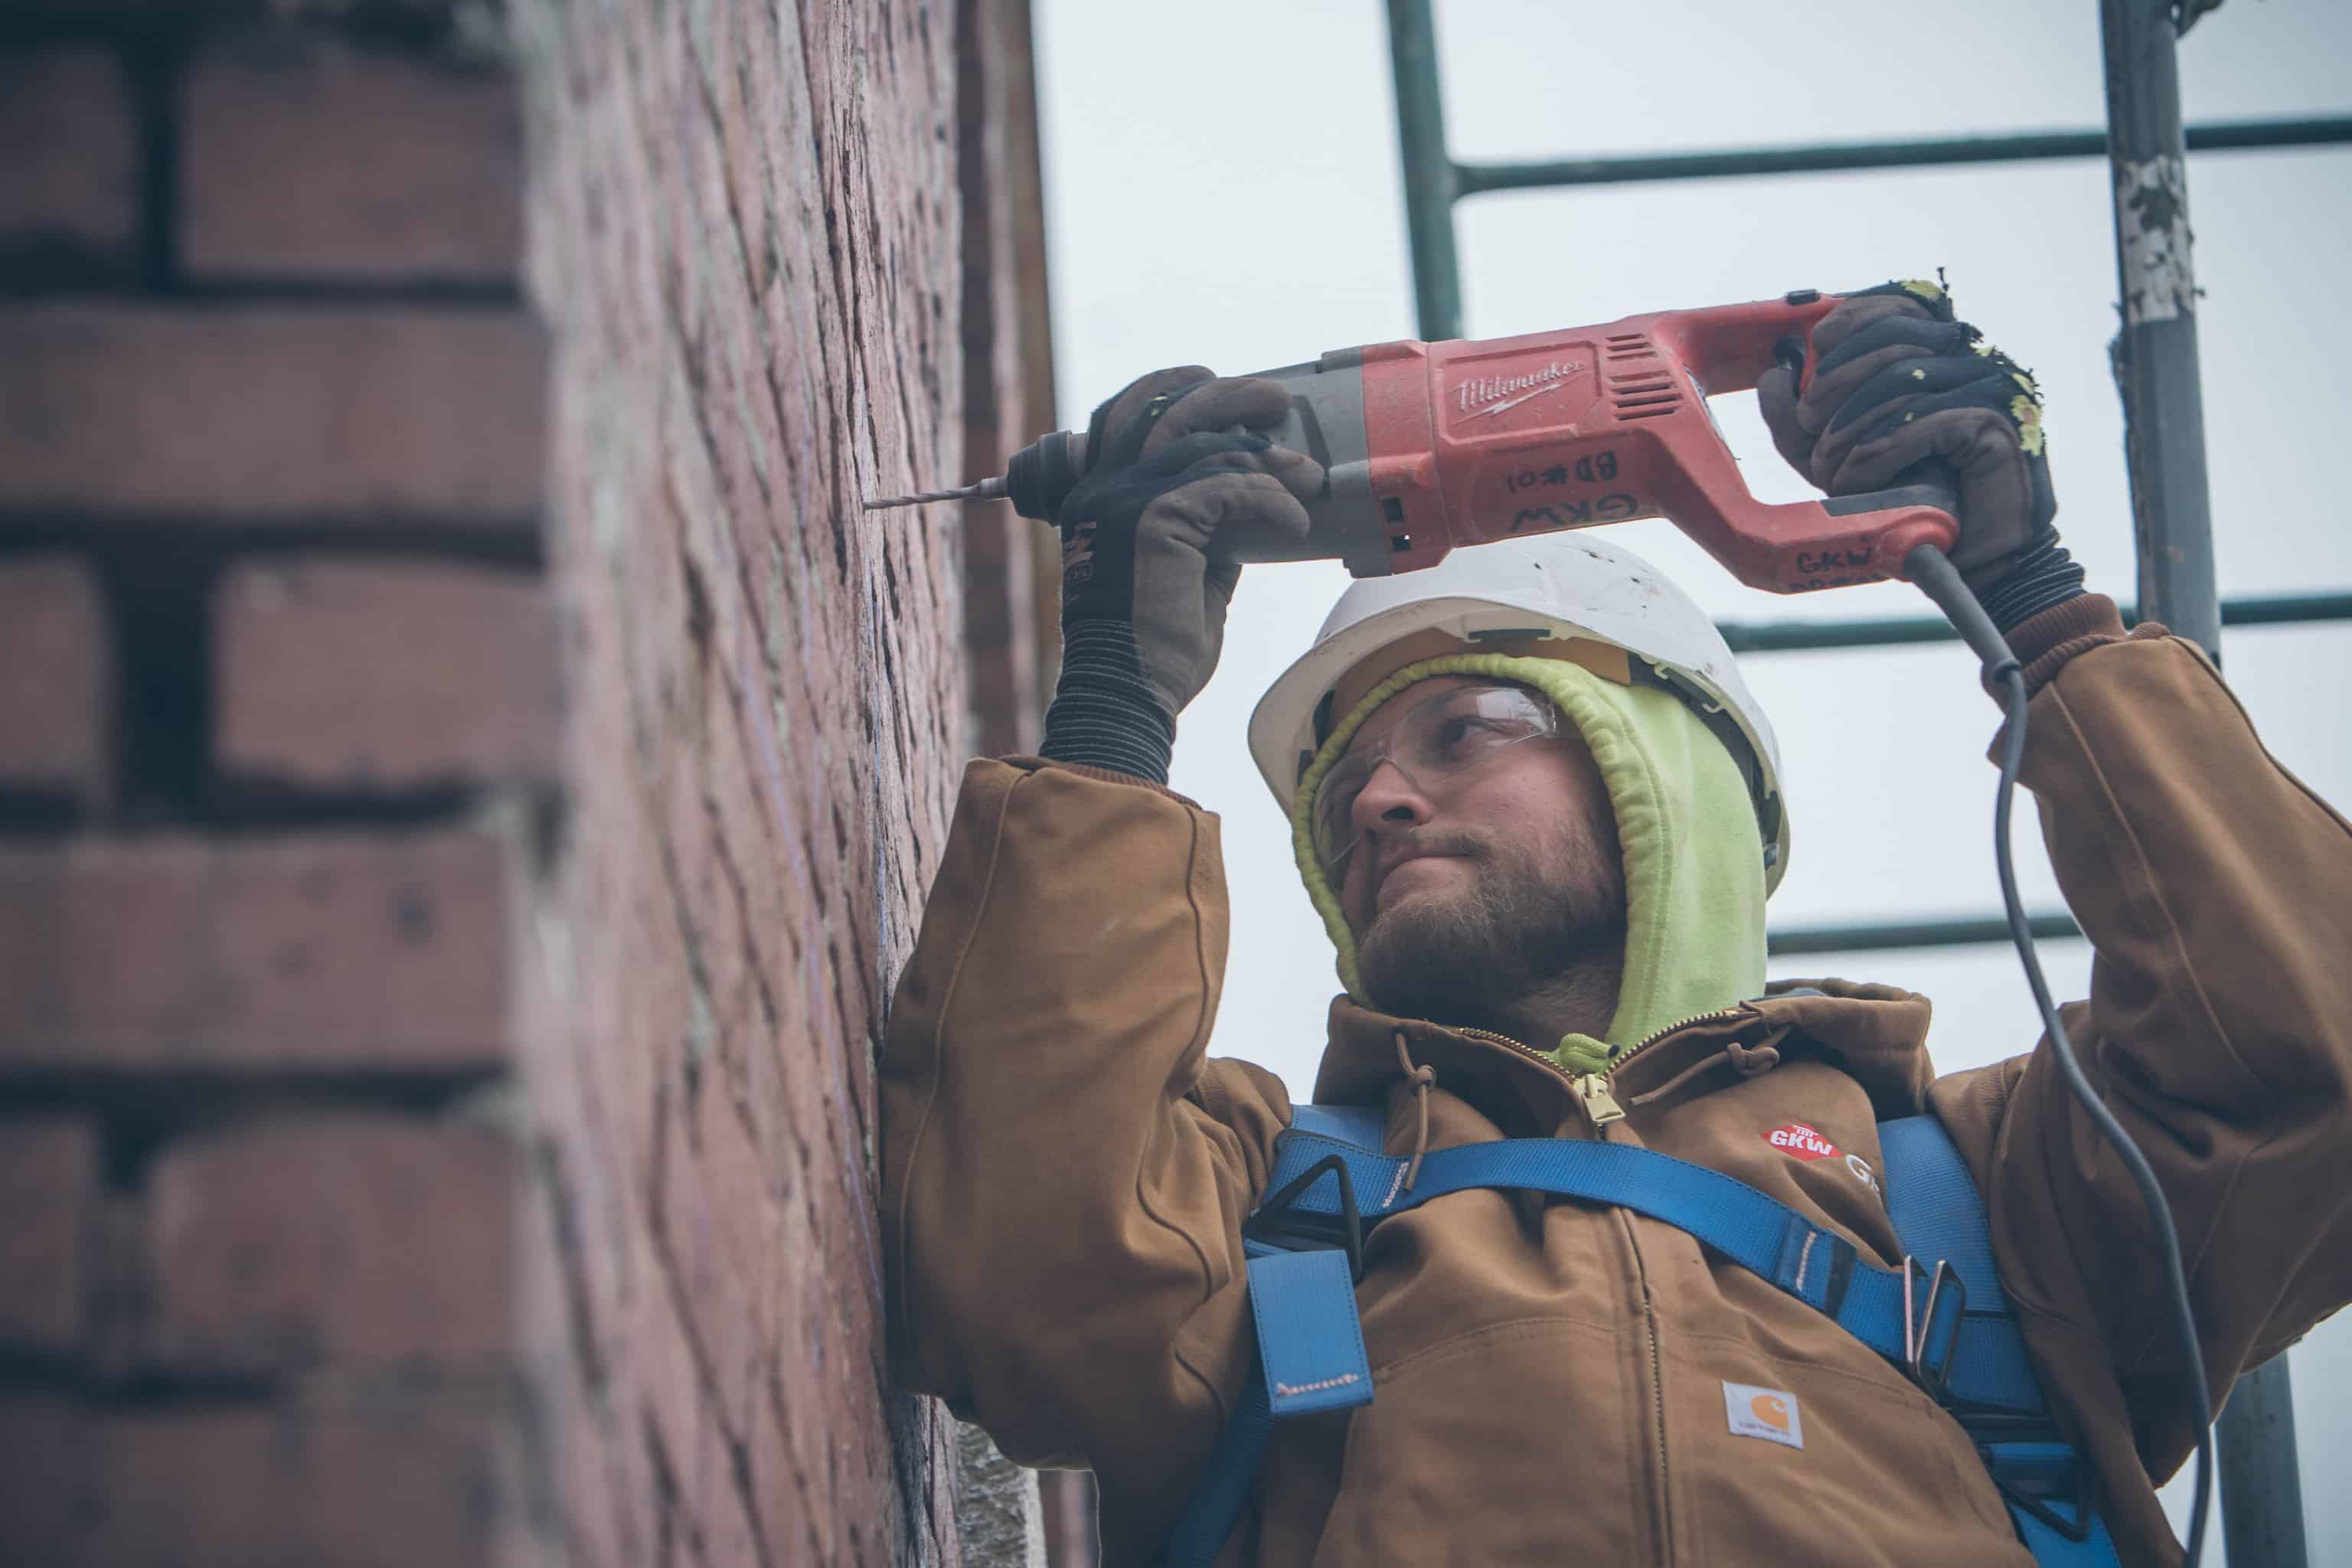
Jeff Scarpelli, the Product Engineer of PROSOCO’s Anchoring Systems Group, says the most common pitfall he sees on facade restoration projects comes from not knowing what’s behind the veneer. Backup material, whether concrete, CMU, or steel or wood studs, determines the anchor type, embedment, and installation method, and assuming its condition rather than verifying it or relying solely on published laboratory test data is a common source of failure. The performance of an anchor on-site is highly dependent on the existing condition of the materials present.
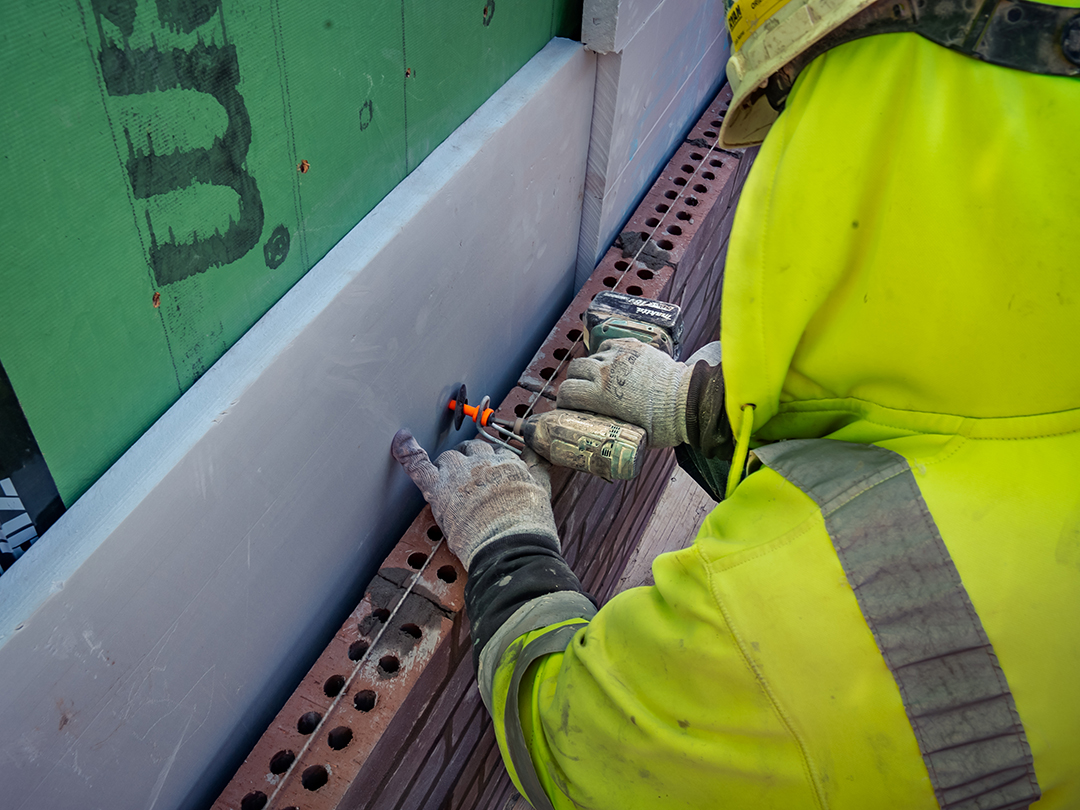
Restoration projects often involve undocumented construction details or varying material properties. Industry resources such as the ICRI 410.1-2008 Guide for the Evaluation of Masonry Facade Structures and the TMS Assessment and Retrofit of Masonry Structures (2020) provide comprehensive guidance for evaluating existing masonry buildings.
At a minimum, the design team should understand the root cause of the distress, the condition of the existing wall, the materials requiring anchorage, and the expected loads the repair needs to resist. Field investigations, destructive openings, and onsite tension testing can help validate the performance of the specified anchoring system.
If the underlying cause is left unaddressed, there is always the possibility that the distress could reappear if only the symptoms are fixed.
Cleaning and protecting: Appearance, durability, and drying
The last steps on a masonry project can undo a lot of good work. Ken Rathbun, Director of PROSOCO’s Clean & Protect Group, says cleaning and protection problems often start with improper product selection, lack of a representative test panel, and at times, inadequate planning.

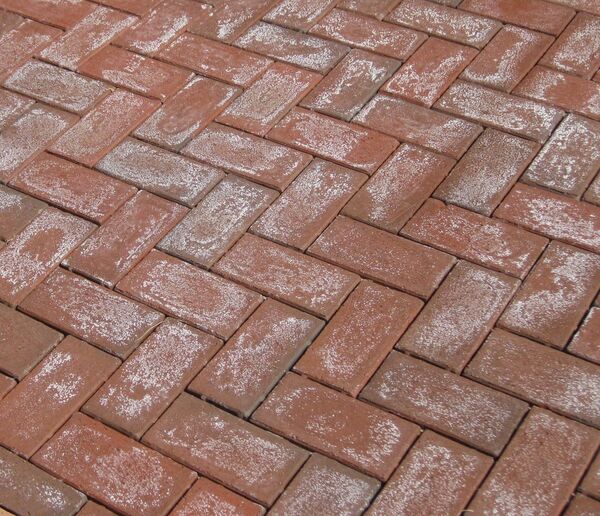
On the cleaning side, the most common mistakes include using the wrong chemistry for the masonry type, improper concentration or dwell time, incorrect application methods, insufficient prewetting or rinsing. water volume, and lastly incorrect rinsing pressures. Chemistries that are too strong or left on too long can etch or discolor masonry and damage mortar joints. Pressure that is too high can drive water deep into the wall and erode surfaces. Failing to pre-wet walls and adjacent surfaces or rinse thoroughly leaves residues that cause staining later. A representative test panel, done before the full wall is cleaned, establishes the entire cleaning procedure for the project team. It should confirm product selection, concentration, dwell time, application method, and the volume and pressures for prewetting and rinsing techniques. PROSOCO’s masonry cleaners are formulated for a range of substrates and soiling conditions for exactly that reason.
Protective treatments require the same attention to product selection and testing. Selection should begin with the desired performance of the assembly while taking into consideration all substrate types in the wall. The treatment needs to be compatible to the finish types, variable porosities, and bonding characteristics in the masonry. When water repellency is the goal, a compatible penetrating treatment can reduce bulk water absorption while still allowing the masonry to retain its natural vapor transmissions. Other desired performances may include graffiti protection, stain resistance, or enhancements of color, gloss, or sheen. Regardless of the objective for utilizing a protective treatment, a representative test panel will establish acceptable performance, appearance and application procedures before going full scale on the project.

Protection can’t make up for a poorly detailed wall. Protective treatments are not a substitute for proper design, construction, detailing and repair. Throughout a buildings life cycle a water repellent will not correct improper flashing, blocked weeps, failed sealant joints or other deficiencies that may allow bulk water into the assembly. Once conditions are addressed, a proper protective treatment can help reduce water absorption and water carried staining while preserving the aesthetics of the masonry.
Putting it together
The common thread through all these pitfalls is that the details matter, and so does the order in which work is done. Flashing installed before the window fasteners becomes a punctured flashing. A wall coated before the roof is closed in becomes a failed coating. Anchors installed without checking the substrate become weak points. Improper cleaning chemistry, dilutions, and dwell times may damage masonry. Incompatible protective treatments can impact how moisture moves through the assembly and have unintended consequences. Proper product selection and test panels are critical with both applications.
Mason contractors are well-positioned to prevent these problems. Coordinate with other trades on sequencing. Protect flashing after it’s installed. Verify conditions before installing anchors. Test before cleaning and protecting. And when a leak does show up, investigate before assuming, because the answer may not be where you expect.