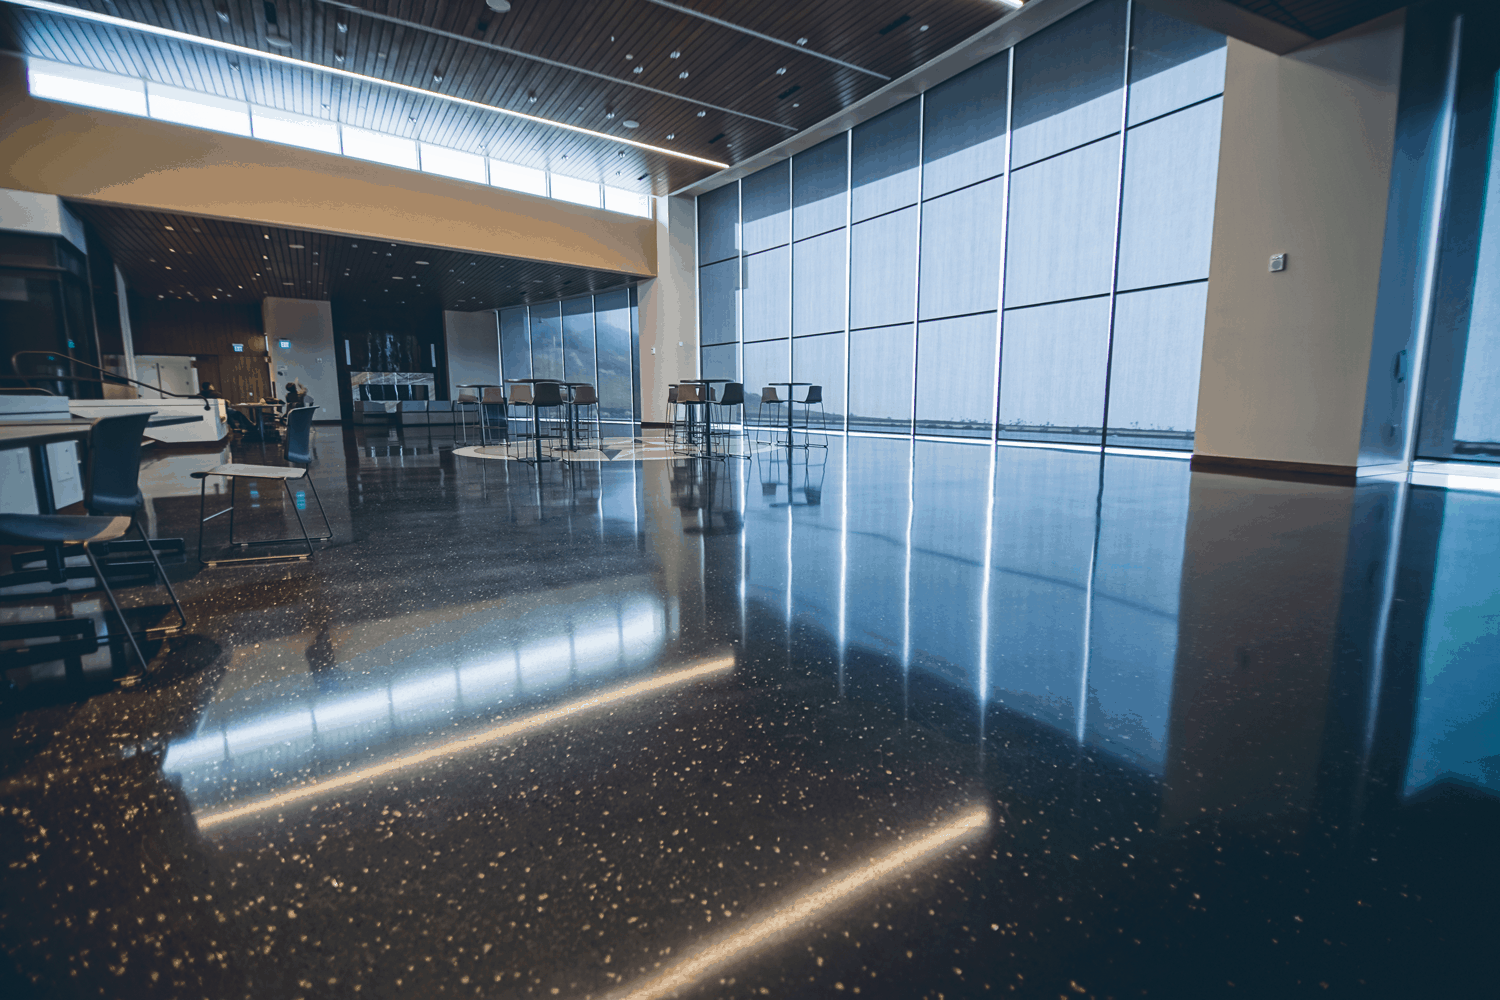
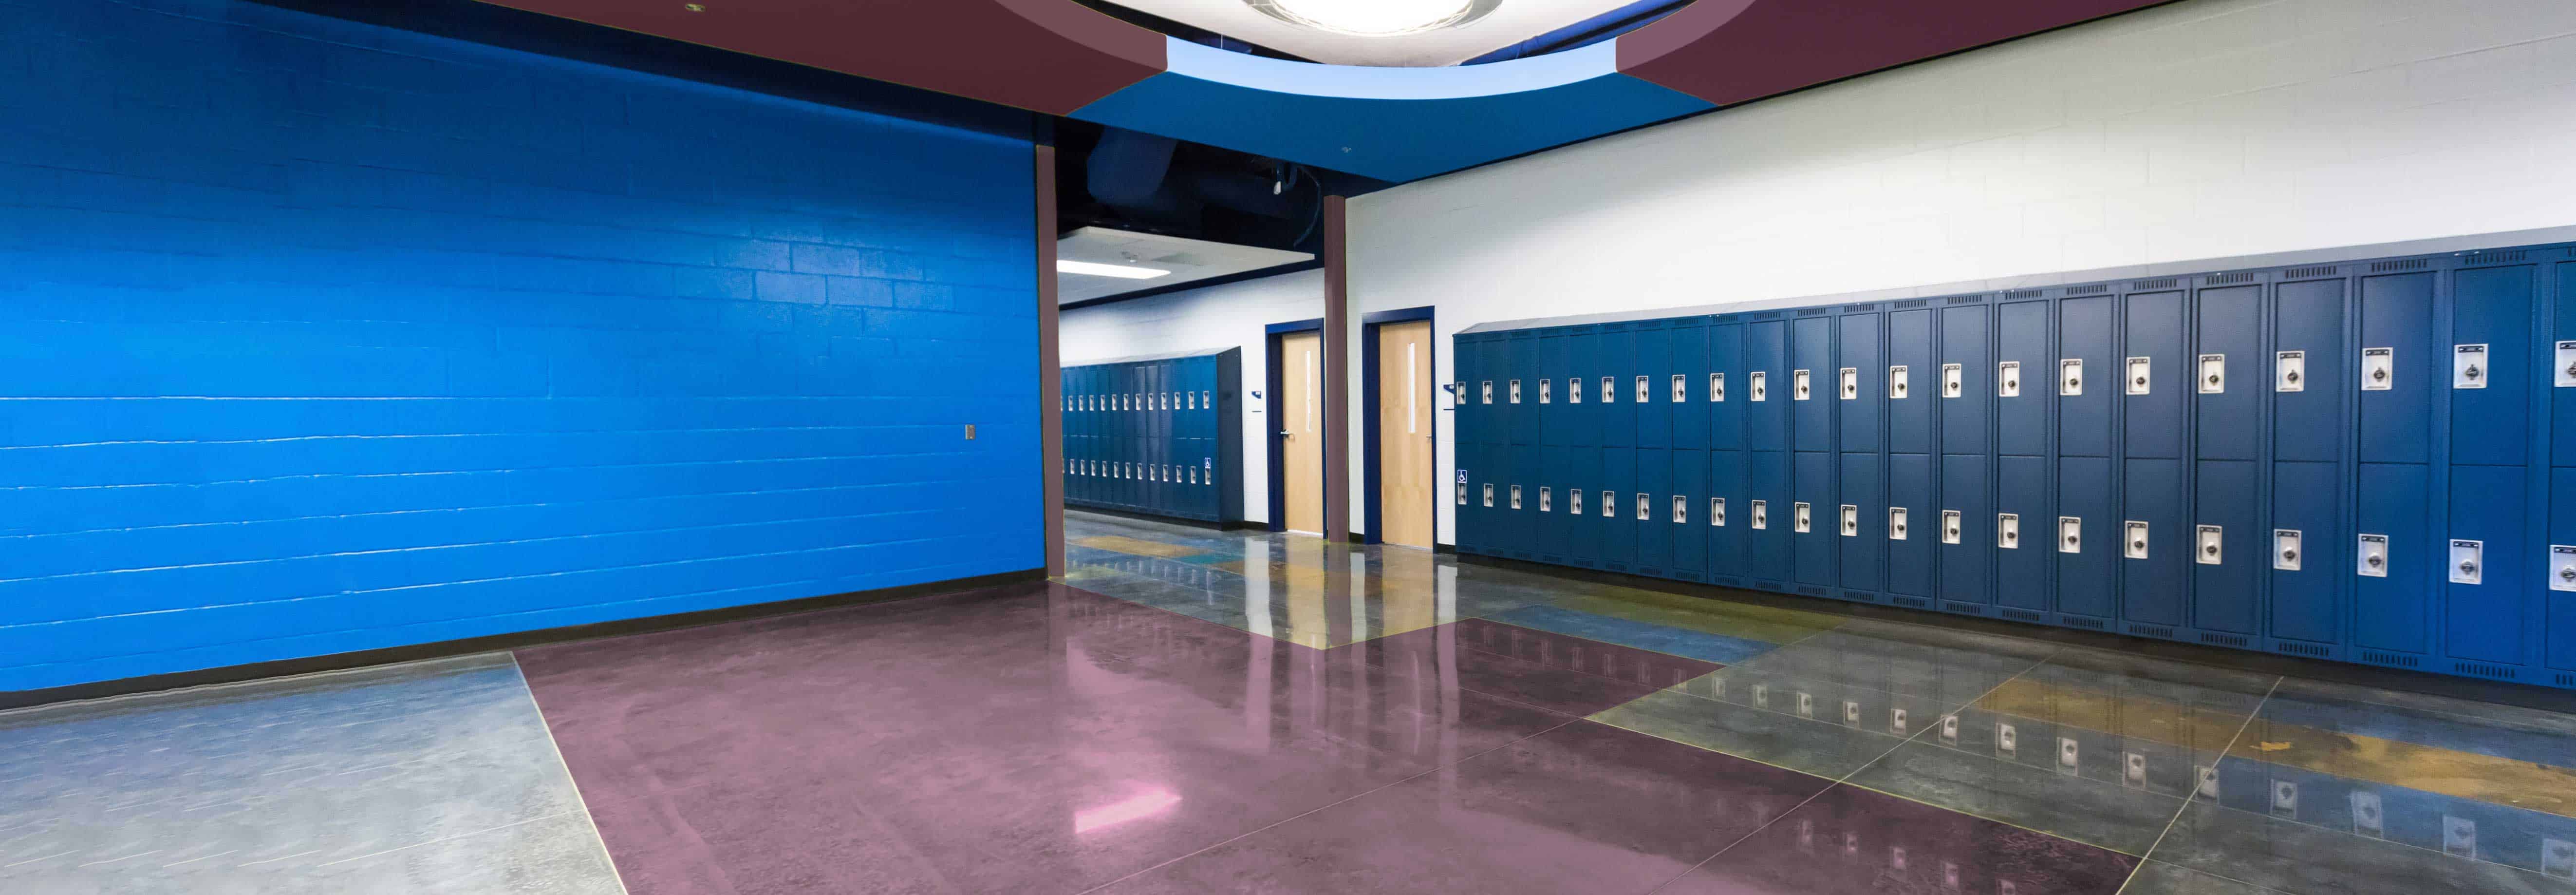
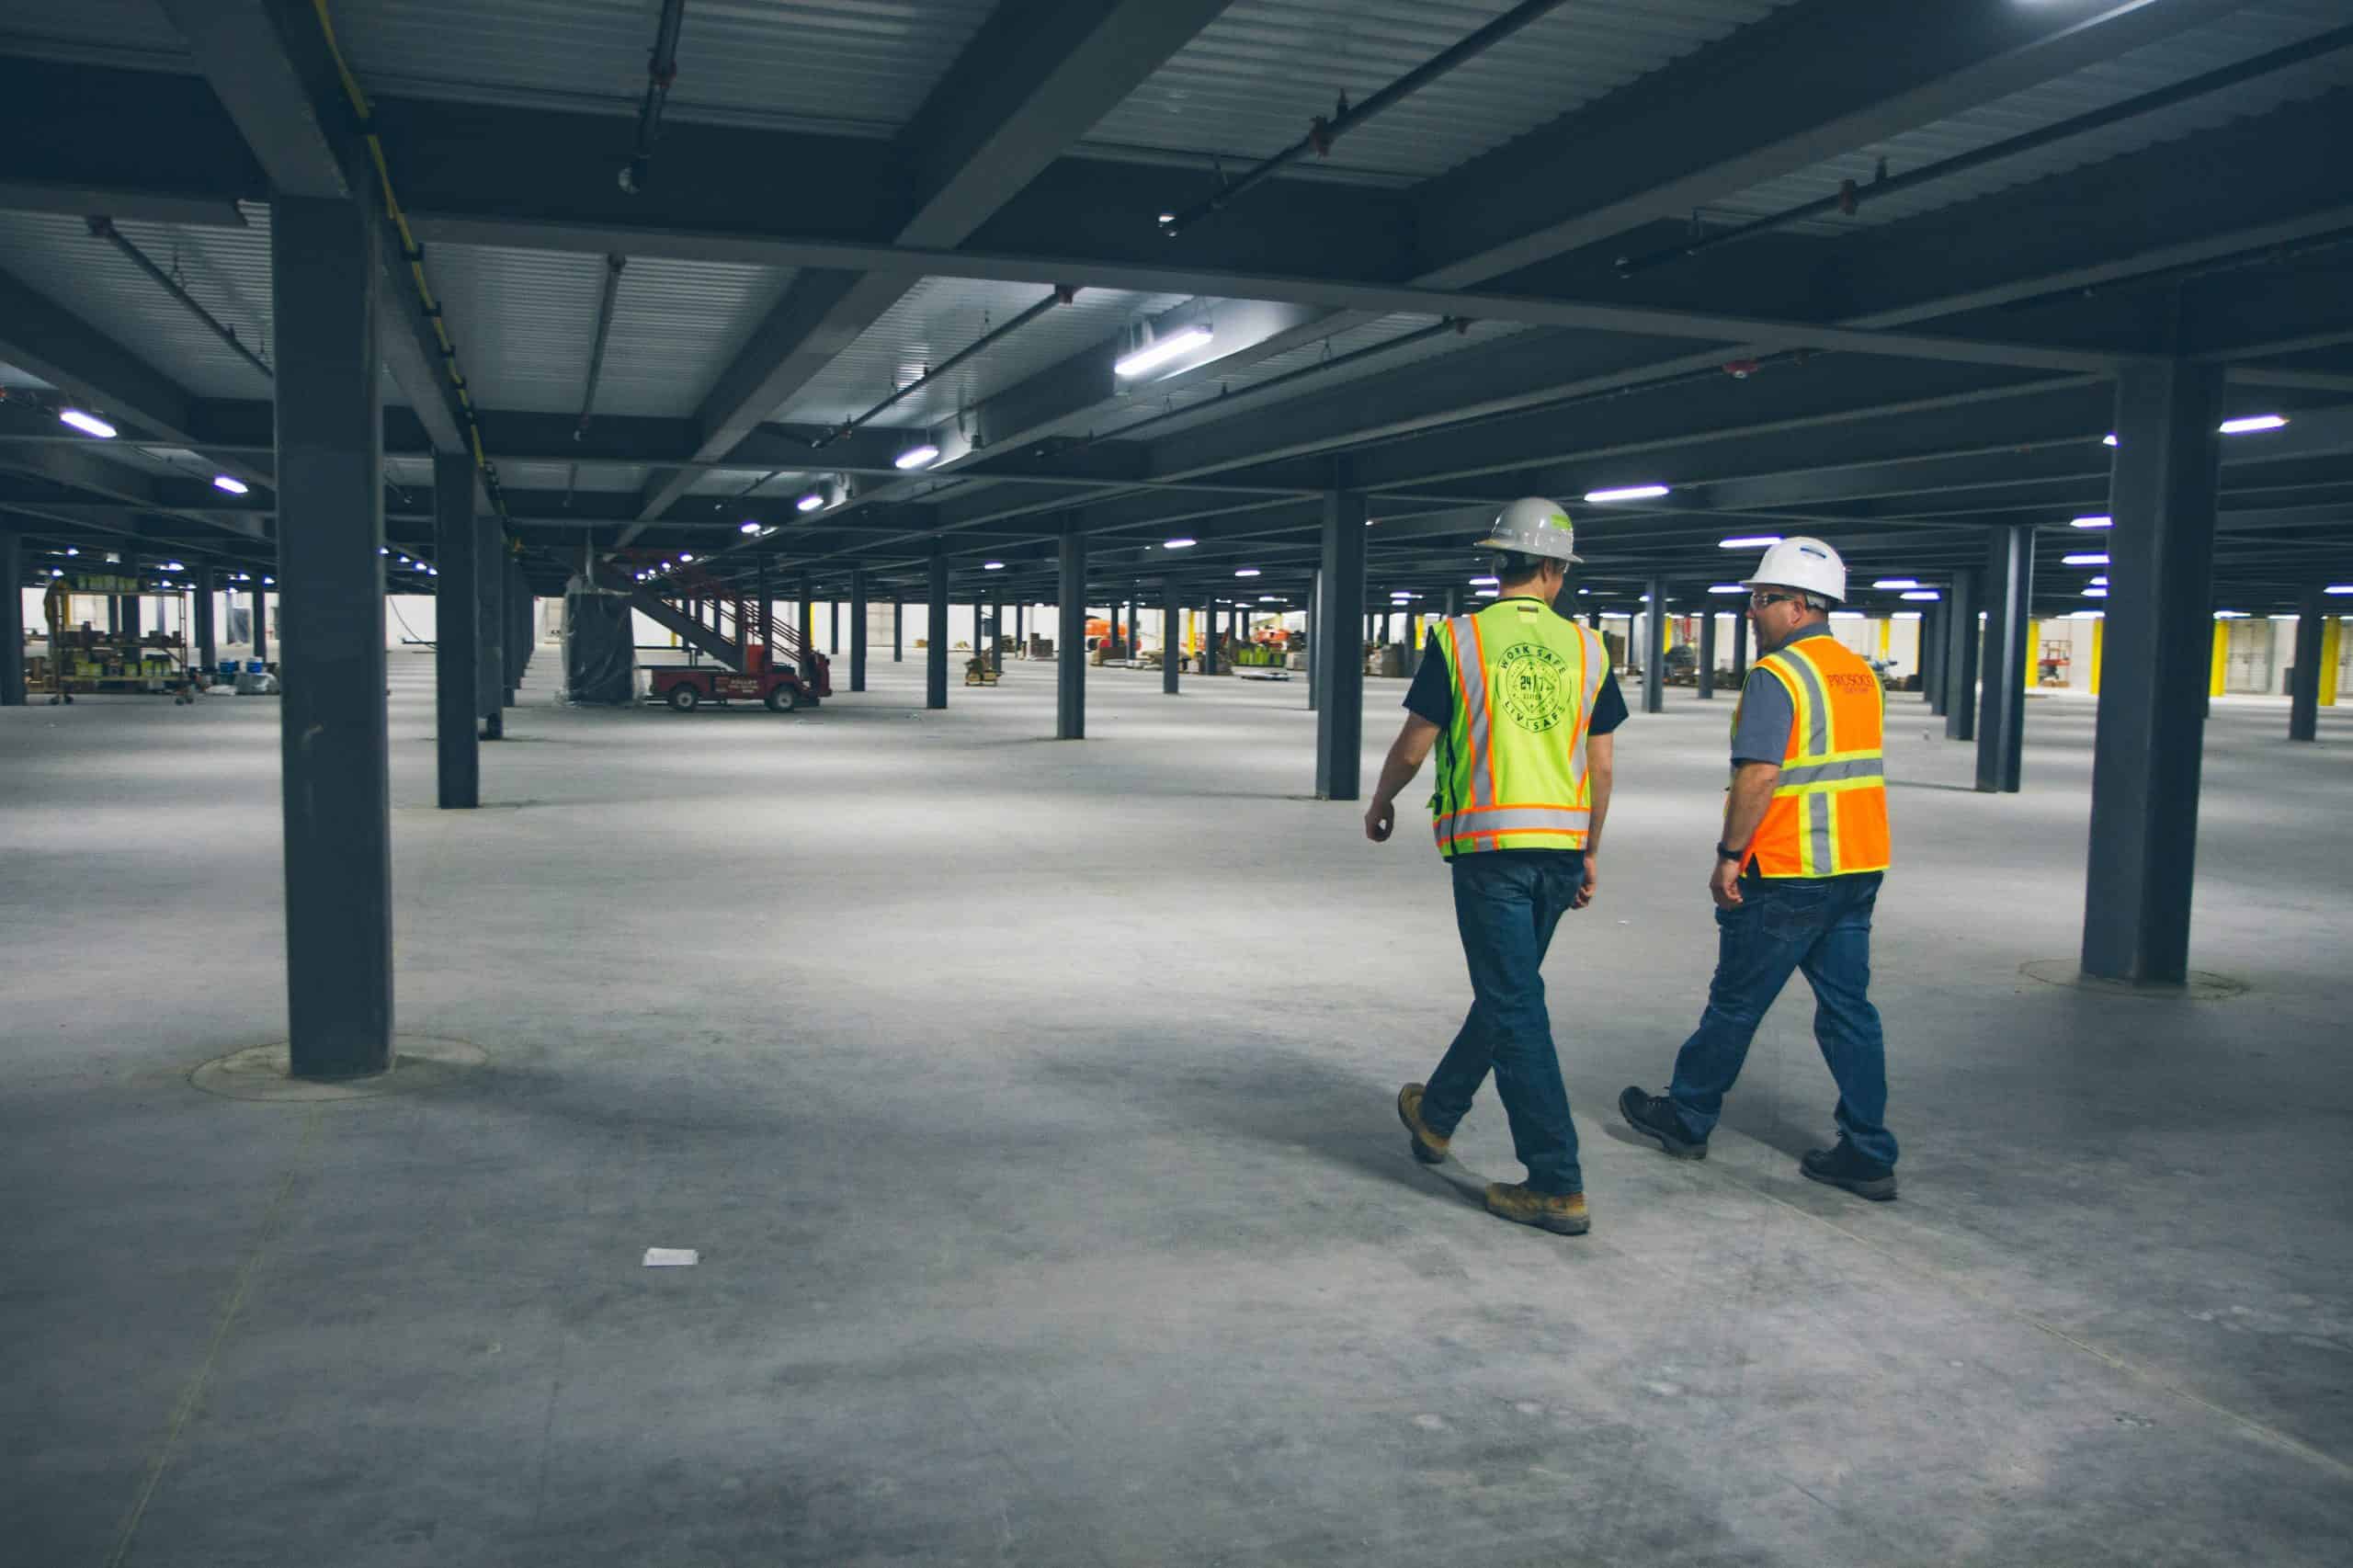
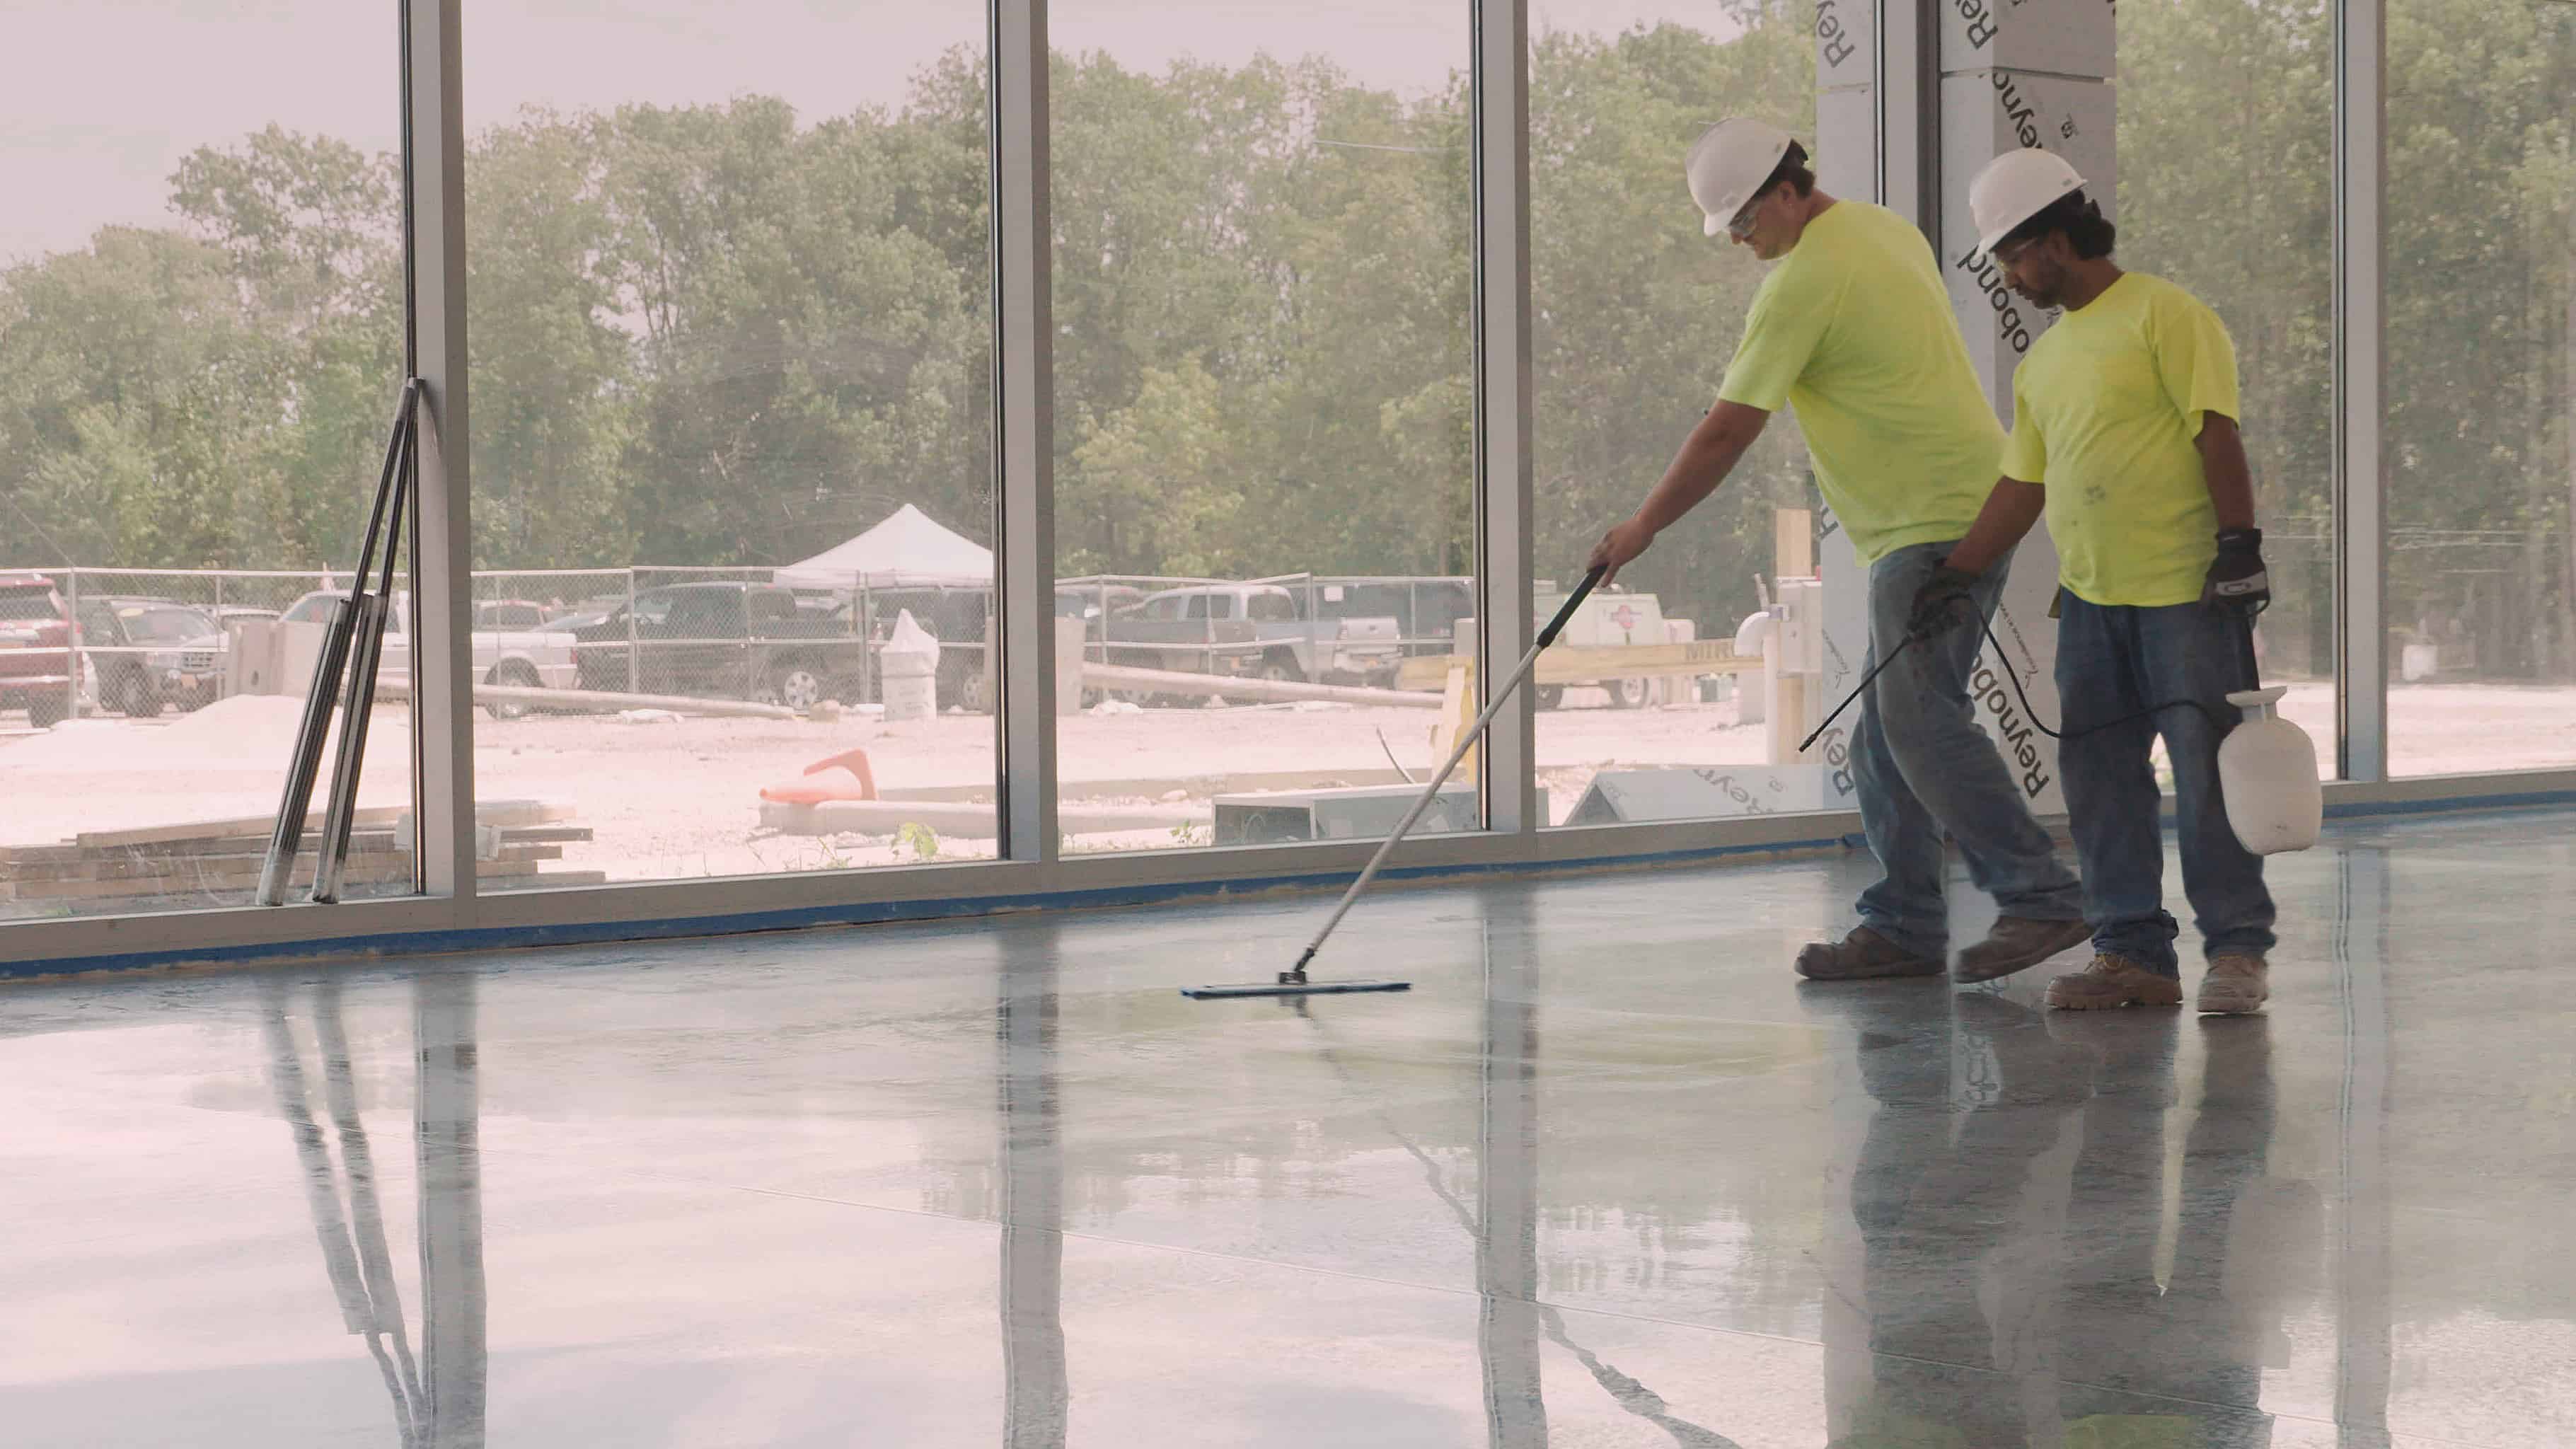
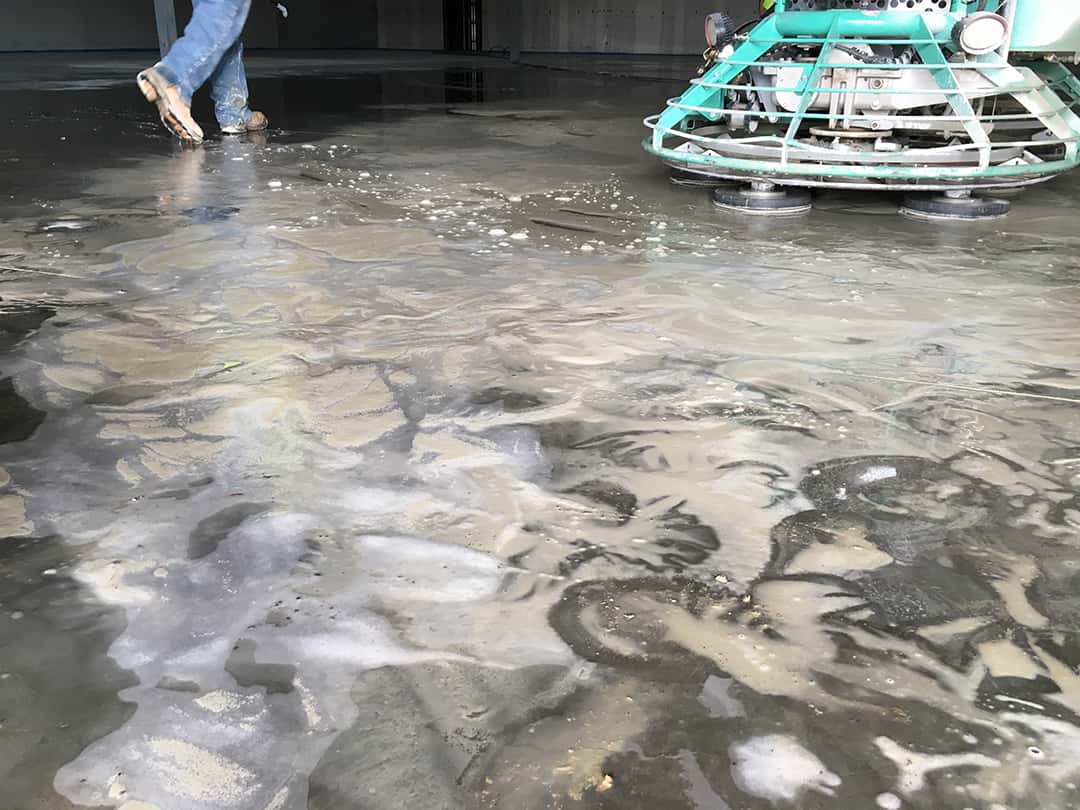
If you’ve decided to go with finished concrete floors in your home or commercial building, or maybe you’re just concrete-curious, you’re in good company. Finished concrete is a wonderful option for interior floors of all kinds. As a flooring topping, polished concrete is beautiful, durable, long-lasting, environmentally friendly and low-maintenance. It offers endless opportunities to customize your floor to a specific, desired aesthetic and style. Plus, in many cases, concrete flooring is more cost-effective than flooring alternatives like carpet and tile.
Where and how does it begin?
One thing to keep in mind is that getting the concrete floor you want is not a routine step-by-step procedure every time. There are dozens of variables in polished concrete that make each floor unique, explains Nick Savage, head of PROSOCO’s concrete flooring group of chemicals for polished concrete.
“People get on Pinterest or Google or see a concrete floor in a store and say, ‘That’s what I want,’ but what you want may not be what you’re going to get out of your particular floor.” This is why Savage stresses that homeowners should clearly communicate exactly what they want to a professional installer or contractor who will be upfront about what is realistically possible.

Nick Savage
Another recommendation is to always do a mockup on a small portion of the floor of what you plan to do on the entire floor. “We 100% of the time recommend a mockup to tell you everything you need to know. It tells the contractor what they’re going to need, and for the owner and architect, it manages expectations.”
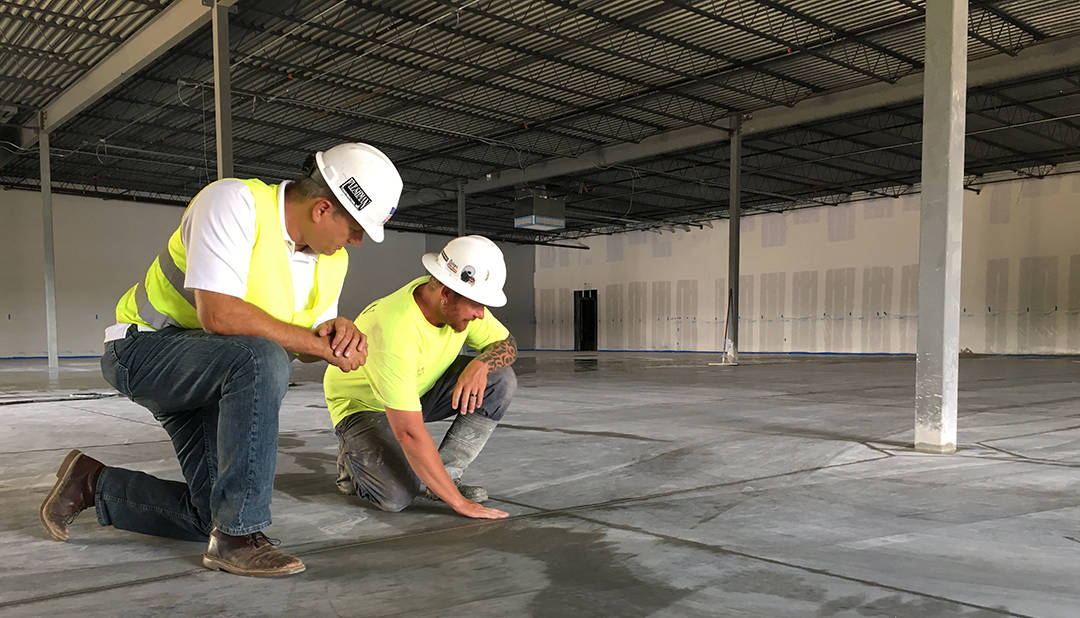
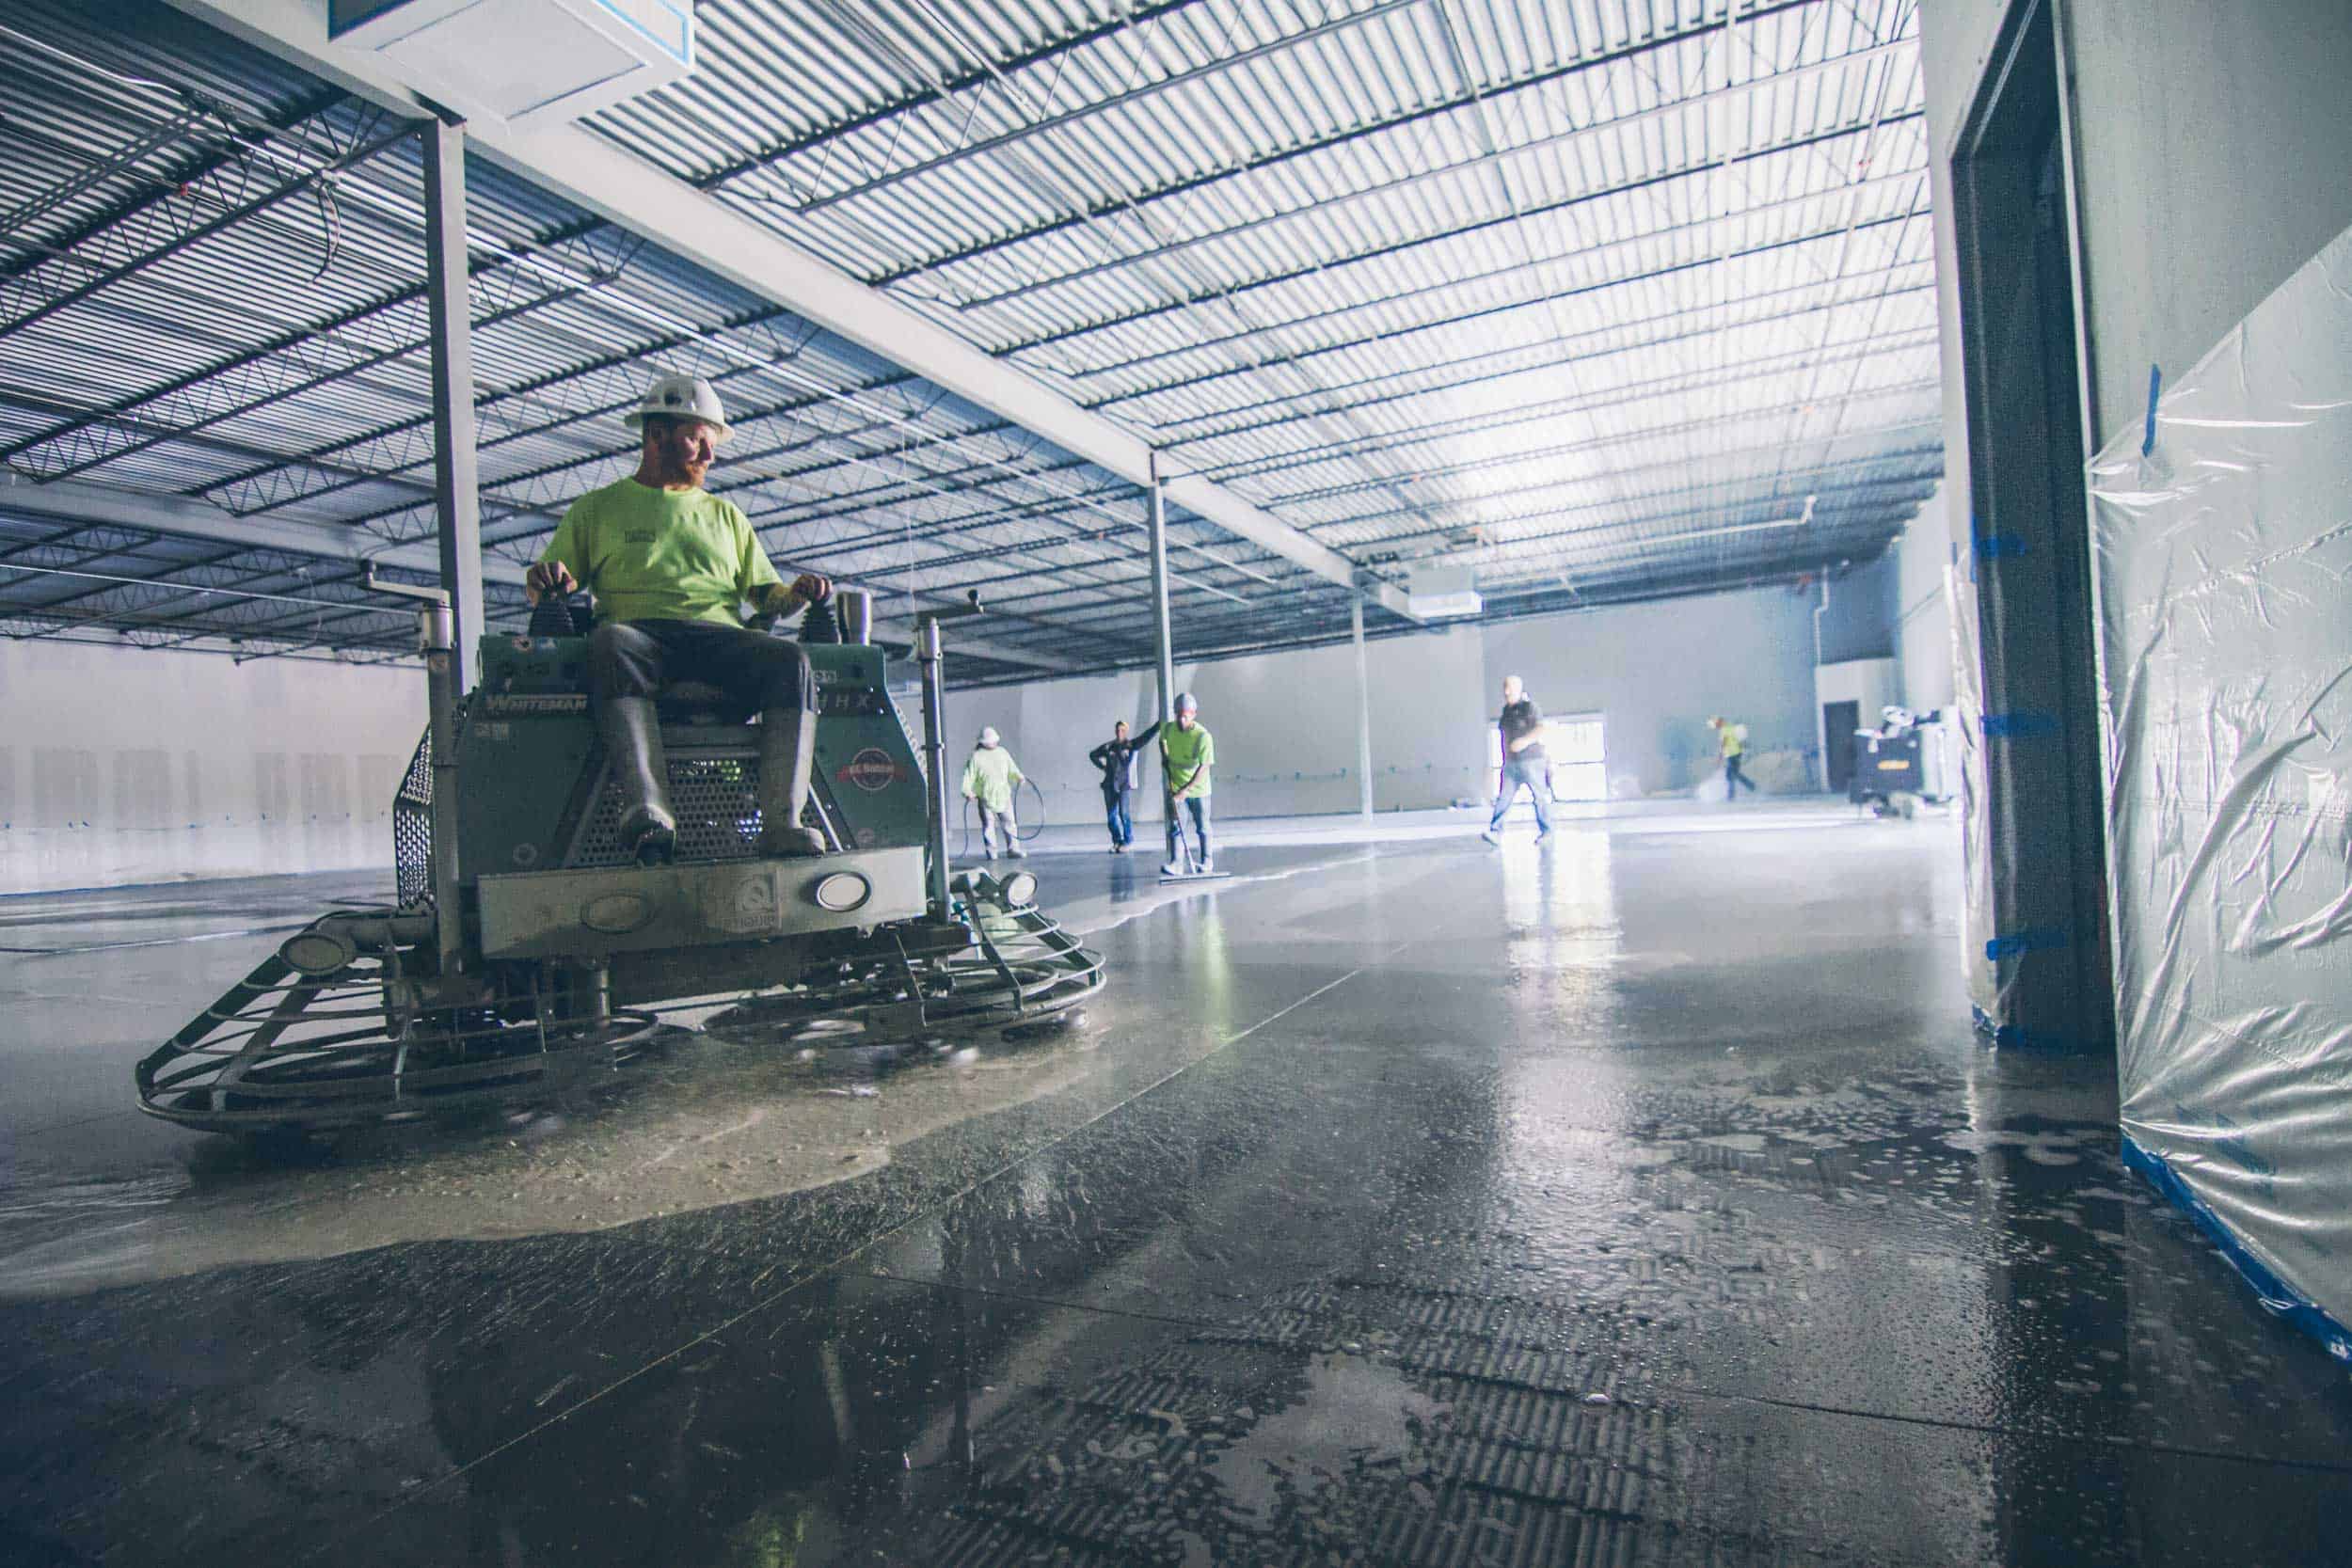
The process of preparing the surface of, and then finishing, a concrete floor will vary job to job, but overall, the guidelines follow a similar path. Let’s say, for instance, you’re rehabbing some concrete that was once underneath carpet. Once the carpet is pulled up, the surface prep begins.
1. Remove any adhesive materials left on the concrete
“Whether it’s just glue, mastic, tack strips, or whatever, that’s got to be removed and it’s generally done mechanically,” Savage says.
That requires concrete grinding equipment, which can be rented from a concrete equipment supplier.
Many times, mechanical removal of the adhesive materials on top of concrete suffices, but if the adhesive is stubborn or severe, it may require chemical removal. In these cases, Savage recommends a product like Cure & Seal Remover or SafStrip.
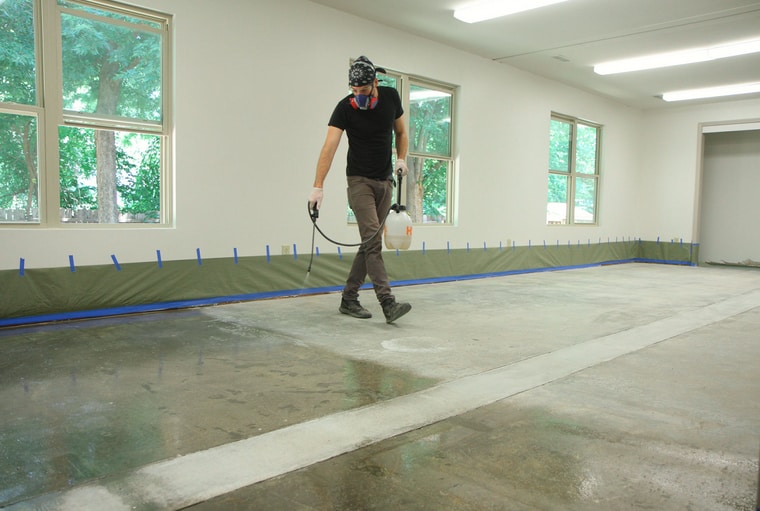
2. Crack and joint repair
Once the adhesive is fully removed, you’ll want to address cracks and joints in the concrete. These can be filled in with a polyurea joint filler. If there are places where the floor is particularly beat up, a spalling repair may be required.
3. Grind the concrete
Grinding concrete is similar to sanding wood, Savage says. It takes a concrete grinder and a selection of diamond tooling that goes onto the machine. The diamond tooling and its various grit sizes are like the sandpaper – the higher in number, the finer and shinier the finish; and the lower the number, the courser the finish. You start low and gradually move up to higher, finer grit levels.
Diamond tooling attaches to the bottom of the grinding machine to cut the concrete – and yes, they’re real diamonds, which are ideal for this application due to their hardness and tolerance of high heat generated by the friction of grinding the concrete.
You want to start the grinding process with a 30- to 40-grit diamond, take another pass with an 80-grit diamond, and then finish with up to 150-grit or finer if desired.
4. Densify, or harden, the concrete
To optimize the performance and appearance of your concrete floor, chemical densification is critical. Once the floor is ground to the desired level, densification is easy with a chemical densifier/hardener like LS, LS/CS or Blended Densifier.
5. Polish the concrete
Polishing is completed with the same concrete grinder, but with higher-grit diamond tooling attached to it. Polishing usually begins with around a 100-grit to 200-grit diamond, and finishes with an 800-grit or 1500-grit diamond.
6. Protect the concrete
A guard like LSGuard, PolishGuard or Concrete Protector SB applied as the last step will help protect your beautiful floor and make it easier to maintain.

Long-term advantages over tile
Once your concrete floor is completed, you’ll have a beautiful, durable floor that will outlast any other flooring out there. Savage says that unfortunately, few people consider the long-term cost of their flooring selection when they’re picking it out – they only calculate the upfront costs. And when you consider the costs of finished concrete versus tile, for example, that makes a big difference.
“Tile is cheaper if you’re just considering the material, labor and installation,” he says. “If we’re talking about a house where someone’s going to polish the inside of their house or commercial space, they can go with cheap VCT (vinyl composite tile), but ceramic tiles can be pricey and it’s not a simple install either.”
When people run the numbers they often realize polished concrete isn’t as expensive as it first seems once long-term costs are considered.
The long-term cost advantage becomes clear when you factor in the maintenance and how quickly the floor will need replacing. If you drop something on your tile – it damages easily and it shows that damage prominently.
“Tile is going to crack and be visibly damaged,” Savage says. “Tile can stain. Tile and wood floors are going to wear out a lot faster. With tile, the grout is not easy to clean, and with wood, every tiny scratch is noticeable right away.”
In 2020, one of Savage’s neighbors had ceramic tile installed in the front entryway of their house.
“They didn’t seal the grout because they were told you didn’t have to,” he says. “They had the stuff to do it but never did it, which happens to all of us. Now the grout and the tile are already getting dirty. It’s a lighter color grout so it shows more, and severe staining shows earlier on the tile which looks bad.”
For long-term aesthetics, durability and maintenance, concrete is the better choice.
“Concrete is always going to be a little cheaper and easier to maintain,” Savage says.
That’s especially true when you will have to replace carpet, wood, or tile floors after 10 or so years when all that damage has accumulated and caused an eyesore of a floor.
“That’s the biggest advantage, is you don’t have to strip concrete,” he says. “With VCT in grocery stores, they have to go in and strip, rewax and burnish it every six months because of traffic. With concrete floors, you just go back in, give it a quick clean and reapply your protective treatment.”
To clean polished concrete, Savage recommends a cleaner that’s designed especially for densified concrete floors, like DailyKlean or LSKlean.

Leave it to the pros
If the process of polishing a concrete floor sounds complicated for a DIY project, that’s because, well… it is. With all the variables that are inherent in any given concrete floor, and the variety of decisions on diamond type, bonding materials, grit size, and type of concrete grinder, Savage says this type of job should be handled by professionals who polish concrete for a living.
The fact that polished concrete is such a complicated beast is the same reason why PROSOCO offers all kinds of products for concrete floors beyond standard densifiers and cleaners. They custom-formulate products that aid in wet-grinding applications, and stains for decorative color designs or colored overlays on concrete floors, for example. There’s a product for every concrete floor, you just have to know the right person to ask to get the right ones.
PROSOCO’s team of technical support specialists for concrete floors is ready to help at 1-800-255-4255.
![]()
