Grout-Tie
Grouted remedial ties for stabilizing solid and cavity masonry walls
Grout-Tie
Grouted remedial ties for stabilizing solid and cavity masonry walls
Description
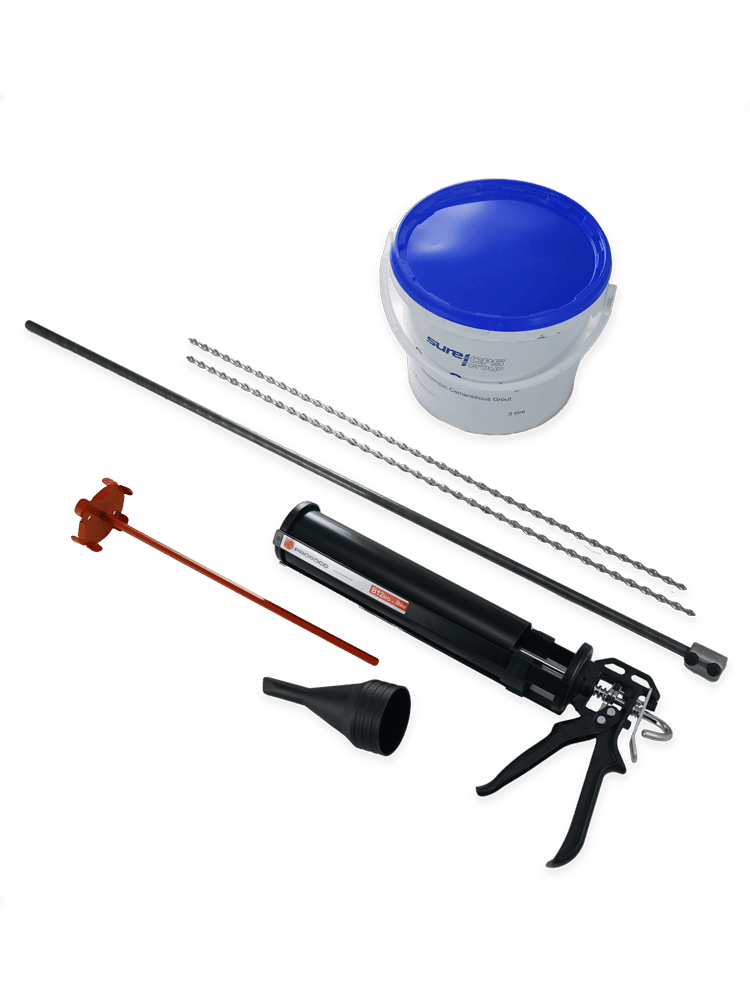
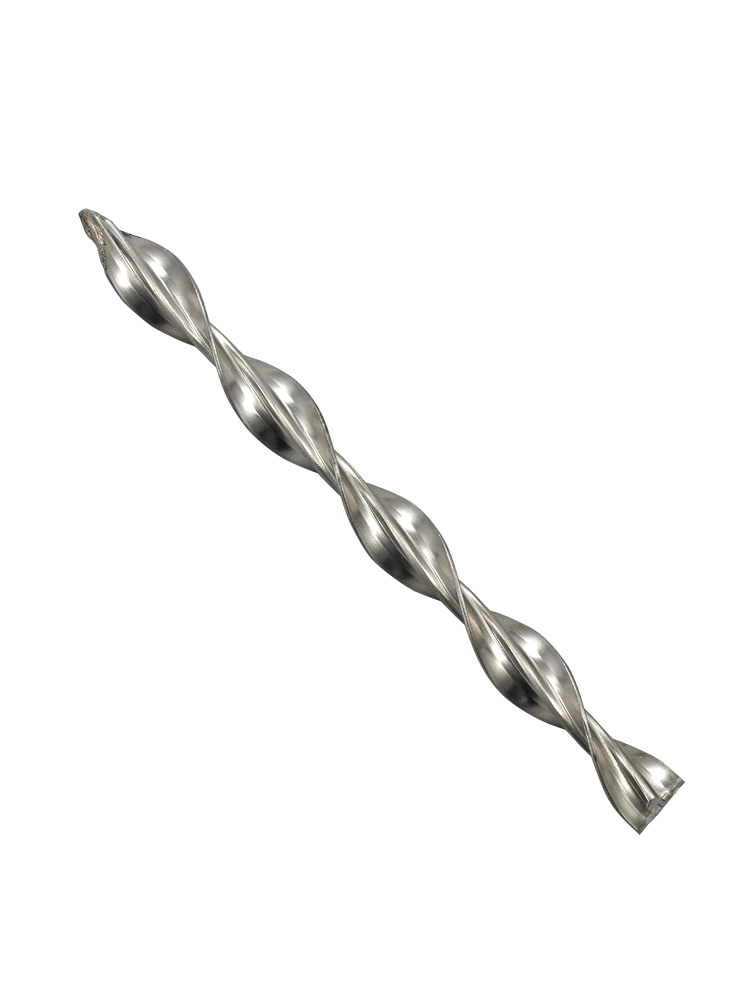
The PROSOCO Grout-Tie improves the overall stability of a masonry wall by filling in voids while causing minimal disruption. This simple, cost-effective method can be used in a variety of structures and scenarios, including pinning rubble-filled masonry or stone walls, re-connecting veneer walls to the backup structure, and pinning masonry arches. This easy process installs the grout and tie simultaneously.
Technical Data
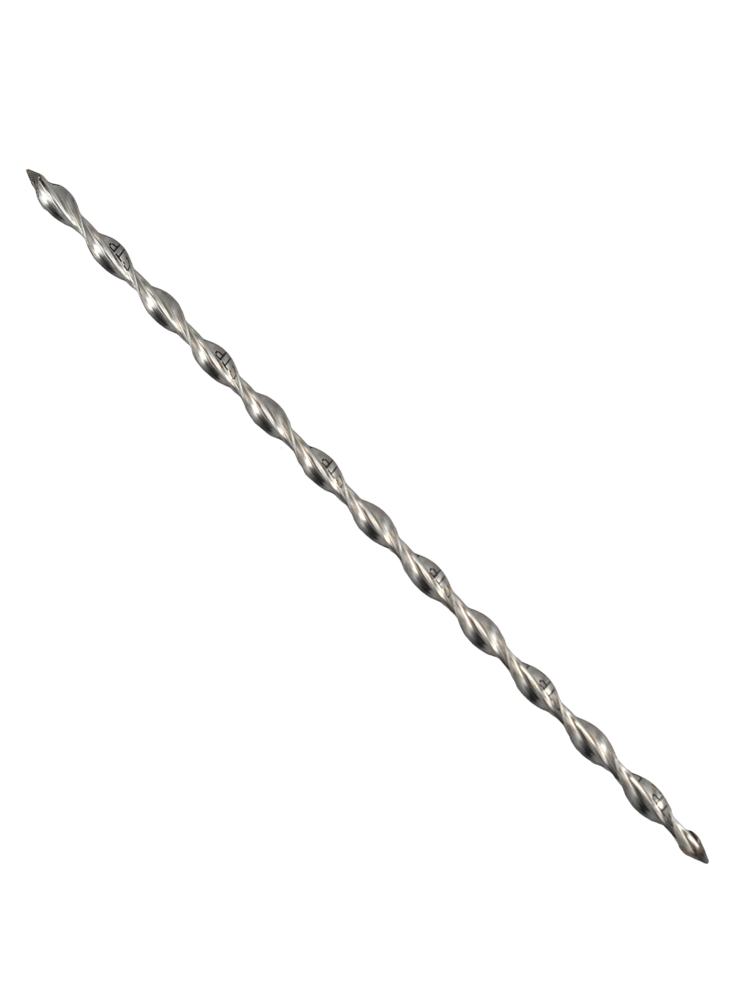
- MaterialAISI Type 304 or 316 Stainless Steel
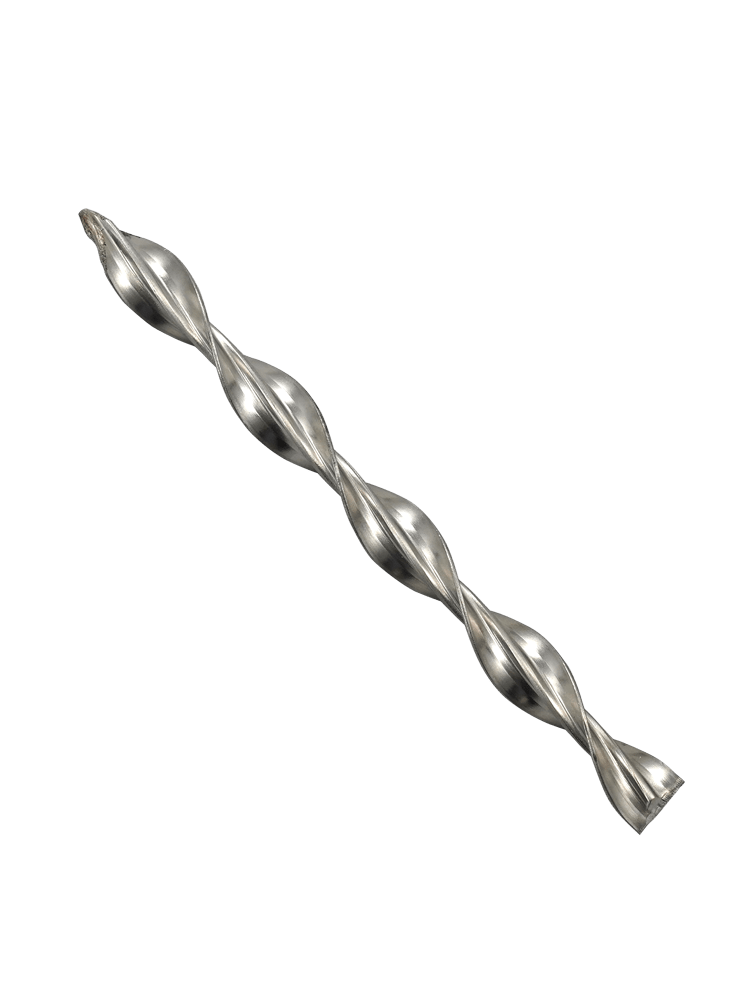
- Stitch-Tie Anchor Diameter8mm
- Pinning Nozzle Diameter1/2" (12.7mm)
- Hole Diameter5/8"
- Anchor Length2" less than material being anchored
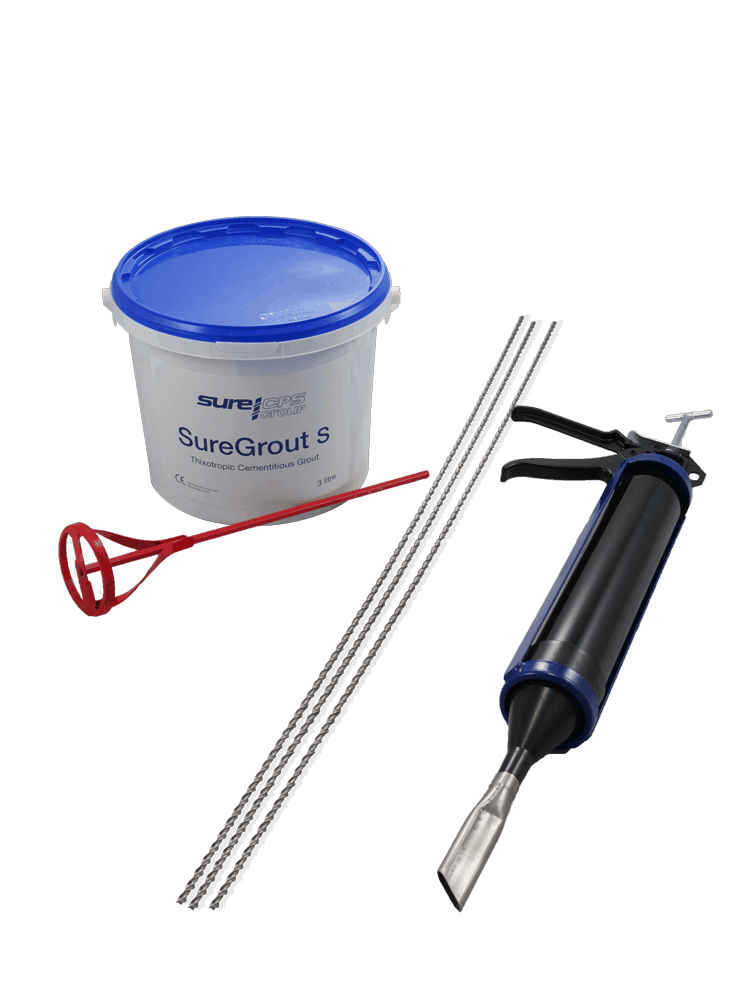
- Bonding AgentSureGrout S
- SureGrout S consumption33 linear feet per 3 liter SureGrout S tub

QUICK AND
SIMPLE
![]() FULLY
FULLY
CONCEALED
![]()
COST EFFECTIVE
 MINIMUM
DISTURBANCE
![]() CORROSION
CORROSION
RESISTANT
![]() STABILIZES SOLID AND
STABILIZES SOLID AND
CAVITY MASONRY WALLS
INSTALLATION STEPS
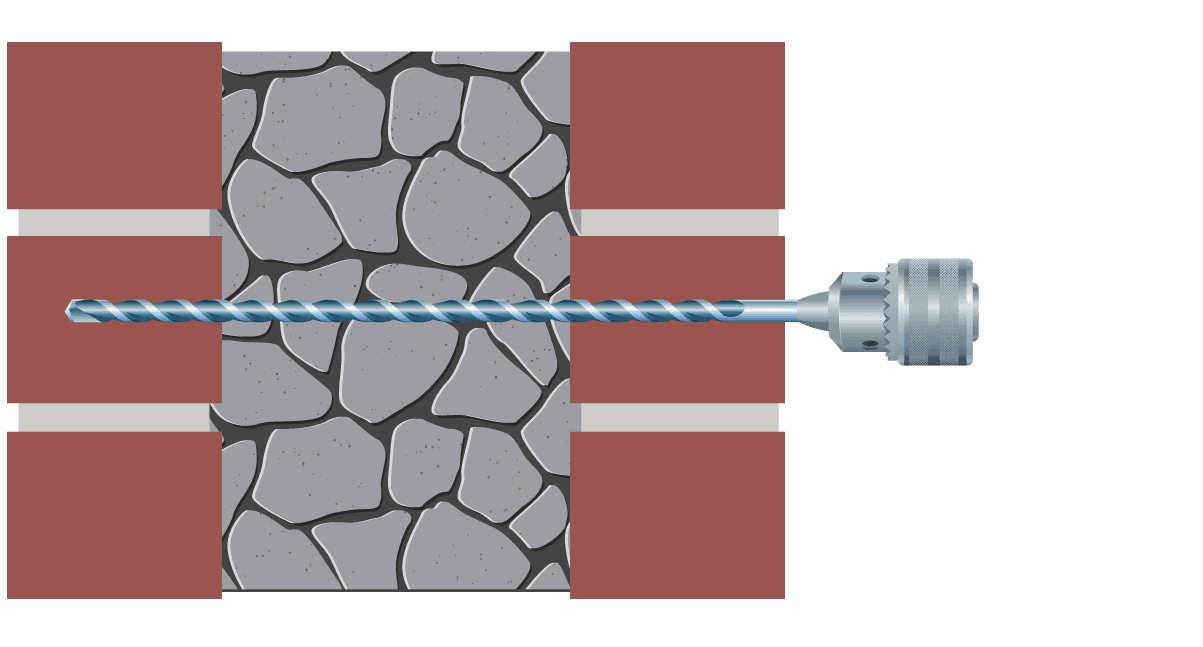
1. Drill hole to the required depth and clean with water.
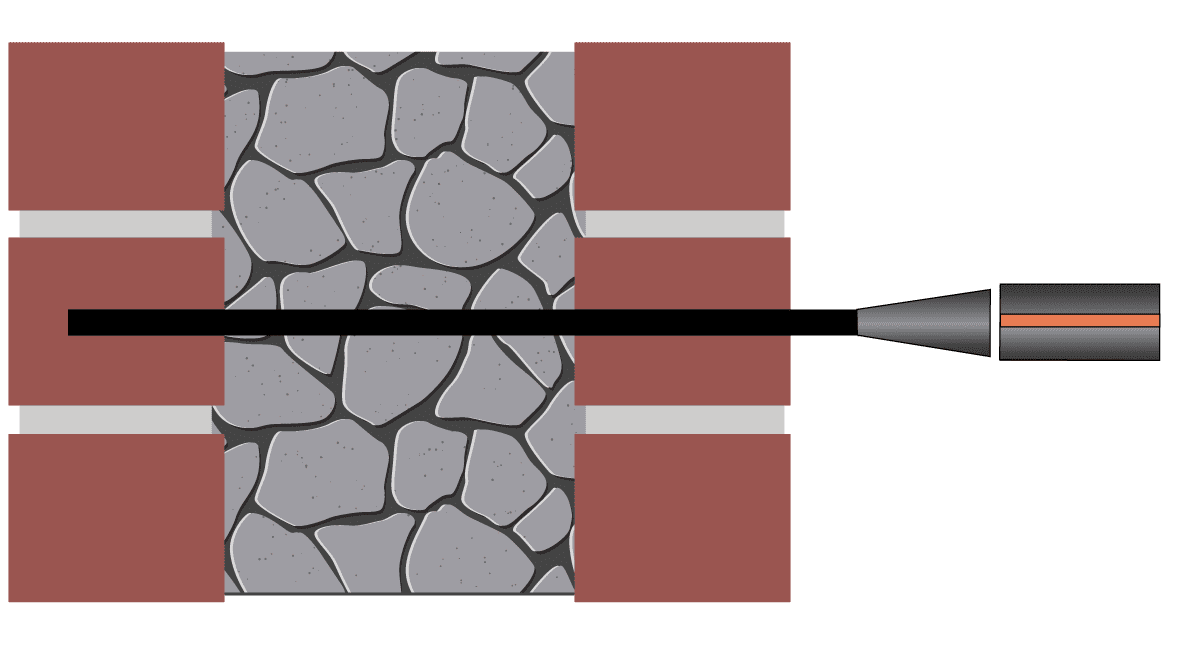
2. Fill the grout gun and nozzle with the SureGrout S, and insert the nozzle into the back of the drilled hole.
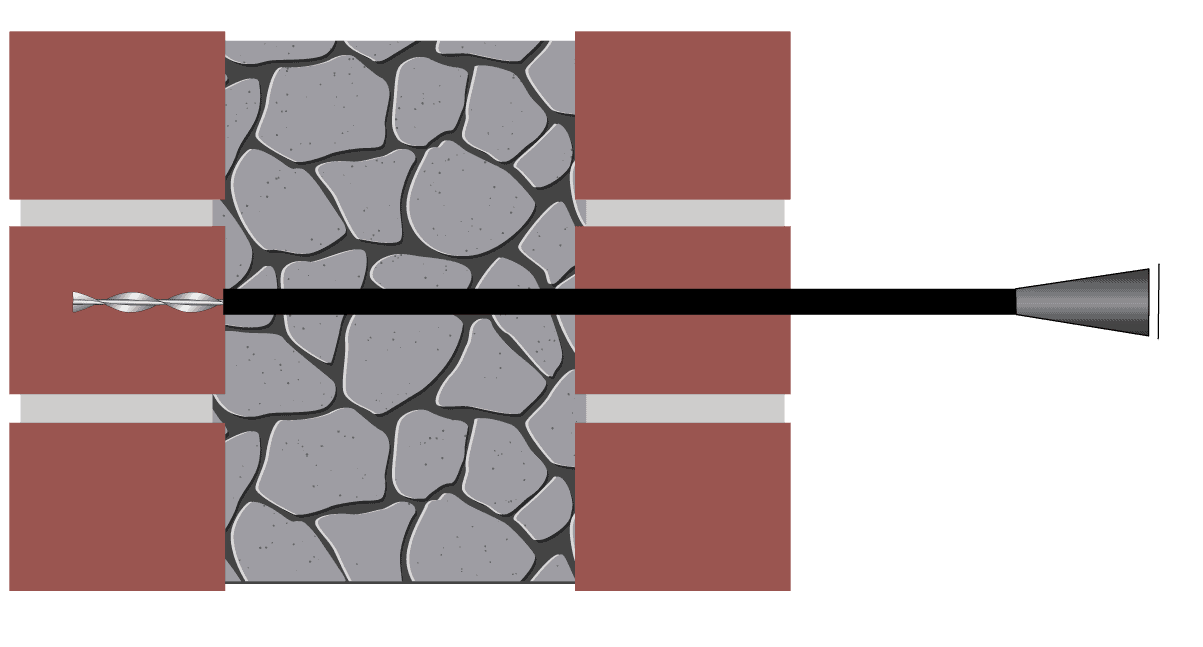
3. Pump the grout into the hole, while retracting the nozzle as pressure is built up.
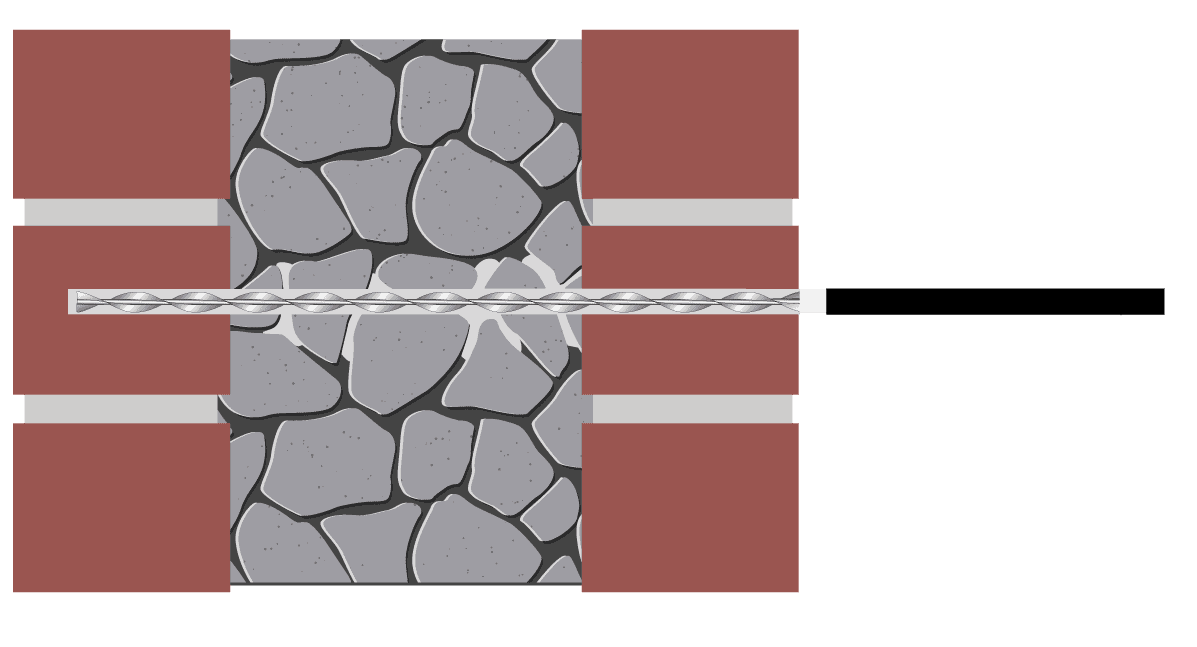
4. Insert the helical anchor while spinning clockwise into the grout- lled hole.
1. Drill hole to the required depth and remove dust and debris with water.
2. Cut the Helical Grout-Tie pinning nozzle to size.
3. Place pre-cut nozzle over the grout gun tip and attach to the grout gun with the wing nut coupler.
4. Mix the two-part ready to mix packs of SureGrout S powder with the provided admixture. Pour the liquid into the pail provided, pour the powder slowly into the pail, and mix with a paddle mixer for a full 2 minutes ensuring that the powder is completely blended. (No additional water or powder should be added. Once mixed, the grout is ready to be used and has a usability time of 45 minutes. Cover pail from direct sunlight.)
5. Load the mixed SureGrout S into the PROSOCO grout gun.
6. Pump the SureGrout S to fill the nozzle.
7. Insert the nozzle to the end of the drilled hole and pump the SureGrout S until the hole is filled.
8. Insert the 8mm diameter Stitch-Tie into the grout-filled hole while spinning clockwise to ensure that it is fully covered in grout.
RESOURCES

