By Jeff Scarpelli, Products Engineer for PROSOCO’s masonry anchoring group

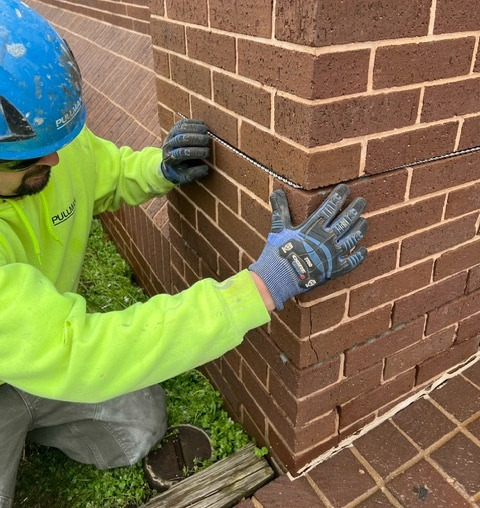
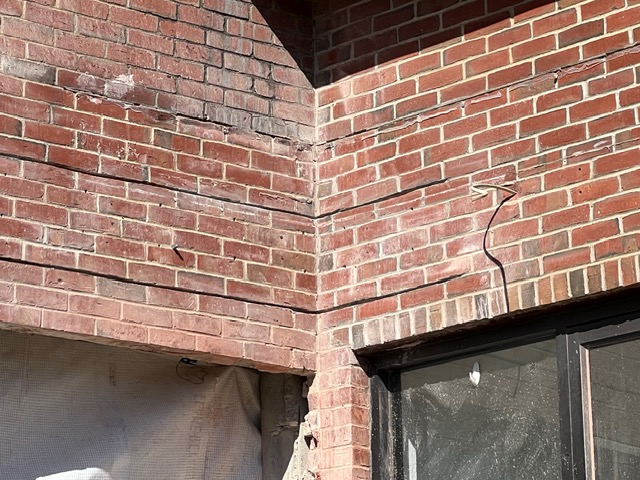
Although helical masonry beaming is still an underutilized and relatively unknown method in masonry repair and restoration, the number of questions and requests I get on this topic increases every week -- which I view as promising. Helical masonry beaming is an effective and economical way to repair flashing for shelf angles and lintels, to remove and replace lintels, and to strengthen sagging lintels in cases where the owner does not have the budget to take it out and replace it. In these cases, beaming strengthens the masonry above it, transferring some of the load to the masonry itself.
Each week, I receive inquiries asking whether helical beaming will work on a specific building, and how to do it properly. Here are my answers to the most common questions I receive from customers each week.
Question #1: Does helical beaming work for restoration and new construction?
A1: Helical beaming does not have much use at this time for new construction. Because of this, if a contractor is not involved with the restoration side of masonry, they may not have run into a case where this method would be needed.
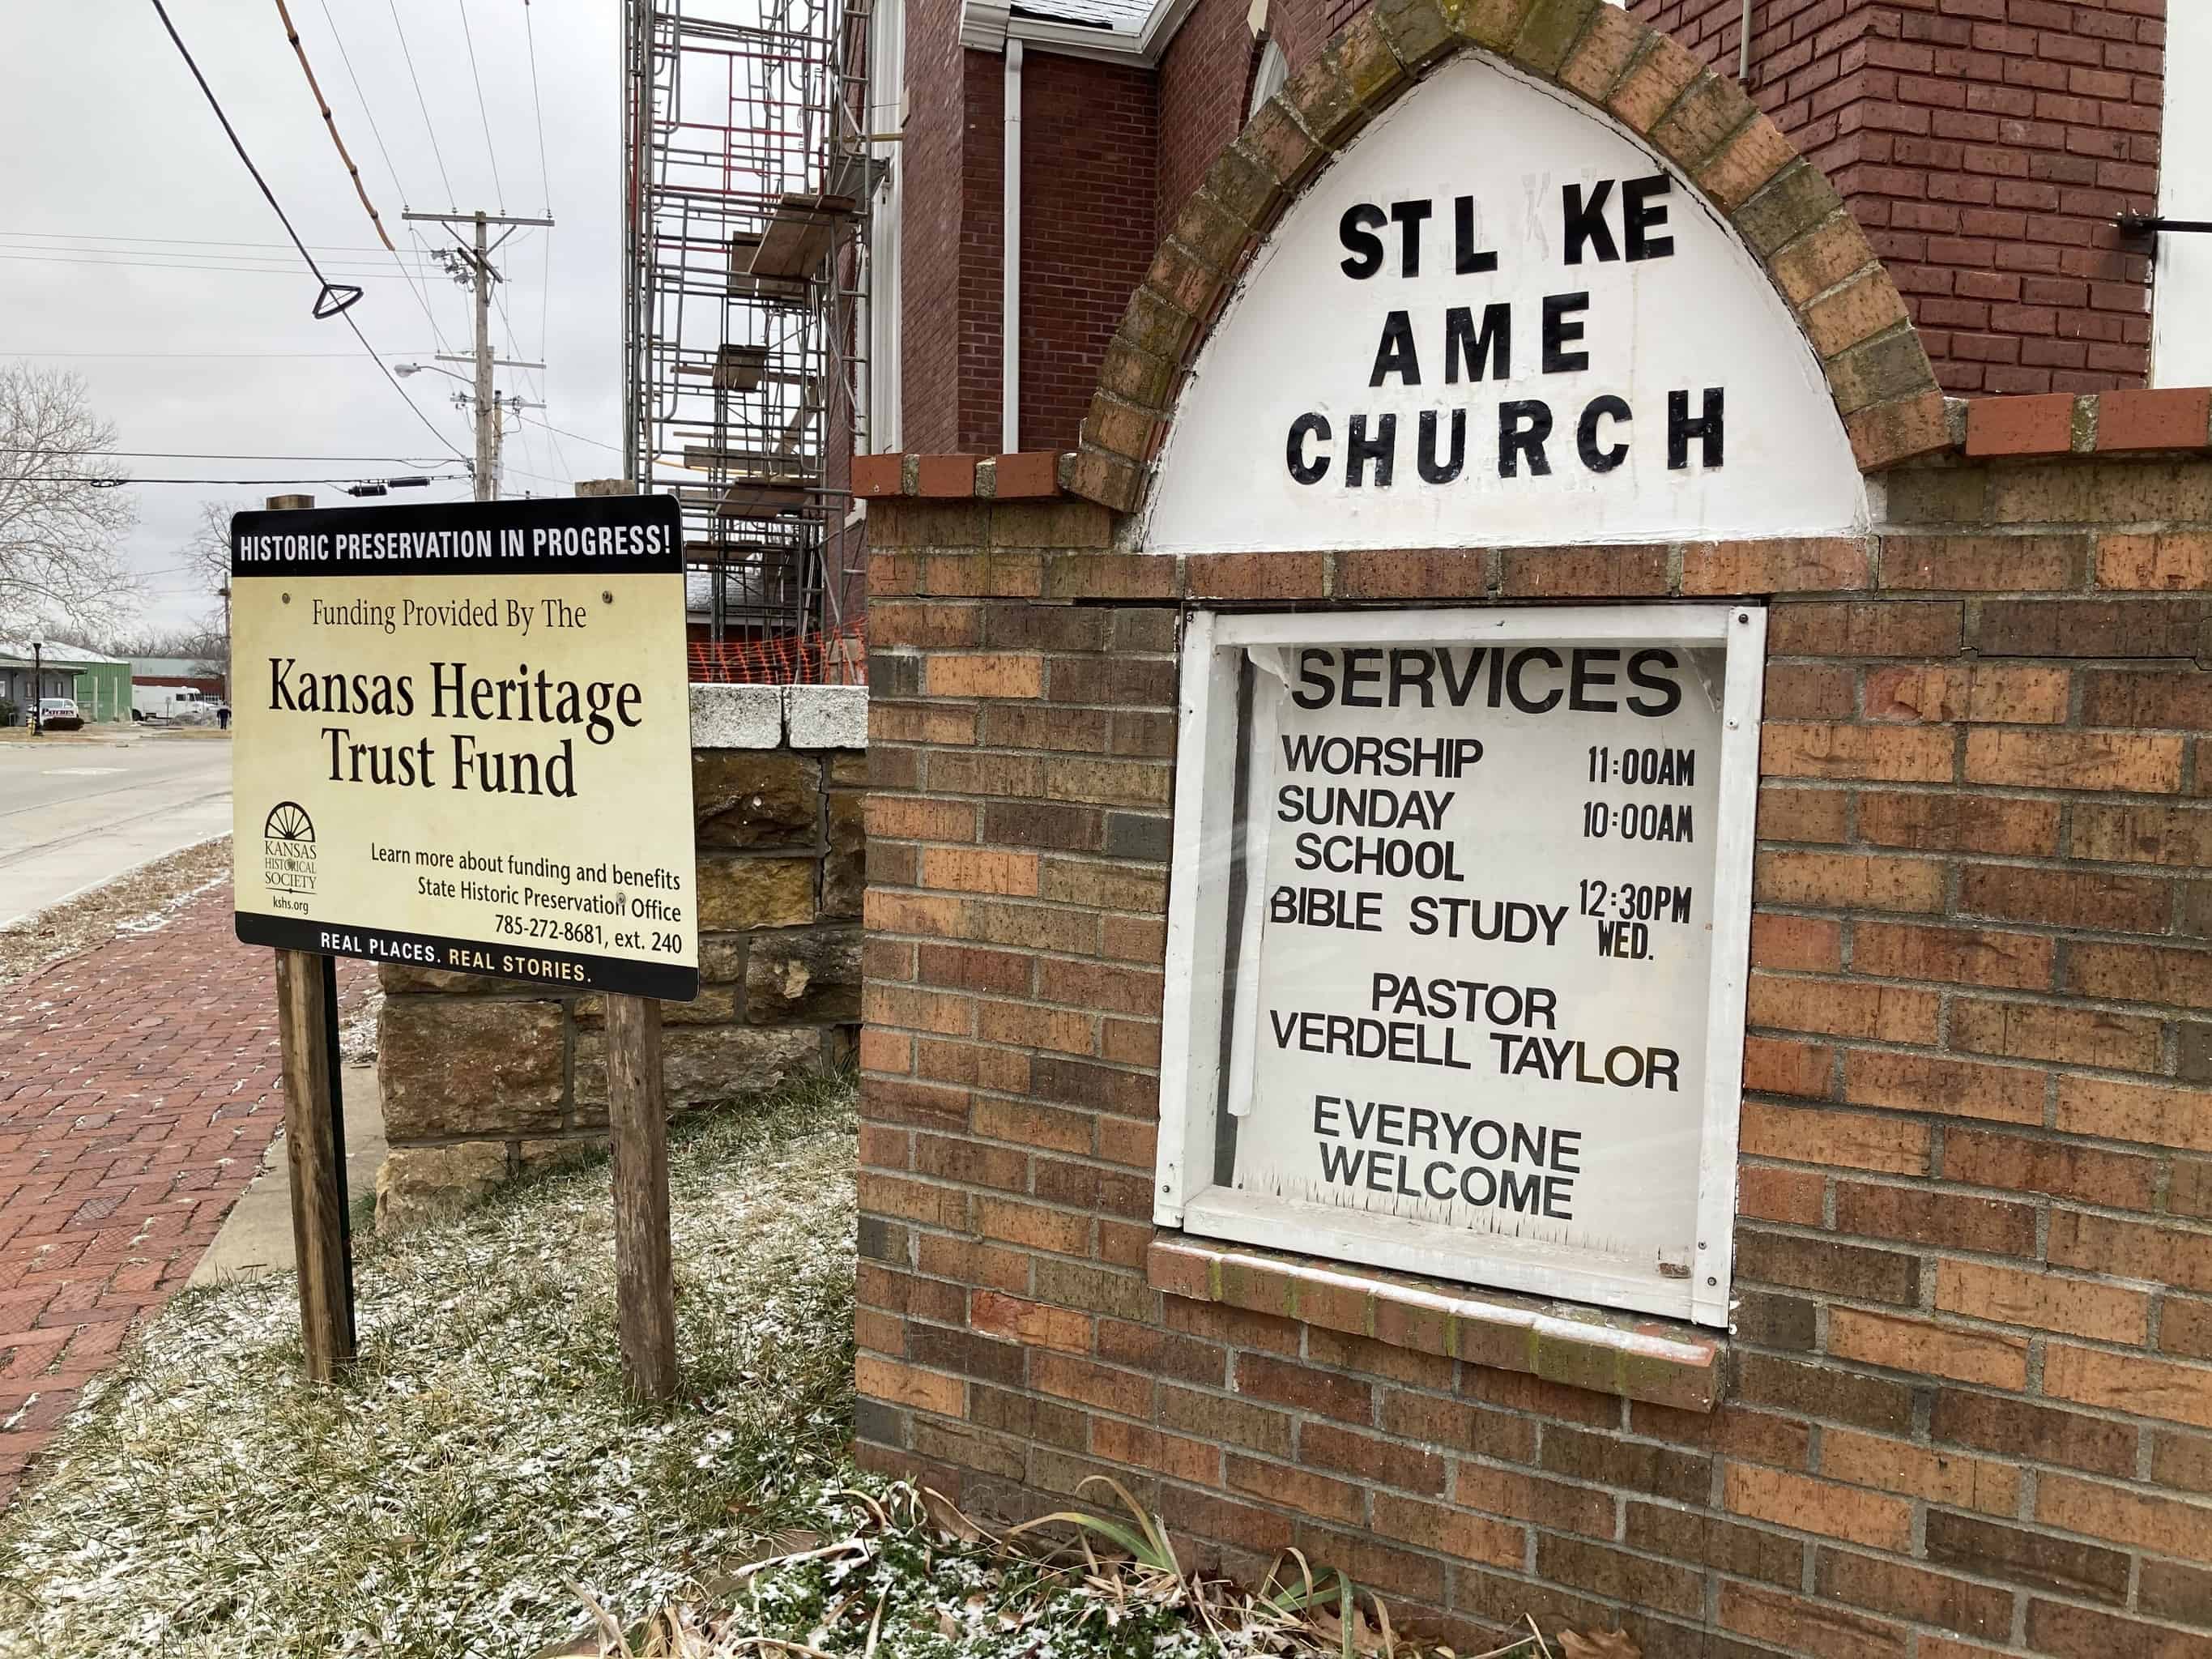
Restoration is really where helical beaming is happening. I’m glad to see that it’s growing as a recognized method in brick restoration and repair applications, but it’s still not very well known. I frequently get the question of why helical beaming isn’t more common if it’s so effective and economical. The answer is the stubborn power of doing things the way they’ve always been done before. Restoration crews tend to default to what they were trained on, which typically involves methods for removing and replacing brick using shoring posts or corbelled arches. A big part of my job is to work with restoration contractors and training facilities to shine light on what can be done using supplemental horizontal joint reinforcements and the benefits the beaming application brings.

Question #2: Does helical beaming work on all types of brick?
A2: People should feel confident that if they’re working with brick, helical beaming works. That’s because our test data on brick and helical beaming is based on very conservative estimates. The testing we have on brick was performed on very weak brick and mortar to create a baseline performance for the system, allowing the data to be applied to any situation.

Question #3: Are there limitations or conditions under which helical beaming will not work on brick?
A3: Helical beaming’s usefulness is limited to a span of 11 feet, 10 inches. There are cases where we can work around a longer span by using shoring posts, adding in supplementary gravity anchors, or phasing the work to limit the span. That’s a lot of what I do – working with contractors and engineers to determine if this system will work for them.
For example, if the span is longer than 11’ 10”, say 14-feet, I might suggest a shoring post in the center to cut the span in half to 7 feet. The system would then be able to span the 7-foot opening with the support post in the center. It’s still economical, but it just depends on what they’re trying to do. If they need to remove and replace the lintel (the steel above the window) without shoring, it may not work in that case. But if they’re doing a flashing repair or something where having a larger span allows their work to be performed more easily, it will still be an economical solution. The recommendations are always customized on a case-by-case basis.
"People should feel confident that if they’re working with brick, helical beaming works."
Question #4: Can helical beaming work on a wall with multiple wythes?
A4: Yes. Every wall is slightly different, and helical beaming applies to many of these cases. The data within our load tables is based on a single wythe of brick, which applies directly to a brick veneer over a structural backup wall. But let’s say you have an older structure with three wythes butted up against one another. In that case, instead of installing the beaming from the outside, we may have to come back from the inside and do two layers of beaming – one on the outside and one on the inside, essentially doubling its capacity. The Engineer of Record (EOR) would need to provide information regarding any other loading present other than self-weight of the brick, such as roof or floor loads, but the beaming system could still be applied.
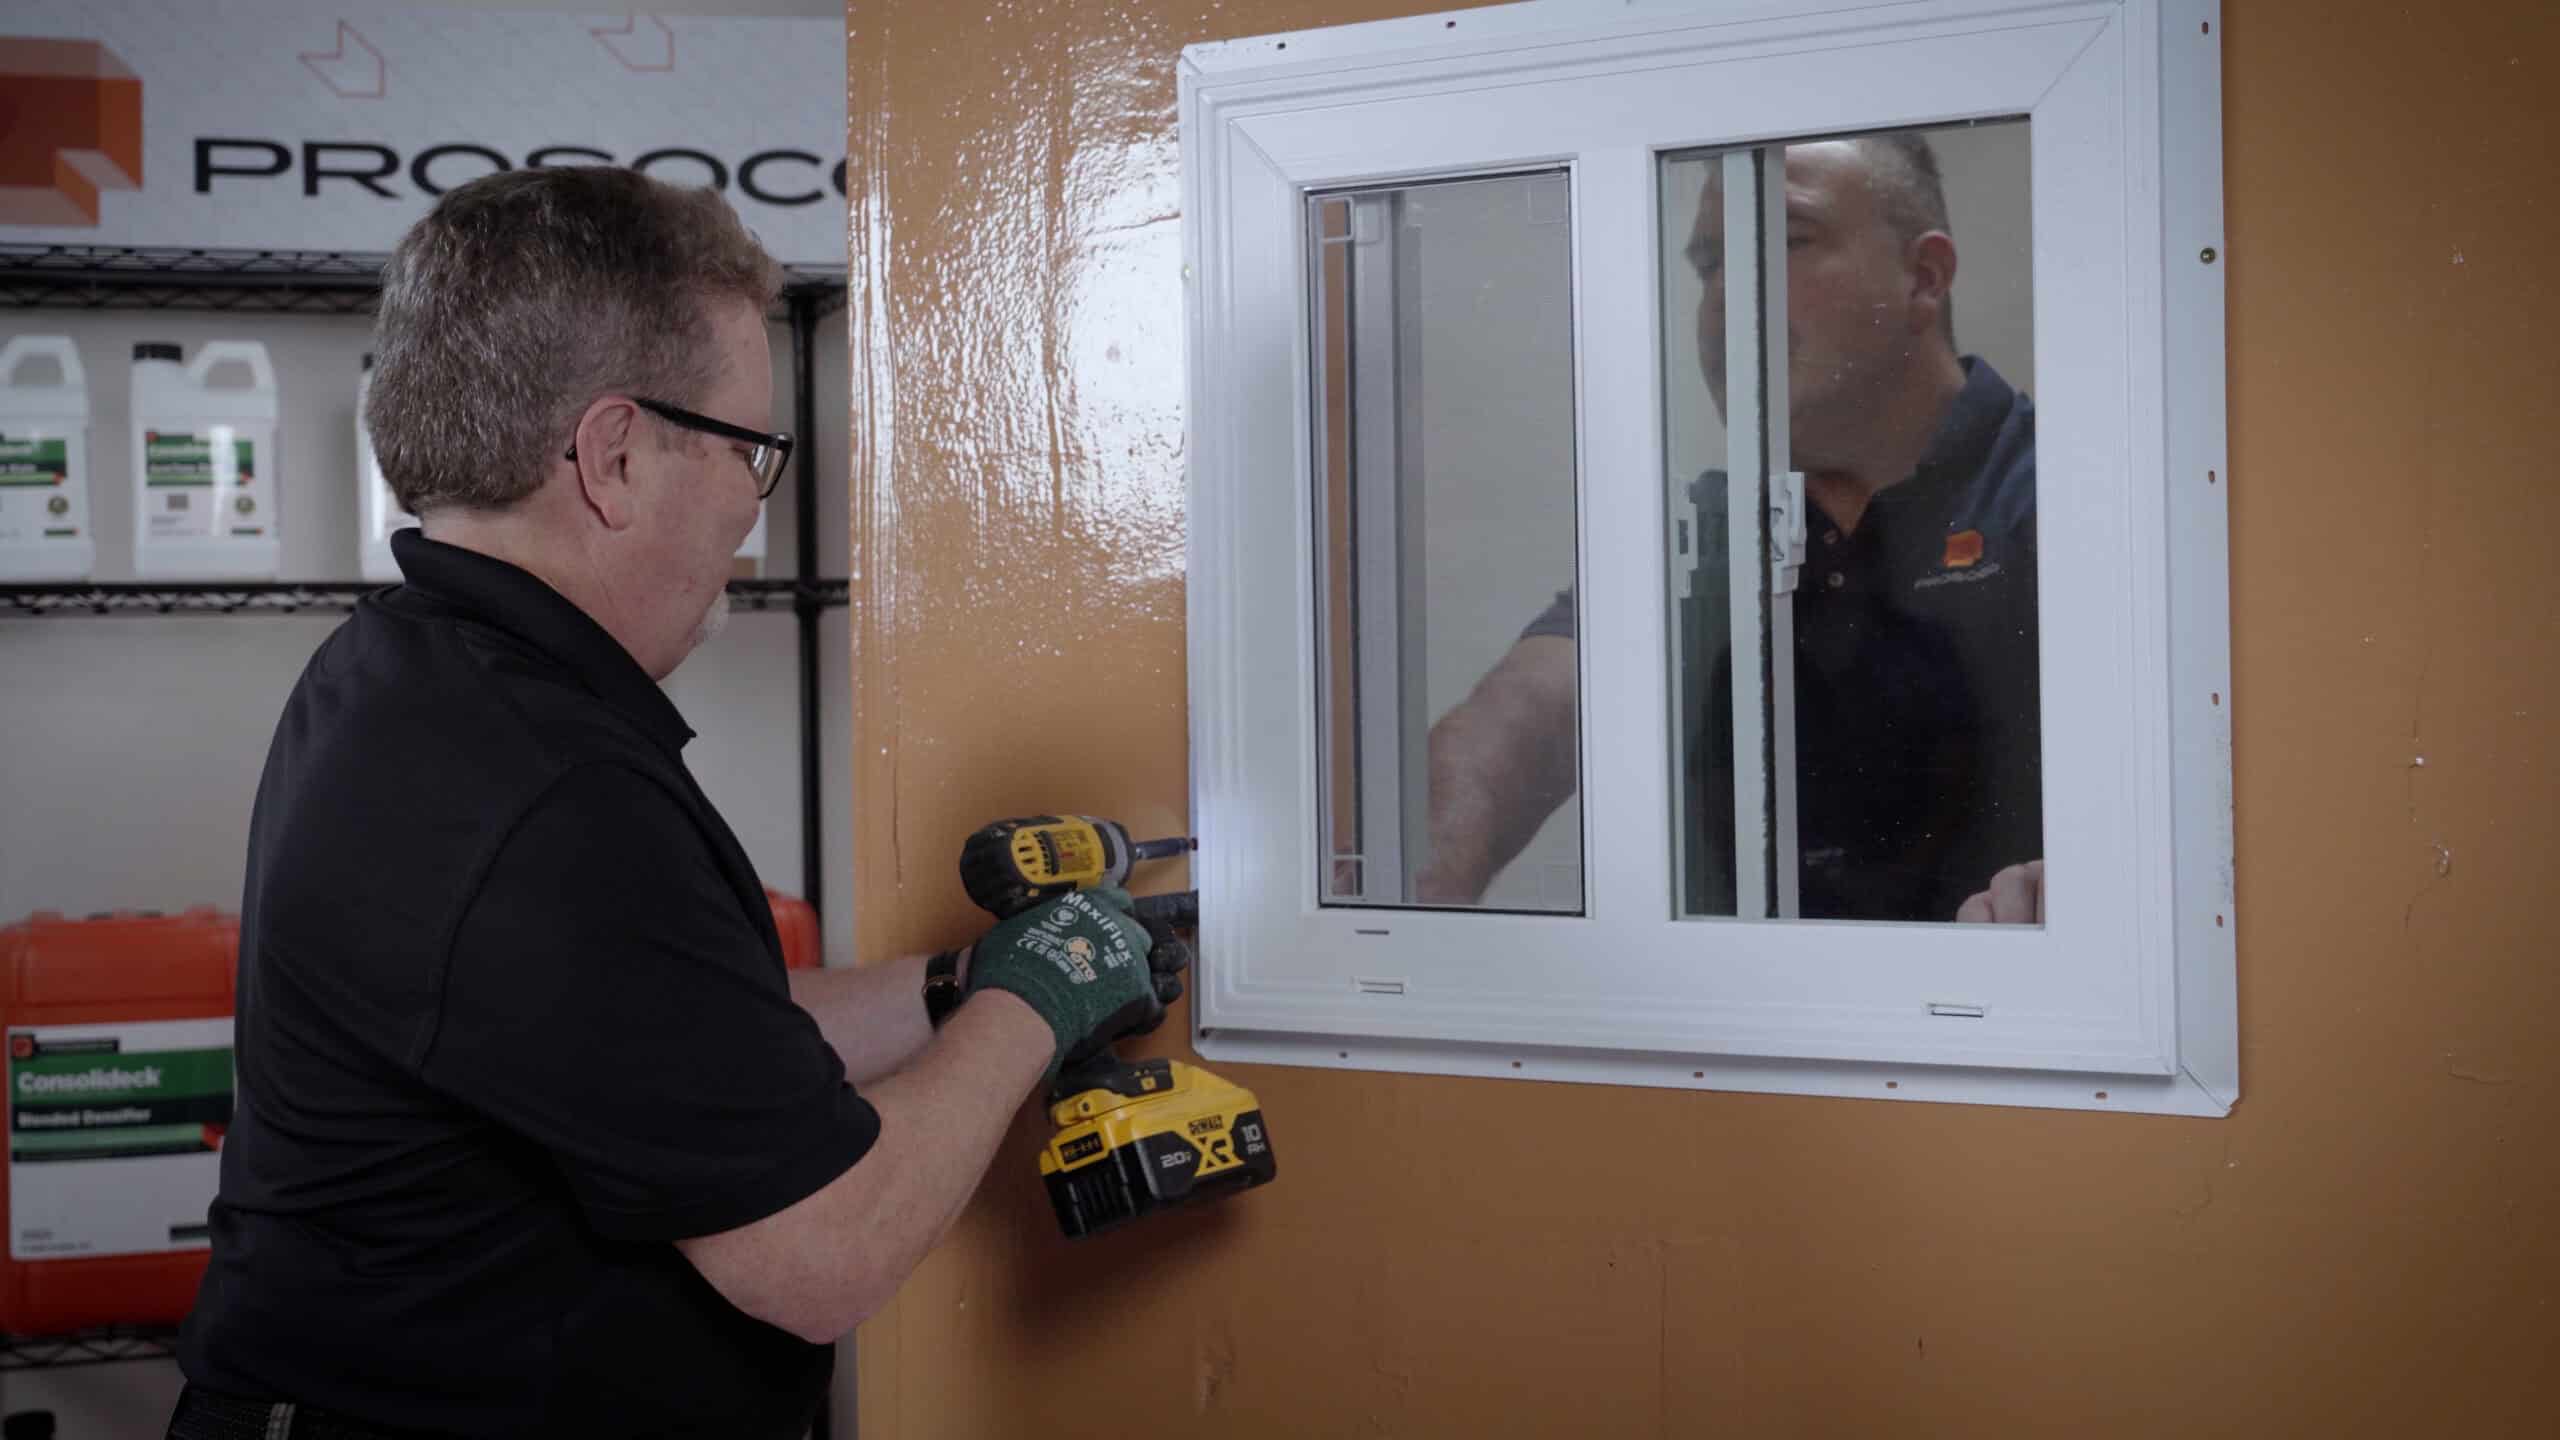
Question #5: What equipment and materials do I need for a successful helical beaming installation?
A5: Here’s what I tell people to bring to the site for a helical beaming installation:
- Stitch-Tie Bars and their companion grout, SureGrout S or SureGrout S60
- A bolt cutter or other metal cutter to cut the helical bars to size from their coils
- An angle grinder with a mortar-cutting blade
- A drill with a paddle mixer for mixing the pre-measured SureGrout dry and wet components
- Water – for pre-wetting the masonry to achieve a Saturated Surface Dry (SSD) state, for cleaning the brick after the grout is installed, and for mixing the color-matched pointing mortar
- A hose or pump-up sprayer for applying the water
- A sponge to clean the masonry after installing the grout
- A bulk grout gun and installation nozzles, or grout bag, to install beads of grout within the mortar joints
- A tuck-pointing trowel to assist with inserting the bars and to compact the grout after installation of the bars
- Color-matched pointing mortar
- A brick jointer to compact the color-matched pointing mortar to finish the repair
Question #6: How do I decide which grout to use?
A6: Our SureGrout S60 is a higher-strength grout, which we recommend if a contractor needs to get on the wall faster. That’s because once S60 is installed, it only needs 24 hours to cure. This allows the contractor to remove the masonry below after just 1 day and move on to the next step in the project. With SureGrout S, you have to wait a few days to allow that curing to happen. It also depends on the temperature. In winter, if you want to hop on the wall later that week, I recommend S60 because colder temperatures slow down the curing process. Using the stronger grout allows the beam to reach its strength faster in colder temperatures. S60 is usually considered worth it in many cases to get onto the wall faster, because it’s only about $15 more a tub.

Question #7: What should I use to clean the brick post-installation?
A7: It depends on how quickly you can clean the surface. Post-installation, you may have some SureGrout S or SureGrout S60 (the two grouts we recommend for this method) left over on the surface. If you clean it up immediately after installation, it’s really easy to remove the grout with a sponge and clean water. On the other hand, if the grout is left on the surface long enough to dry, it becomes a little harder to clean off.
Luckily, PROSOCO makes more than anchors. Our brick cleaners such as Sure Klean 600 and Vana Trol have been trusted by contractors for decades, and those are our top-selling brick cleaners. However, I got a different answer from our lab when I asked for some testing on how to best clean SureGrout S or SureGrout S60 if it’s left to dry on the brick’s surface after the helical beaming installation is complete. Because these grouts contain some polymeric modifiers, there’s another product that eats away at the grout a little better than 600 or Vana Trol, and that is SafEtch. It’s the best choice to use if the grout dries on the surface.

Question #8: How much can helical beaming save, really?
A8: It depends. My colleague John Montecalvo did some comparative calculations that showed helical beaming is less than half the cost of replacing a steel lintel and three courses of brick.
What I tell people is that helical beaming provides labor savings compared to standard methods. For example, in some cases, people do what’s called corbelling, which creates a triangular section above the opening where all the masonry is taken out. That’s a lot of bricks to remove and replace. If they use our beaming system, fewer bricks can be removed, leading to a potential time savings.
Another benefit is the increased distance that masonry can span. It allows easier access for masons when replacing lintels or performing flashing repair. One common method I see when it comes to flashing repair is using a membrane flashing – a sheet product that gets glued down and then secured in with fasteners. In a normal method, if they’re not using corbelling above the archway, they’re using shoring posts every couple of feet. In order for that to work, they have to take the post and move it around. This limits the size of the sheet they can put down. When the sheet products get glued together, it creates a lap, which may be vulnerable to water intrusion. Fewer laps means less potential for water leakage failure in the future.
![]()