The use of Stitch-Ties in existing buildings for retrofit applications is an economical and easy solution for masonry buildings with compromised or deteriorating facades. Often, a building’s facade can be salvaged by repairing in place as opposed to removal and replacement of the distressed material. Restoring an existing wall or building saves money and time, and reduces the amount of waste sent to the landfill. The use of helical ties in historic restoration or historic preservation is also popular because there’s no sign of any change to the masonry facade post-installation.
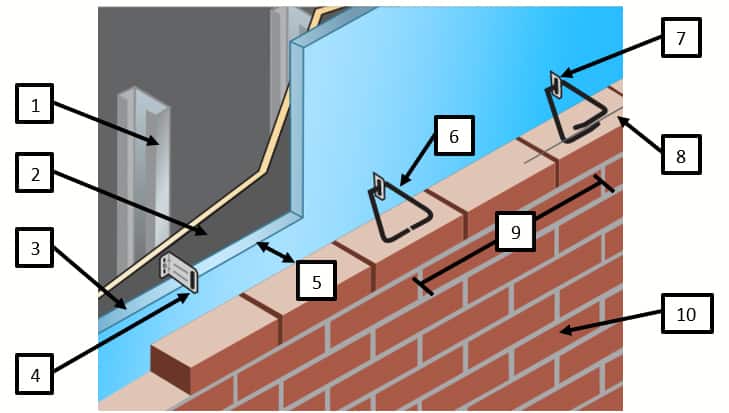
A Stitch-Tie is a stainless-steel helical-shaped pin that re-attaches existing masonry facades to backup structures. They stabilize the veneer, strengthen the wall and transfer loads from the veneer to the backup structure. Stitch-Ties can be used in veneers of brick, stone, masonry or precast concrete that have missing or corroded wall ties. They’re typically installed using one anchor per 2 square feet of existing veneer. These anchors provide a secure connection while also allowing normal thermal movement to occur.
What will I need?
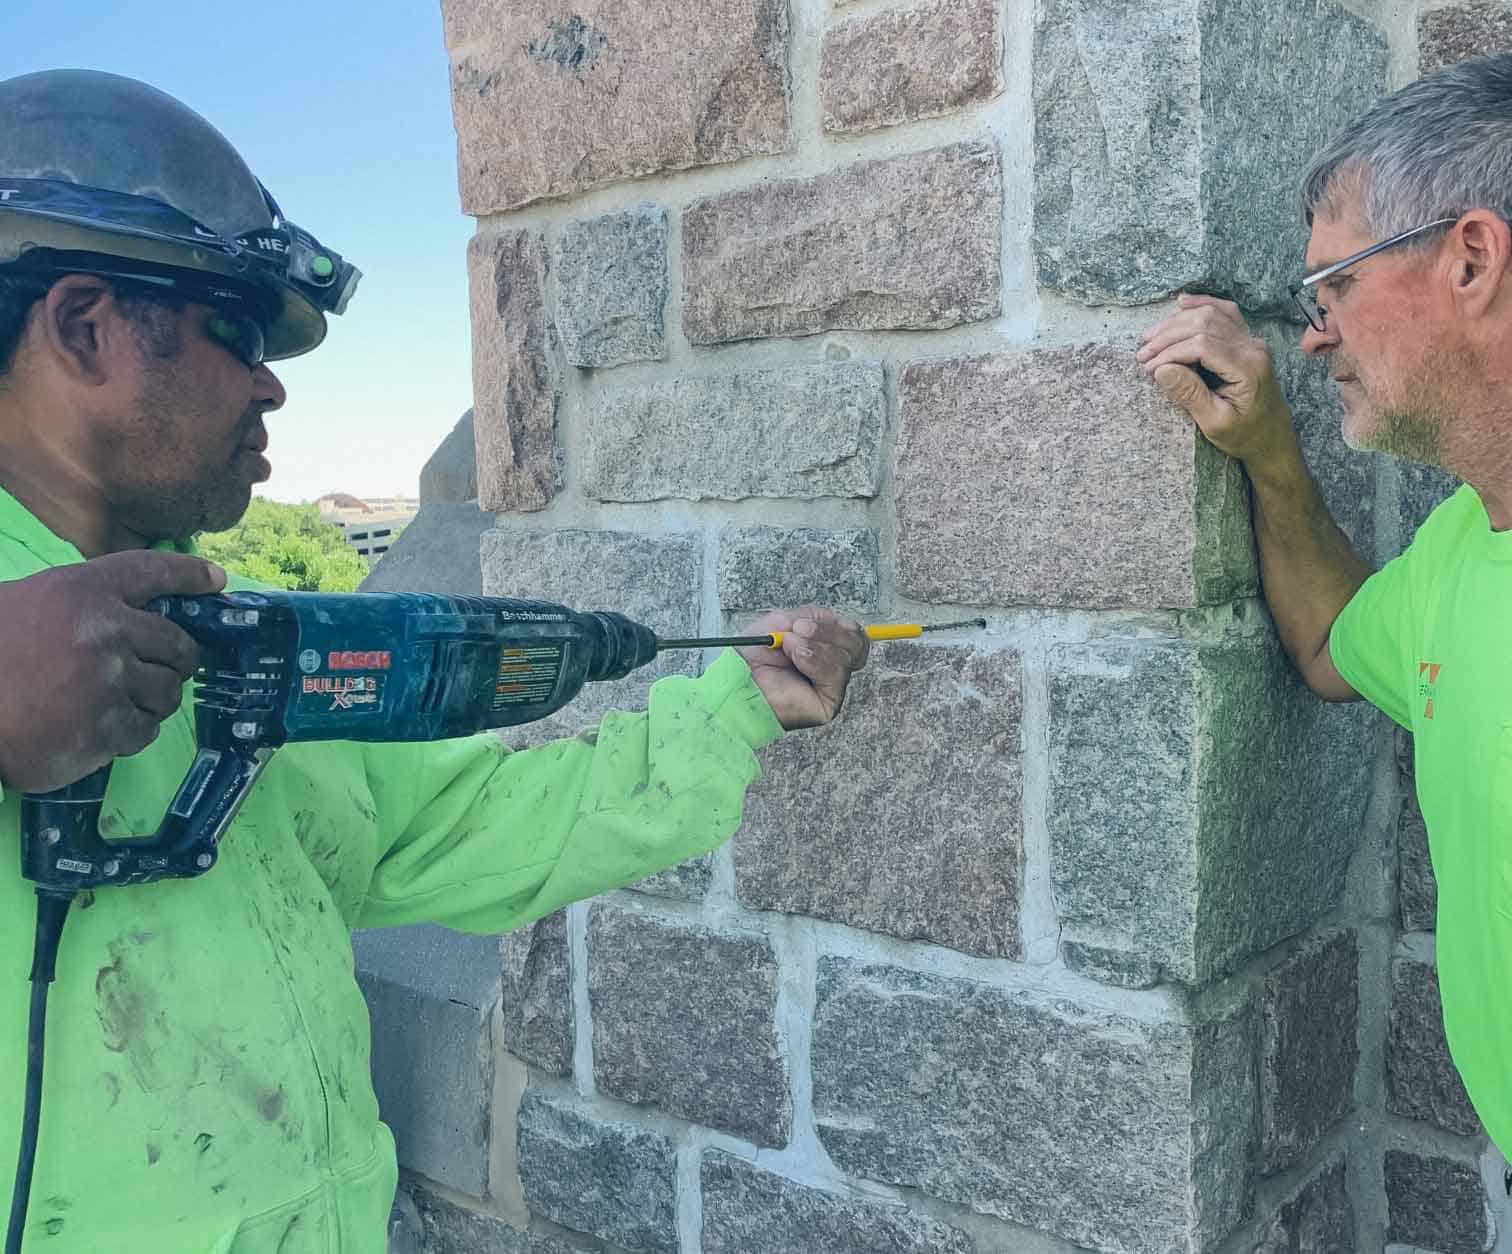
Anyone who can operate a drill has the skills needed to install a PROSOCO Stitch-Tie. You’ll need a drill and a setting tool, but what kind of each will you need?
To determine whether you should use an electric hammer (3-jaw chuck) drill or rotary hammer (SDS) drill, check out our drill guide for helical installations.
For the setting tool, your decision depends on the scale of your job, says Brian Barnes, leader of PROSOCO’s Anchoring Systems Group.
The Economy Setting Tool is around $50 and can install between 500 to 1,000 helical ties. The Spring-Loaded Setting Tool is closer to $200 and can install thousands of Stitch-Ties. For a DIY or one-time anchor installation on a residential job, the Economy Setting Tool might make more sense, and the Spring-Loaded Setting Tool is one you’re more likely to hang on to for future jobs – something that would be more efficient for a commercial masonry contractor.
How do I install the Stitch-Tie?
Depending on which setting tool you’ve selected, the steps are slightly different for your anchor installation.
Check out our video on how to install the PROSOCO Stitch-Tie with a Spring-Loaded Setting Tool below.
The steps to install a helical anchor, or Stitch-Tie with a Spring-Loaded Setting Tool are as follows:
Step 1. Drill the appropriate size pilot hole using a percussion hammer drill. Refer to PROSOCO.com for installation guidelines.
Step 2. Insert the Stitch-Tie into the setting tool mounted on the rotary hammer SDS drill. (Set drill to hammer only mode.)
Step 3. Drive the Stitch-Tie until the maximum depth setting tool will allow. (Make sure to bottom-out the setting tool.)
Step 4. The setting tool recesses the Stitch-Tie into the face of the masonry. Patch the hole with mortar.
If you're using our Economy Setting Tool:
Watch this video for a quick step-by-step tutorial in how to install a helical tie with the Economy Setting Tool:
The steps to properly install a helical tie with an Economy Setting Tool are as follows:
Step 1. Drill an appropriate size pilot hole in the mortar joint. See prosoco.com for installation guides.
Step 2. Insert the Economy Setting Tool into an SDS drill. Then insert the PROSOCO Stitch-Tie into the outer sleeve.
Step 3. Using the hammer only setting, install the Stitch-Tie until the sleeve completely covers the setting tool.
Step 4. The setting tool recesses the Stitch-Tie. Patch the hole with mortar.
