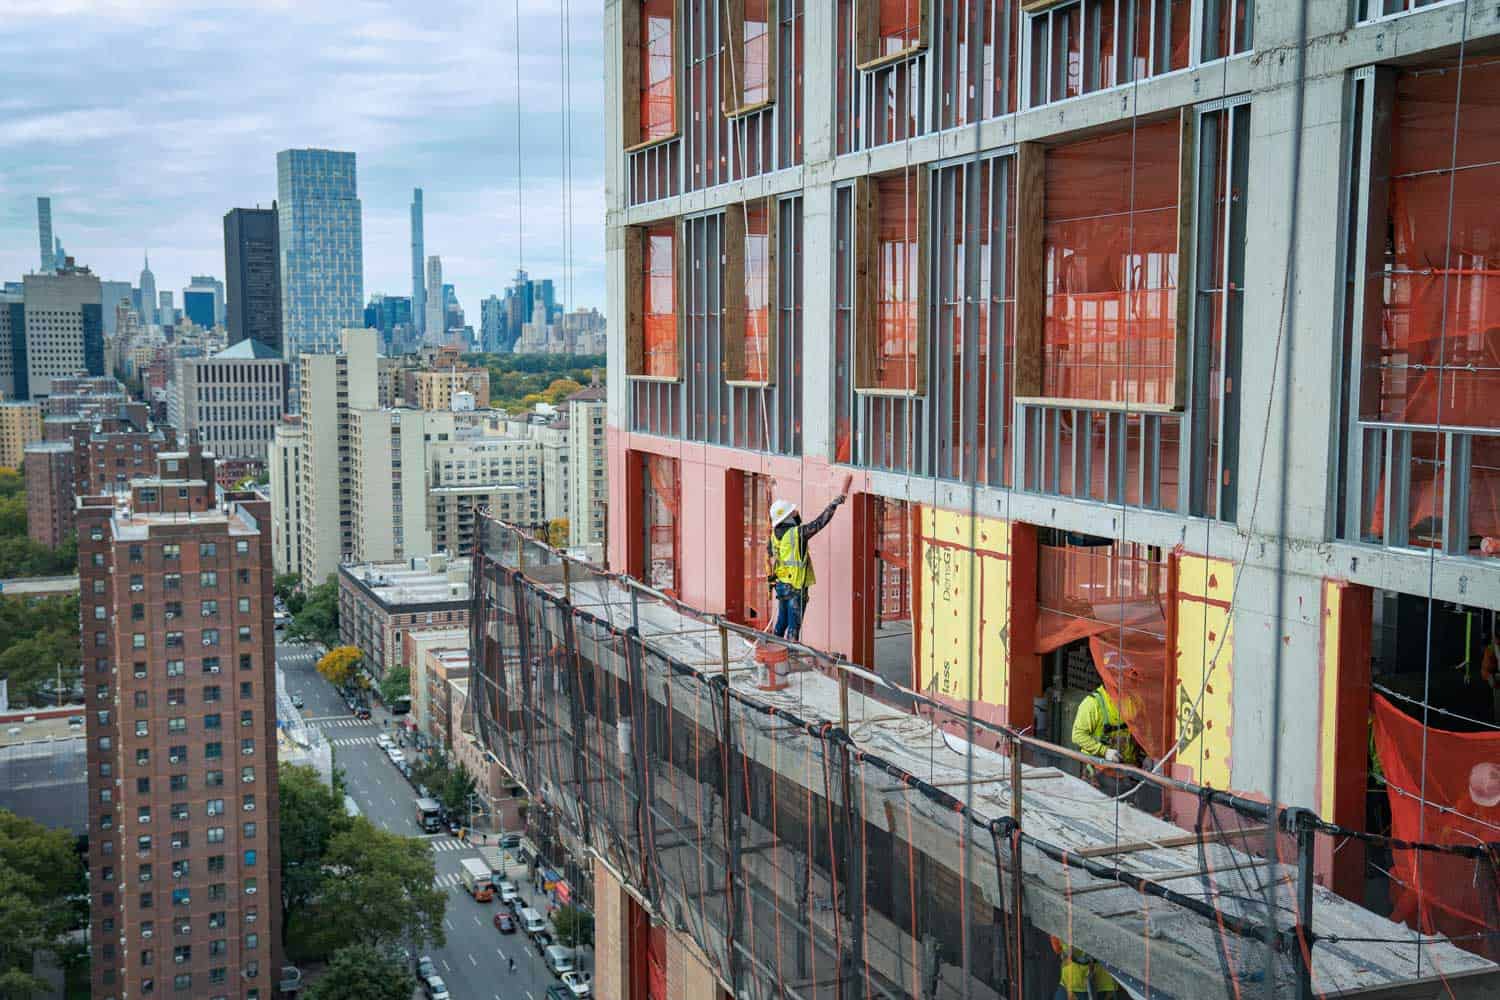
Whether you’re replacing windows as part of a commercial building renovation or adaptive reuse project, or the goal is a deep energy retrofit or energy efficiency retrofit to drastically decrease the energy demands on a commercial building, replacing windows doesn’t have to be difficult. But there is a right way to do it in order to maintain the integrity of your building envelope. One essential step in the process is to apply R-Guard FastFlash around rough openings before installing new windows. Here's a step-by-step guide on how to do it.
Step 1: Remove the old windows
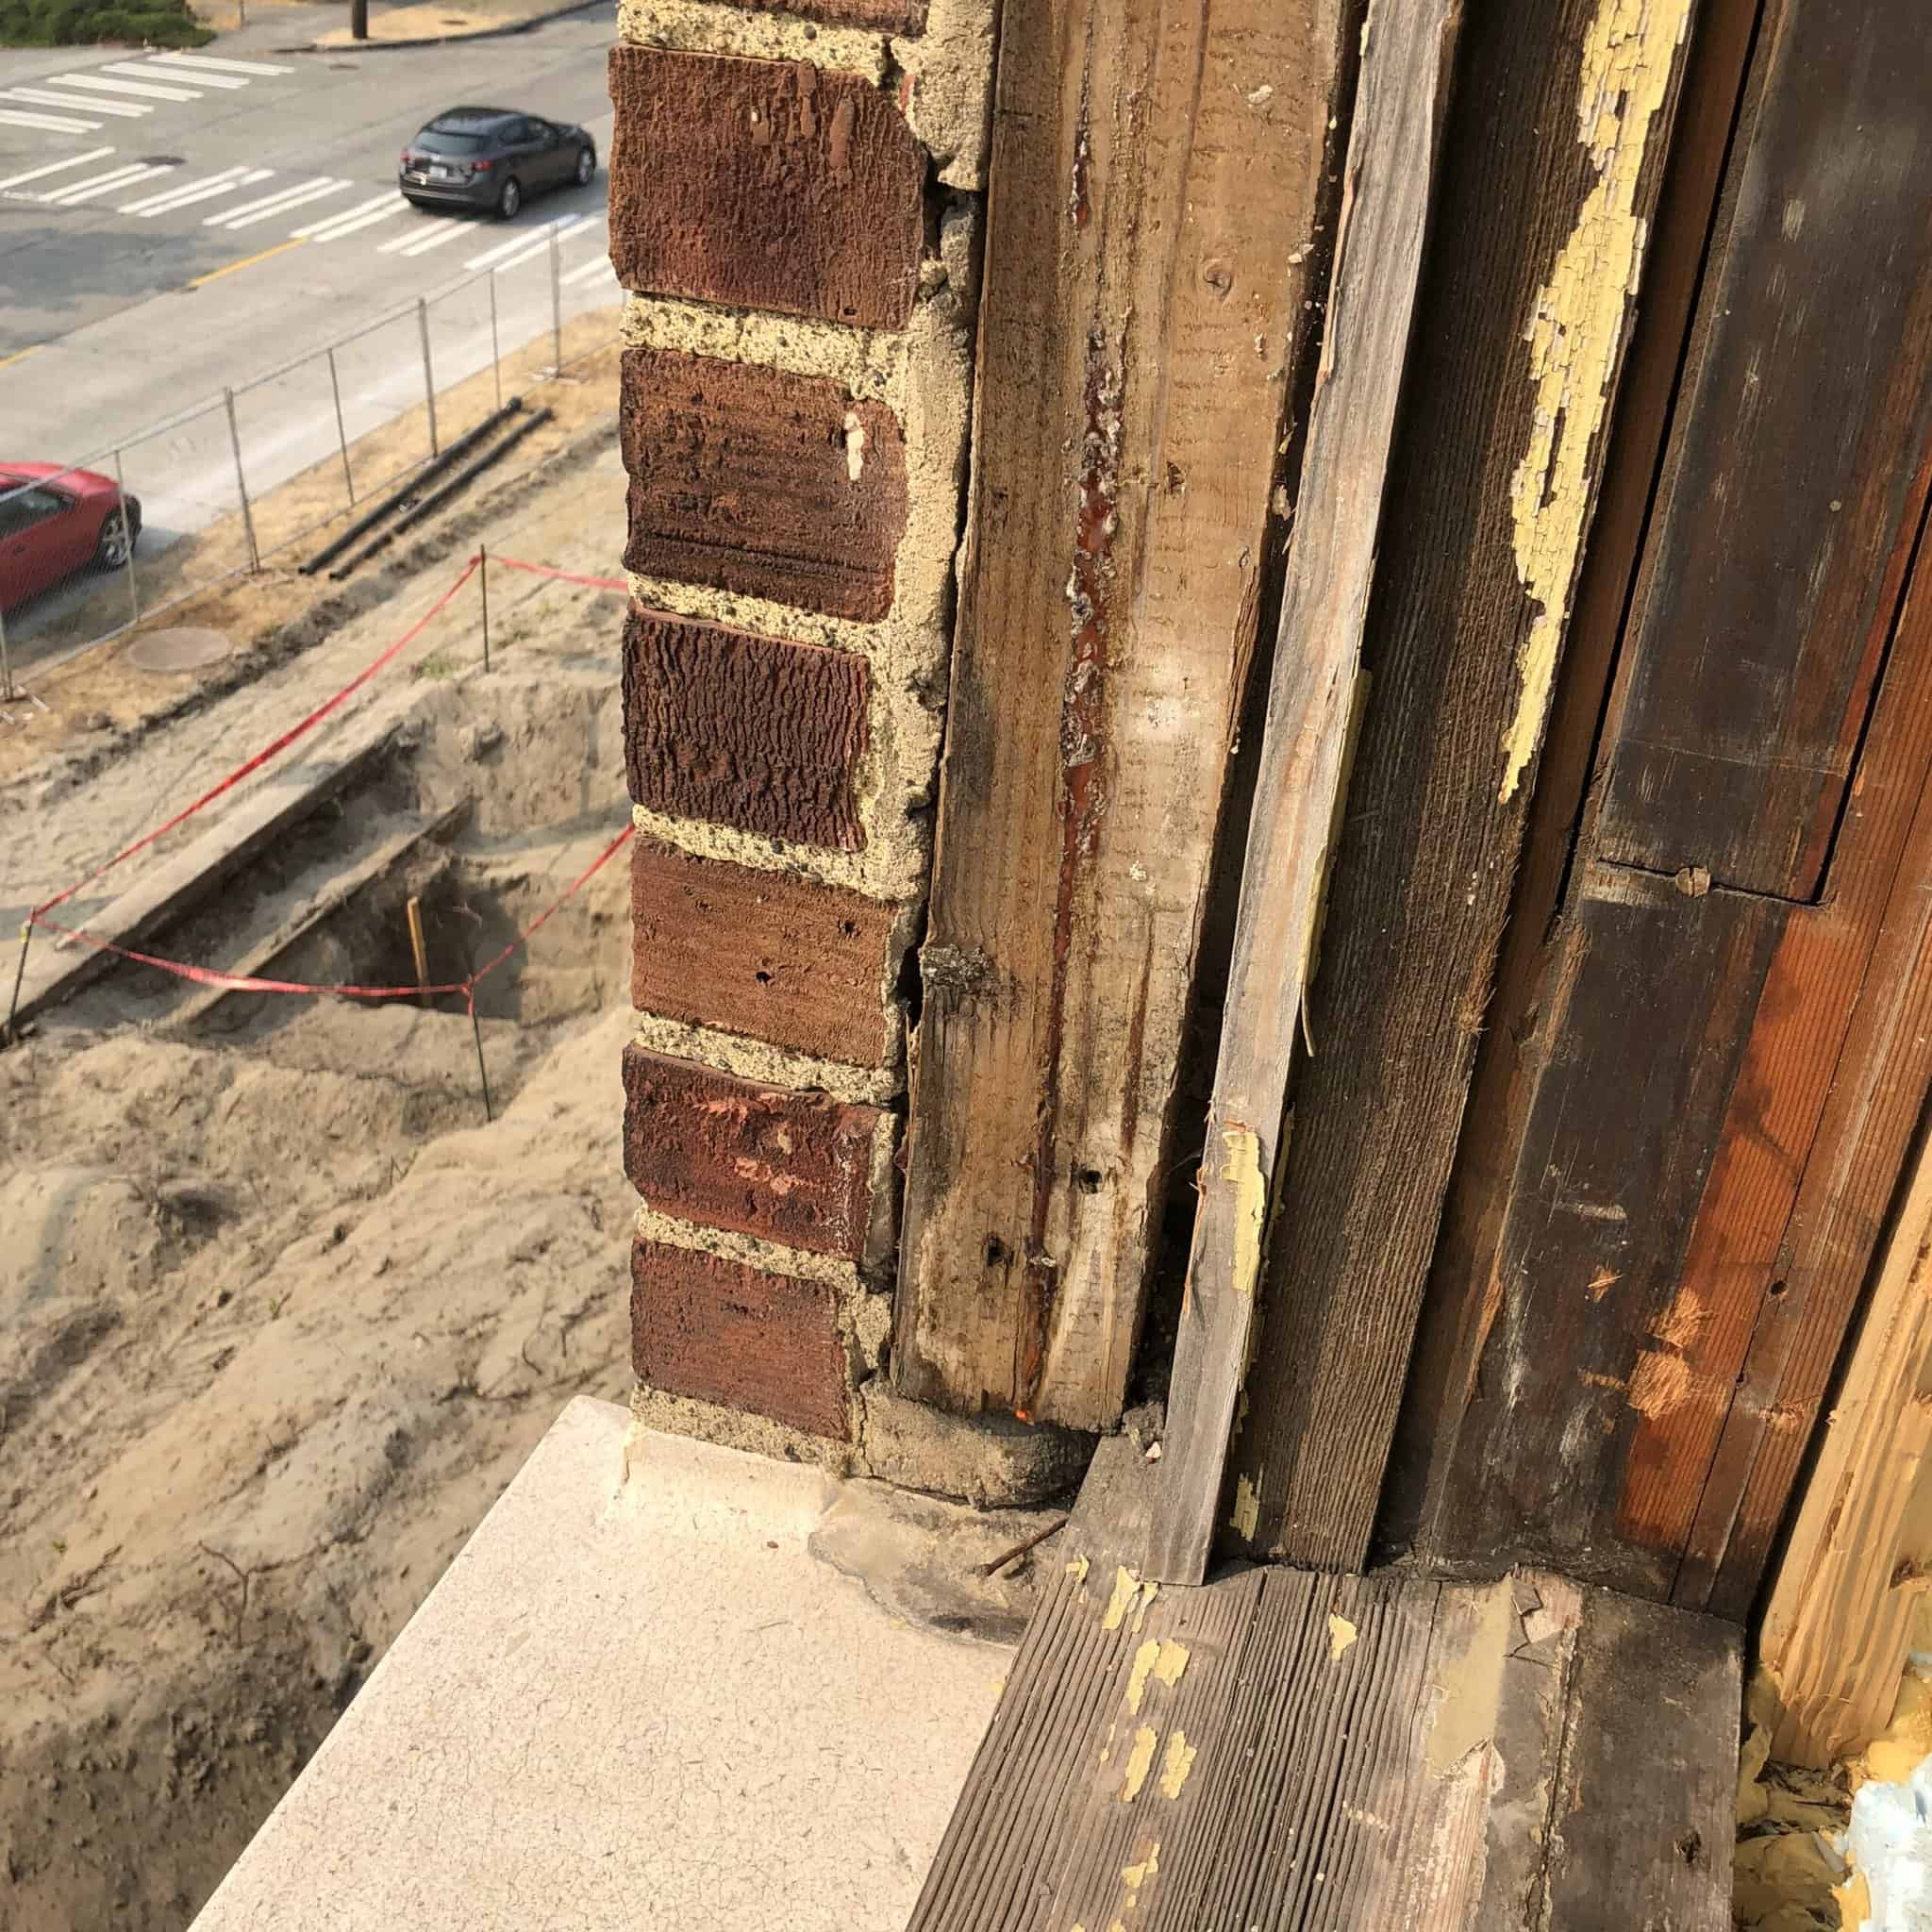
The first step is to remove the old windows. There are many considerations when removing windows. Is there trim around the window that can be removed to show the nail flanges? Or, will you have to cut the siding back? Carefully remove any screws or nails securing the window to the frame and pry the window out of the rough opening. Be sure to wear protective gloves and eyewear when handling the glass.
Step 2: Inspect the rough opening.
Inspect the rough opening for any signs of damage or rot. Repair any issues before proceeding to the next step.
Step 3: Clean the rough opening
Clean the rough opening with a wire brush or other abrasive tool to remove any loose debris or contaminants. This will ensure a proper seal between the R-Guard FastFlash and the substrate.
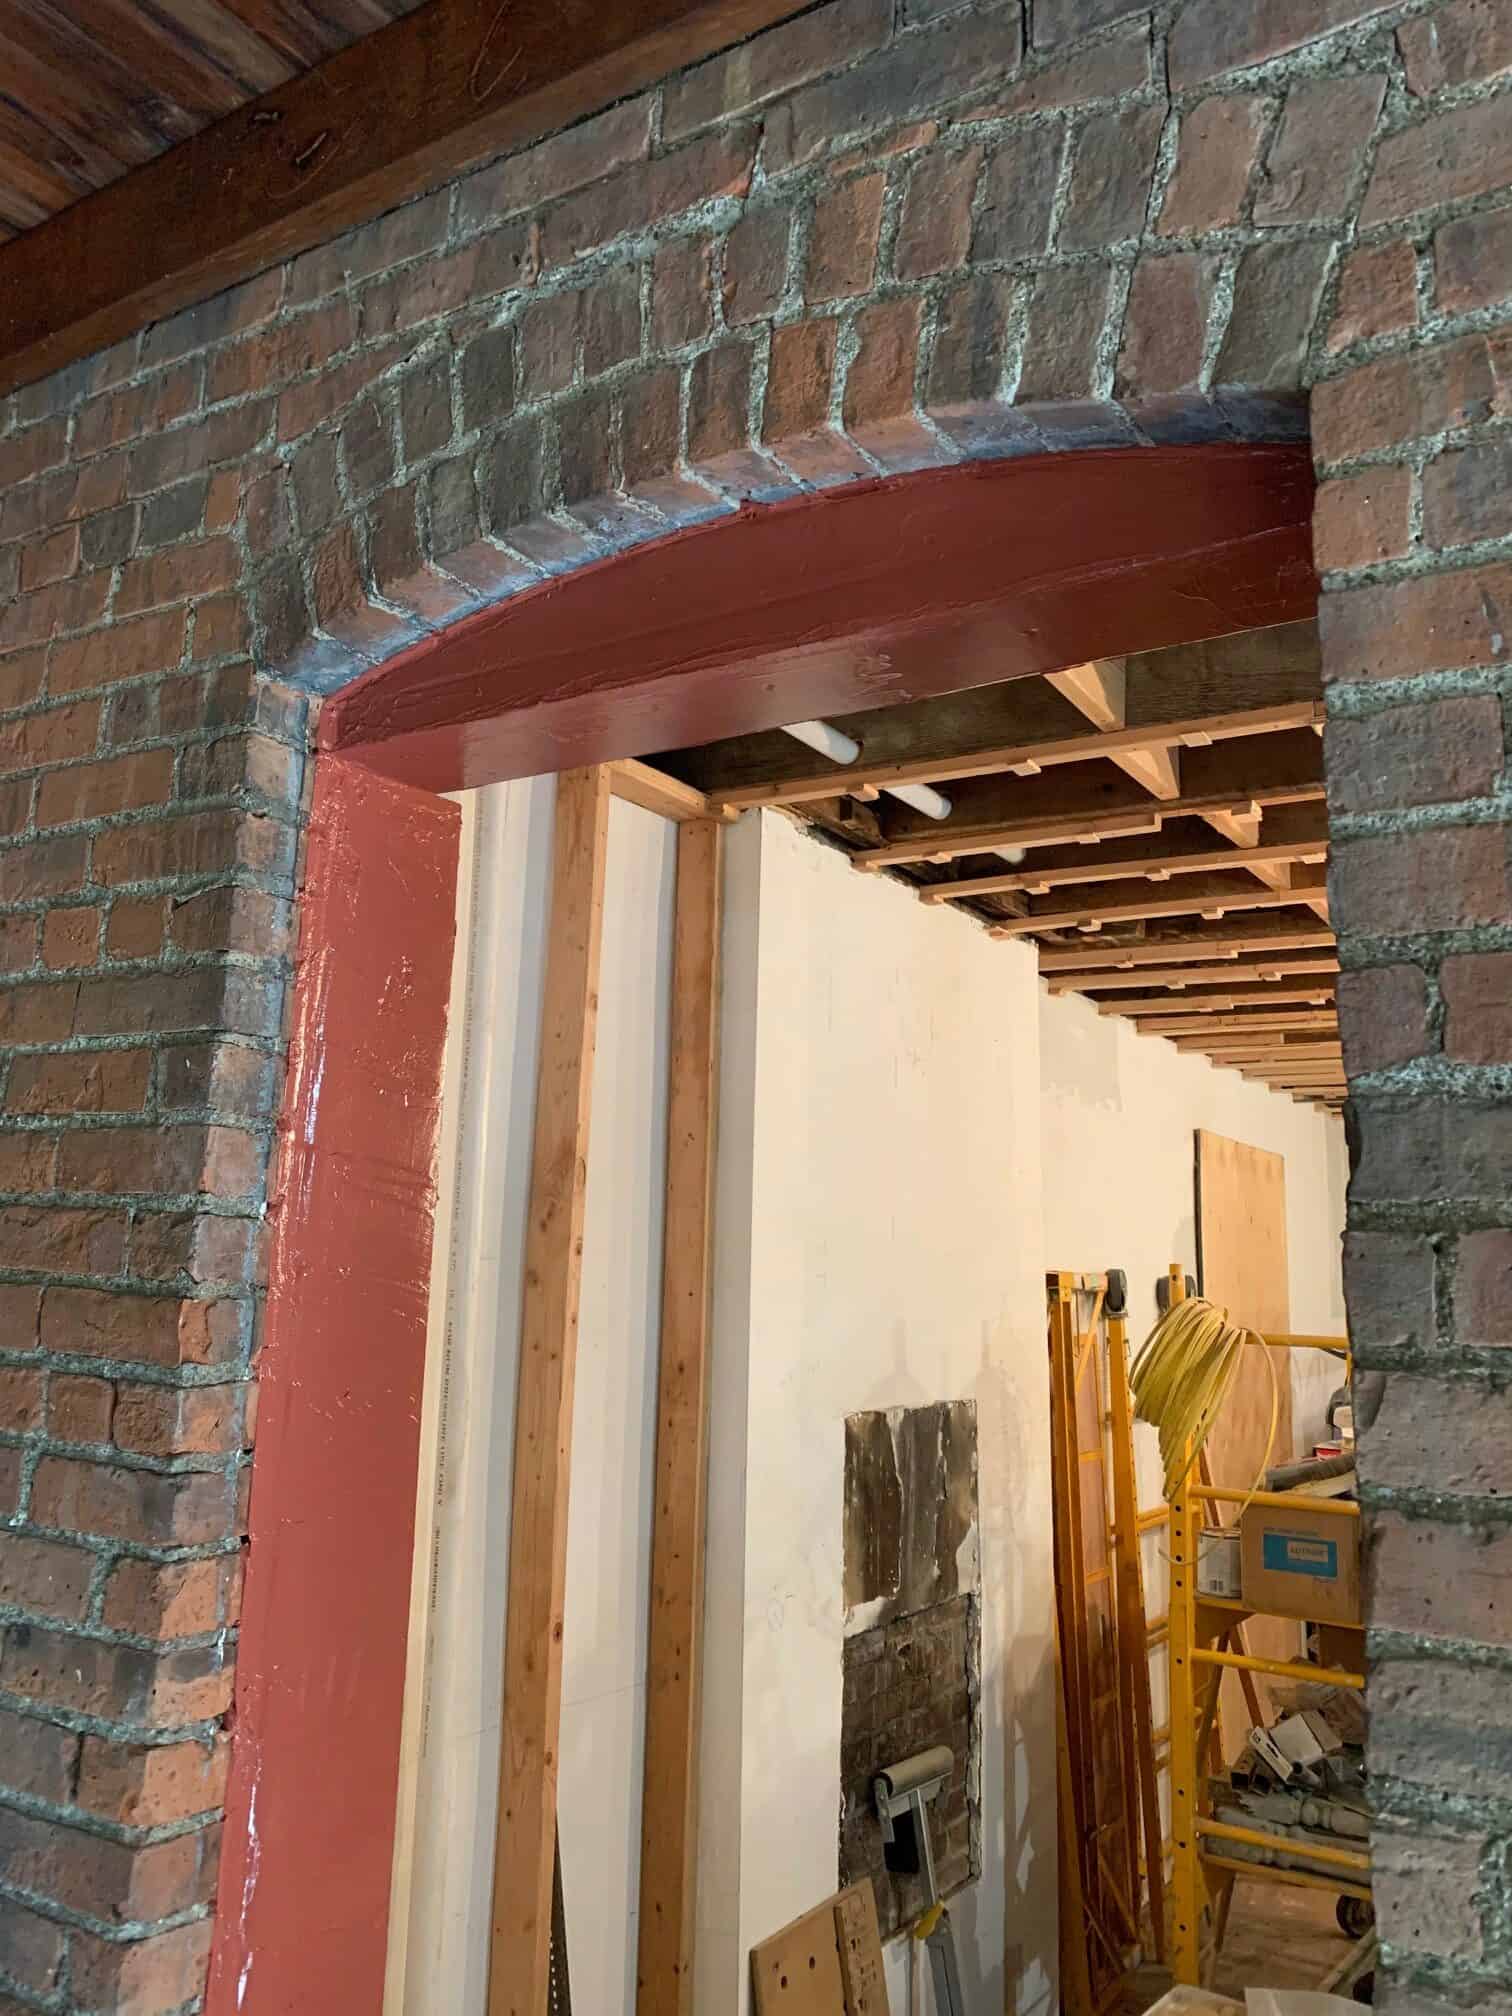
Step 4: Apply R-Guard FastFlash
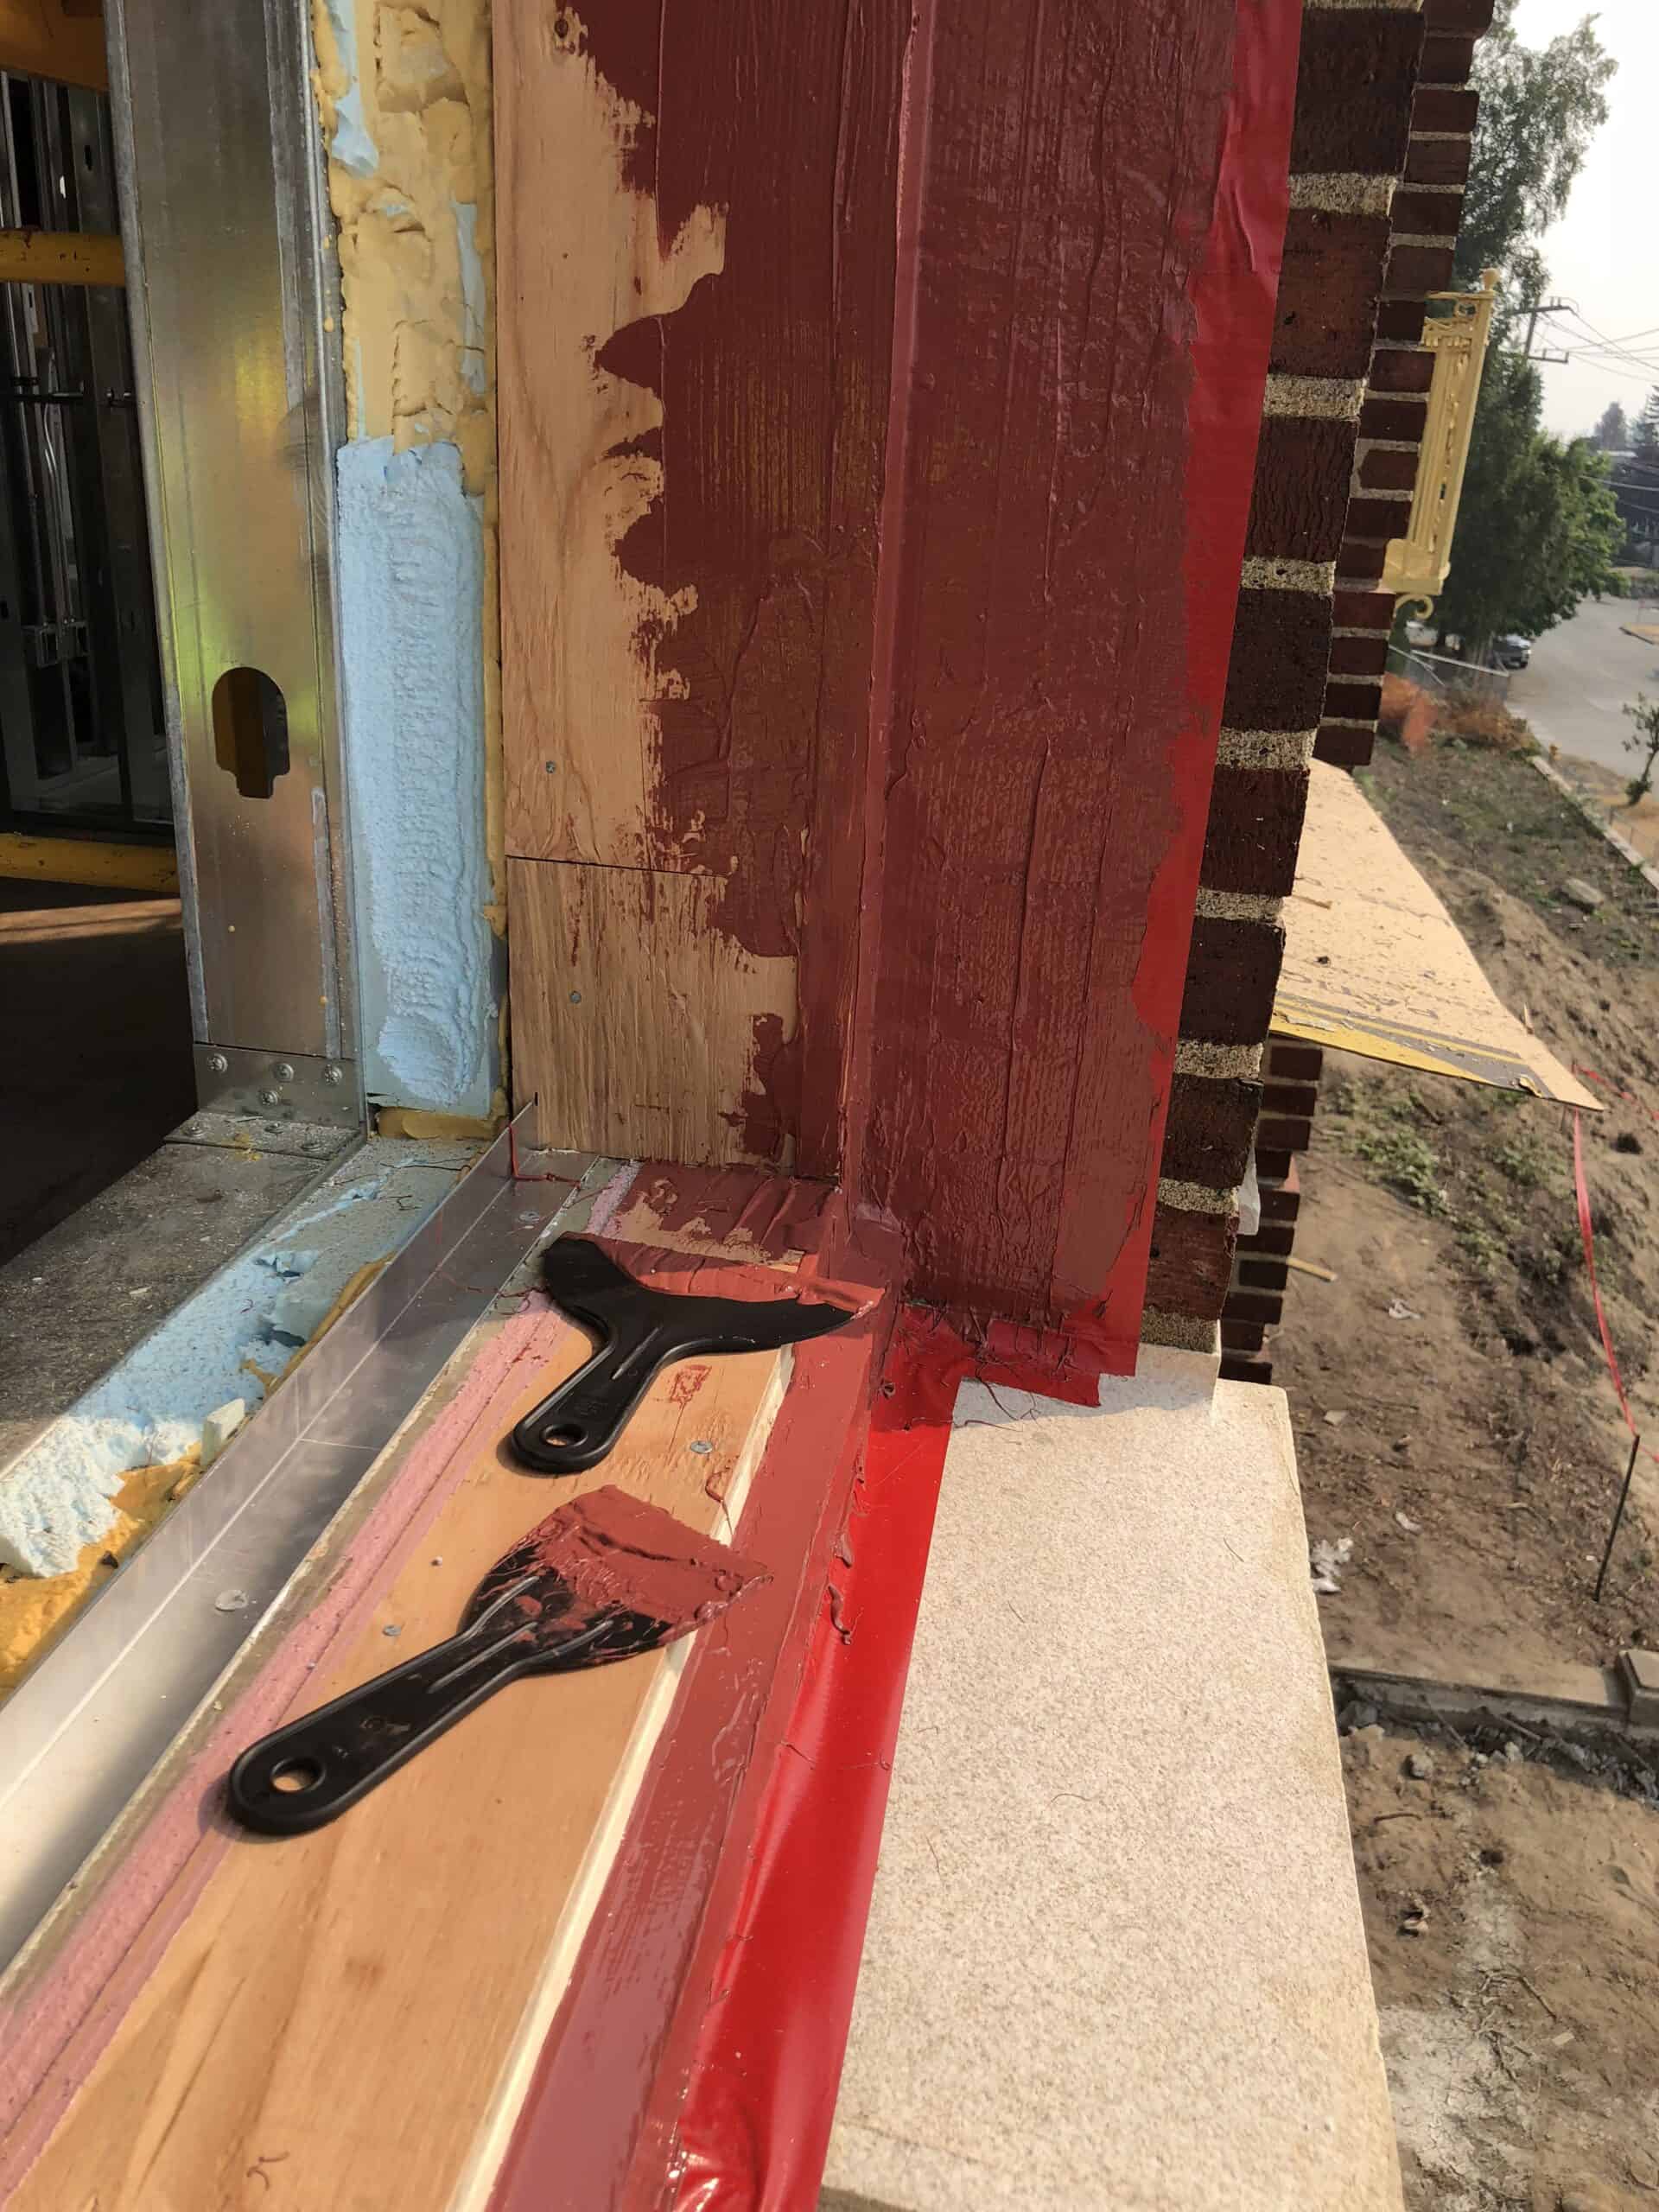
Apply R-Guard FastFlash around the perimeter of the rough opening. Be sure to apply a thick, continuous bead of FastFlash and extend it beyond the rough opening to ensure complete coverage and contact with the existing exterior WRB. Use a trowel or putty knife to smooth the FastFlash and create a continuous seal.
Step 5: Install the new window
Install the new window into the rough opening, ensuring that it is level and plumb. Secure the window to the rough opening framing with screws or nails, as specified by the manufacturer.
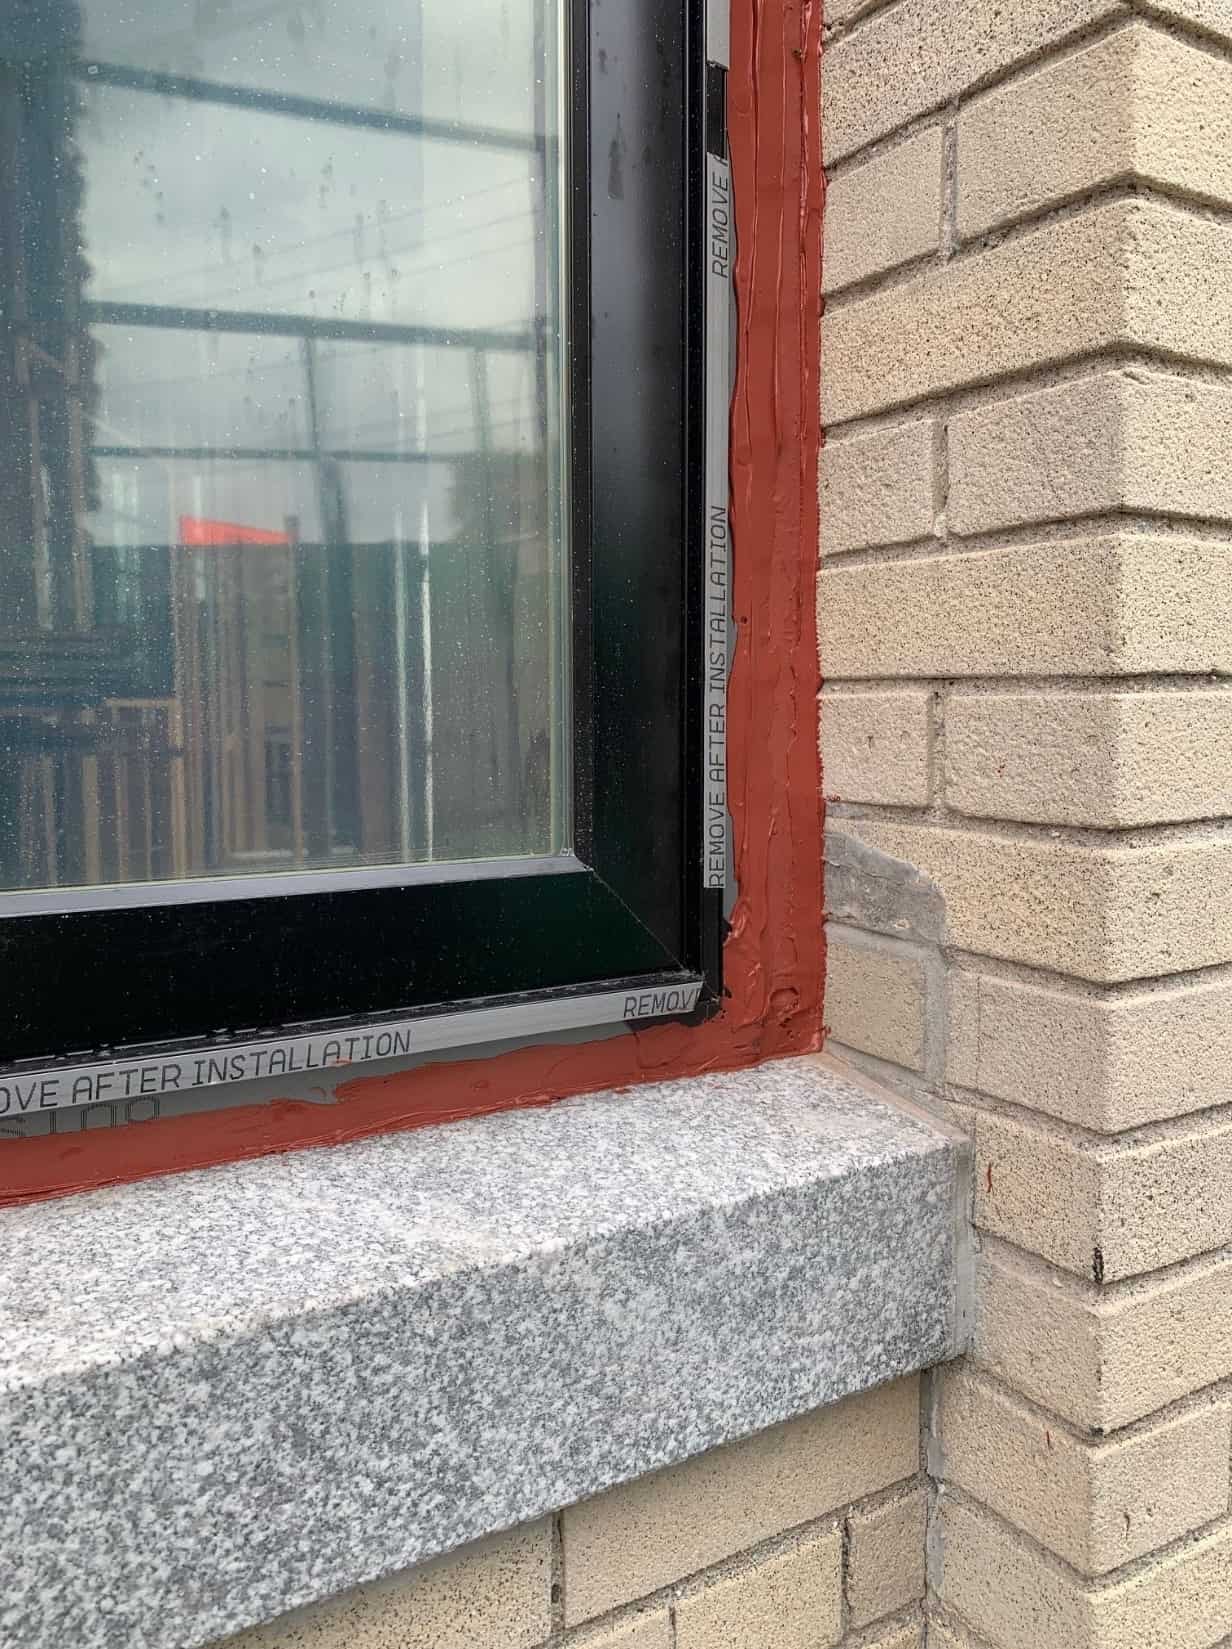
Step 6: Apply R-Guard FastFlash to the flanges
Apply R-Guard FastFlash to the head, jambs (sides) and nail flanges of the new window, leaving the sill (bottom) flange not covered to allow drainage. This will create a secondary barrier against water and air infiltration. Be sure to extend FastFlash beyond the flanges to ensure complete coverage and interface with the existing WRB, if possible.
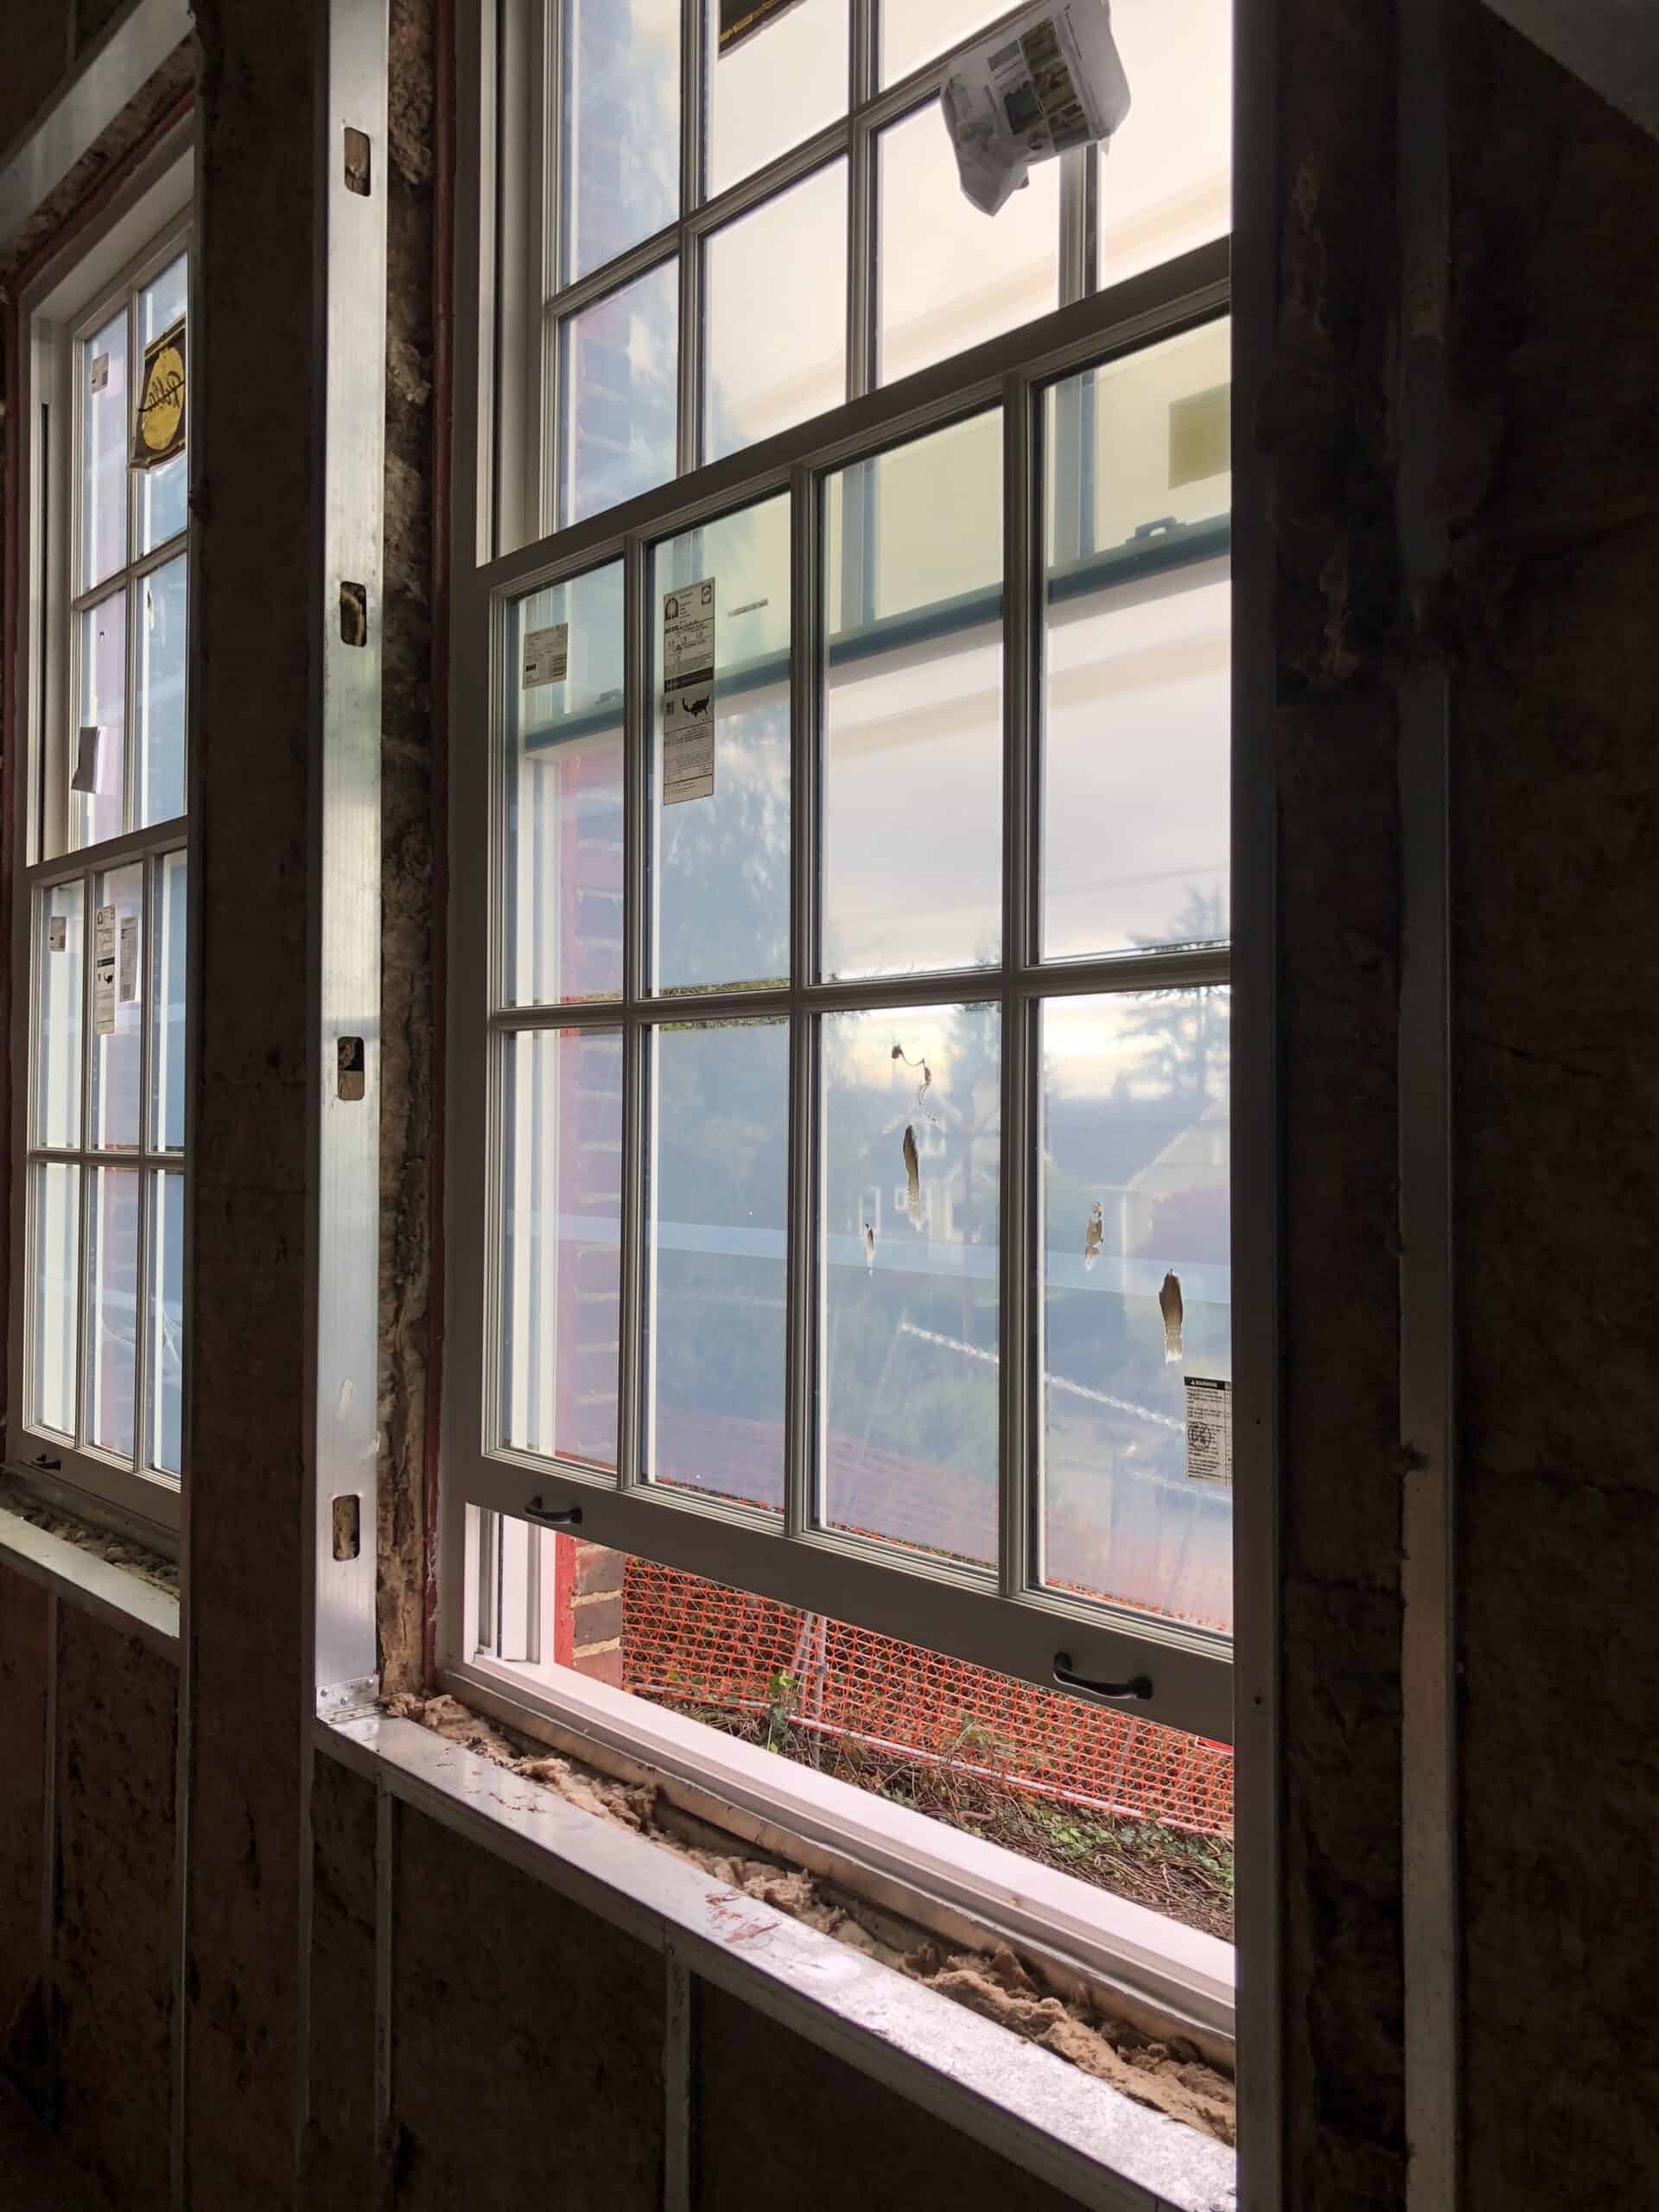
Step 7: Install the exterior cladding
Install the exterior cladding, such as brick, stucco, siding, or trim around the new window. Be sure to integrate the cladding with the R-Guard FastFlash to create a continuous seal.
Step 8: Finish the interior
At the interior of the window, install backer-rod and AirDam sealant at the head, jambs (sides) and sill joint between the FastFlash-treated rough opening and window frame. This interior perimeter sealant creates a barrier against water and air infiltration.
In conclusion, replacing windows on commercial buildings can be a complicated process, but applying R-Guard FastFlash around rough openings is an essential step in maintaining the integrity of your building envelope. By following these steps, you can ensure a proper installation that will protect your building for years to come.
![]()
