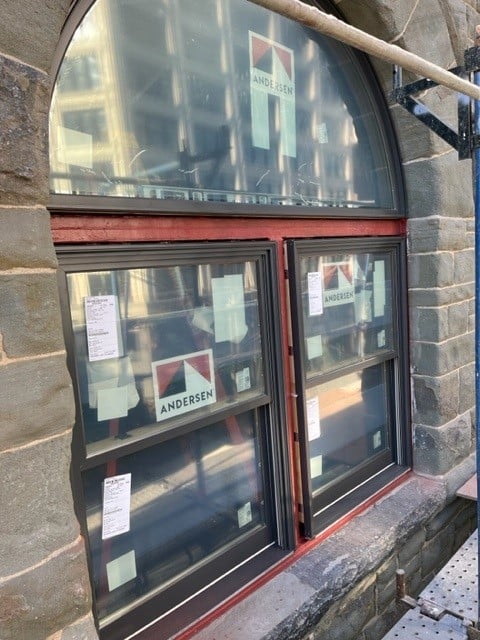
When replacing windows or siding, there are innumerable variables of window types, sheathing types and transition materials you might encounter. One thing is sure, and that’s the best products to seal each transition to reduce draftiness, increase indoor air quality, eliminate the chance for mold, and maximize energy savings.
Replacing siding is like surgery – you want to do everything you can the right way while you’ve got the chance, because you really don’t want to have to cut everything open again. The procedure is a big investment of time, money, and inconvenience, so doing things the right way is always the right practice.
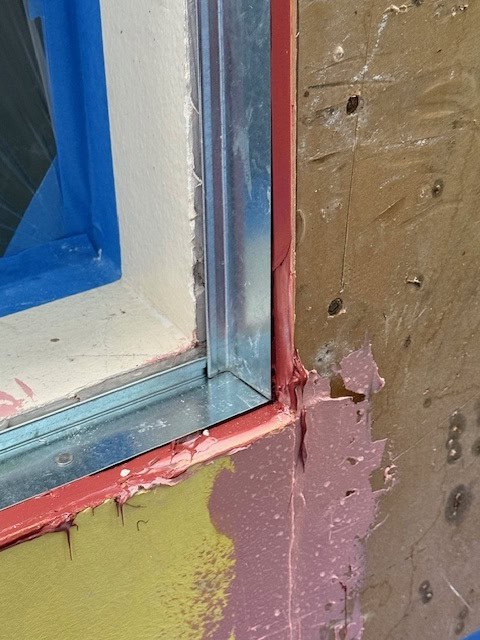
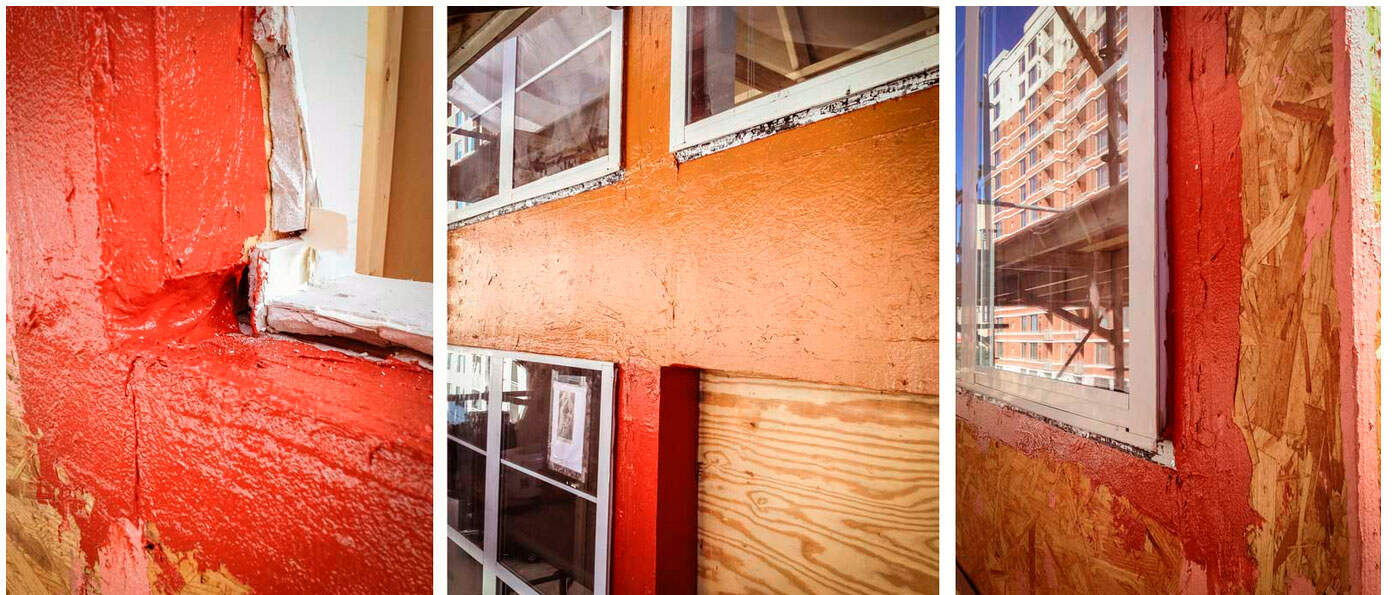
Whether you’re replacing siding, replacing windows, or both, the most critical points are your transitions and interfaces – where the rough opening meets the sheathing and interfaces with either an existing or new WRB (water-resistive barrier); around through-wall penetrations in the sheathing, and so on.
Each of those transitions represents a chance for an air or water leak, so pay close attention to sealing those transitions completely to achieve your goals, whether they’re about comfort, energy, longevity or health.
“The No. 1 thing you’ll notice is it’s more comfortable. You can feel the result when you sit by the window and you don’t feel any draft.”
You get what you get in retrofit
No matter the number of different scenarios you might find when pulling out windows or removing siding, Pat Downey has seen them all. He’s currently the Technical Specialist for PROSOCO’s Building Envelope Group, but he used to work for a window manufacturer. For any question regarding window rough openings, replacements or tie-ins to an air barrier, Pat Downey is your guy.
When you ask Downey about the best ways to waterproof and air-tighten an envelope when you’re replacing windows or siding, the answer is a resounding, “It depends.”
This isn’t new construction, where it’s easy to reserve 4 to 6 inches from the rough opening onto the sheathing for an application of a waterproofing membrane like FastFlash, he says. In a retrofit, you get what you get.
“You don’t know what you’re getting into until you remove the window,” he says. “Same thing with siding. I can show you literally 50 different scenarios that I’ve dealt with.”
All that is to say is, it’s complicated! Let’s start here:
Replacing windows
Before getting to the actual job of replacing a window, Downey always shares these two prerequisites with customers:
#1: Be prepared for the possibility that when you take out the window, the framing is rotted. When this is the case, you’ve got to fix the framing. You can do it yourself or find a remodeler to either replace the rotted wood or to use a type of wood epoxy.
#2: A fluid-applied (also called liquid-applied) material for treating a window rough opening is always a better choice over a peel-and-stick. Here’s why: “Peel-and-sticks take up room in the rough opening because they’re thicker,” Downey says. “One thing you can be guaranteed of is that the rough opening is not square. Nothing is ever square.” He adds that a fluid-applied material like FastFlash is not only easier to apply than a peel-and-stick because it seamlessly covers over all components of the assembly, it also is thinner than a peel-and-stick, and it fits any opening, square or not.
When you’re just replacing windows (or reinstalling the same windows) and sealing around the window opening, the sequence Downey recommends depends on whether you are removing the interior casings, also known as interior trim or drywall returns.
If you ARE removing the interior casings, Downey suggests:
- Removing the window and casings
- Coat everything around the rough opening with FastFlash
- Install the window
- Install an interior sealant joint like AirDam, between the FastFlash treated rough opening and window
If you ARE NOT removing the interior casings, Downey suggests:
- Removing the window
- Installing L-metal against the interior casing on all four sides
- Wet-setting the L-metal against the sill and interior casing with FastFlash, and apply FastFlash into the rough opening and up the L-metal, letting it skin over
- Install AirDam on the vertical legs of the L-metal
- Install the window (there should be squish-out of the AirDam between the L-metal and window frame at this stage)
Downey recommends L-metal because it allows the owner to change out the interior casings without losing the seal between the window and L-metal.
Replacing siding
When you’re undertaking the more intensive task of replacing siding, in general, the sequence looks like this:
- Remove siding
- Complete any necessary repairs to the sheathing
- Seal around any rough openings and penetrations
- Seal transitions at the base of the wall and at the roof
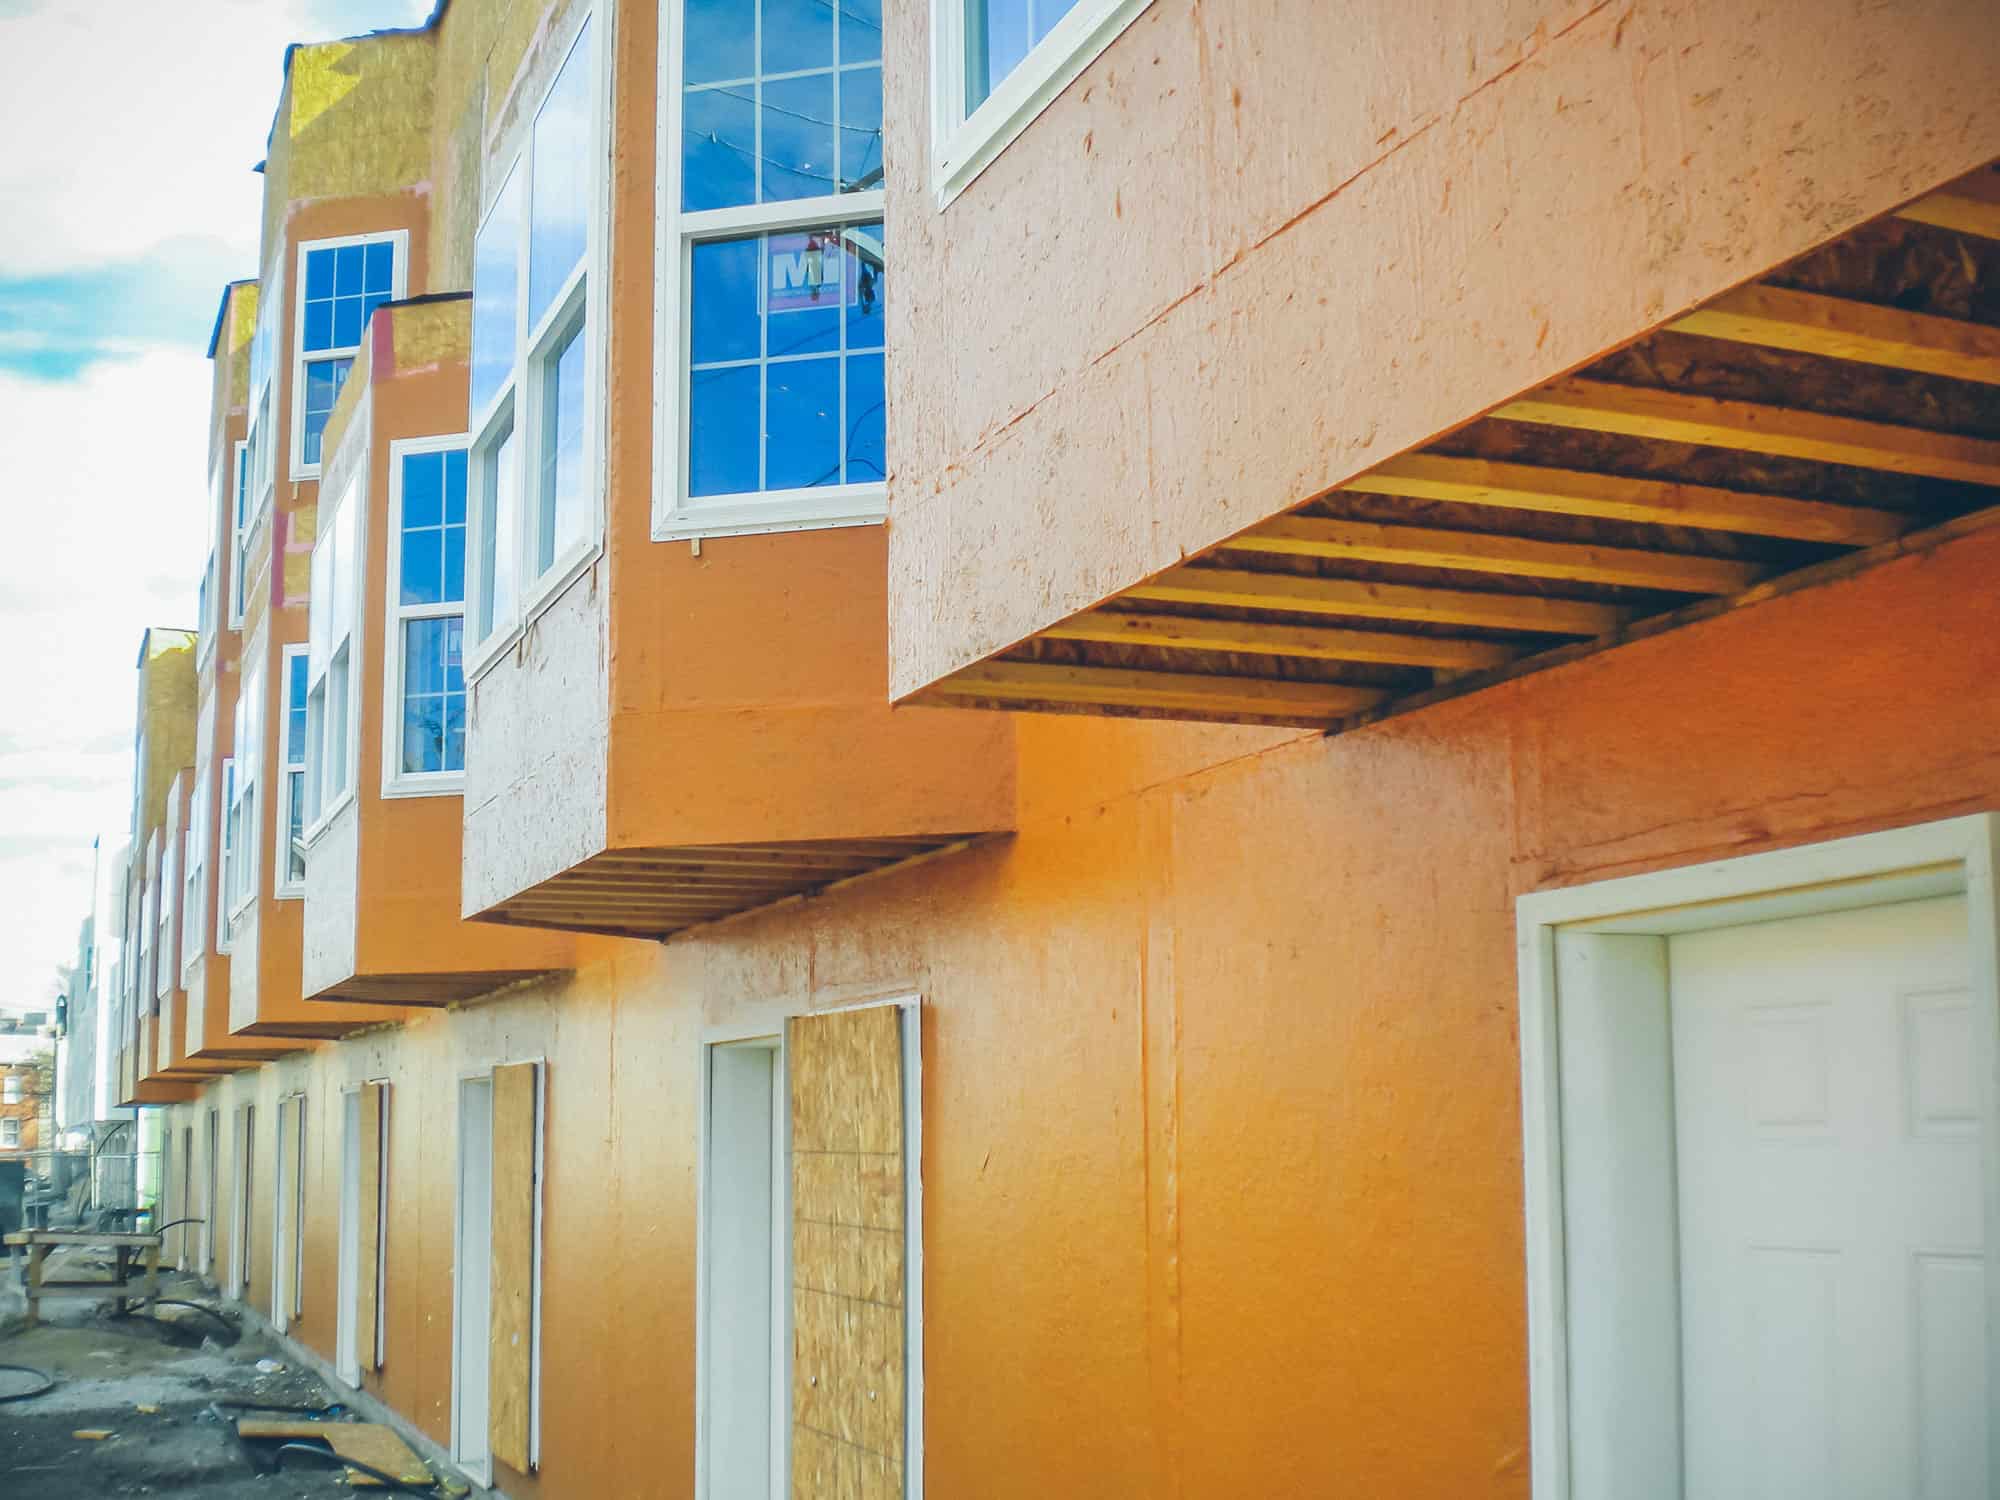
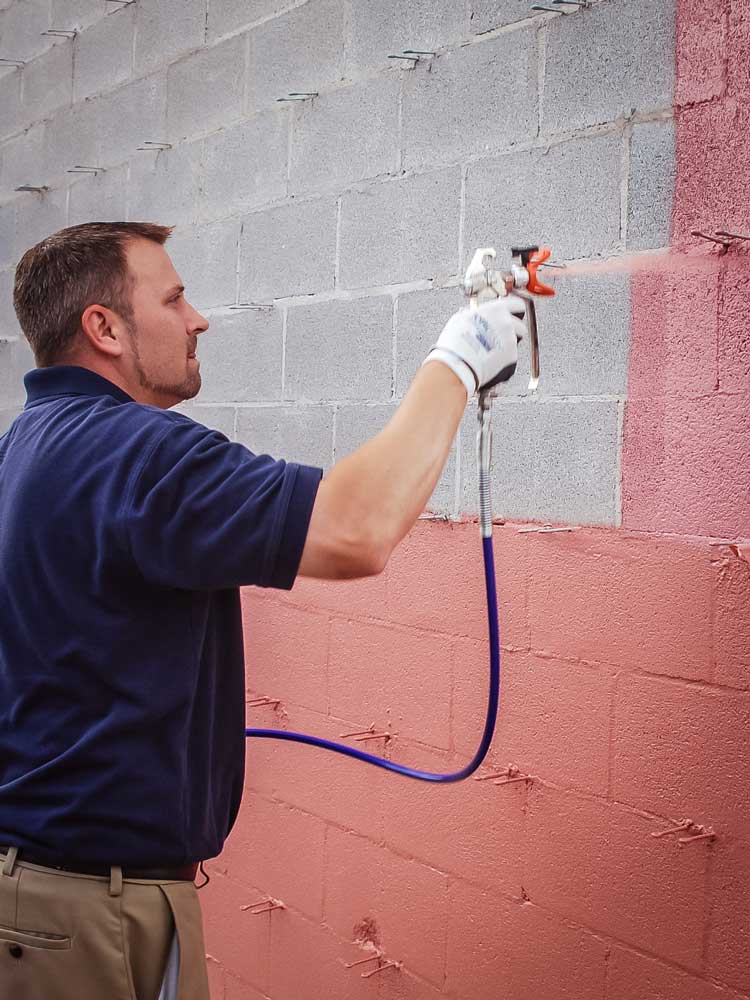
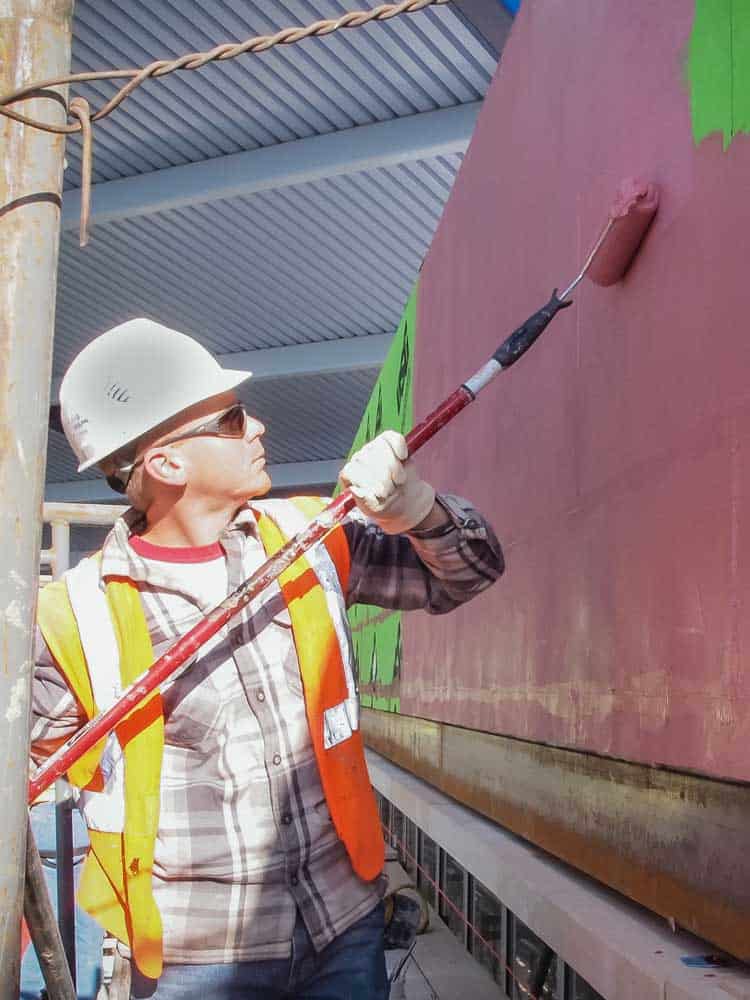
- Apply a field coating to the wall for your WRB (water-resistive barrier)
- Reclad with new or repaired siding, or choice of exterior finish
Steps 3 and 4 are especially important, Downey says, because when you pull siding off a building, you’re faced with a lot of through-wall penetrations and transitions that cannot be overlooked in their potential to leak air or trap moisture.
“Before you apply your WRB to the field of the wall, you’ve got to intimately bond any through-wall penetrations to the treated substrate, as well as detail the base of the wall, the concrete footings, and at the roof transition,” Downey says. “That includes hose bibs, gas pipes, exhaust vents, basically anything that’s going through the wall.”
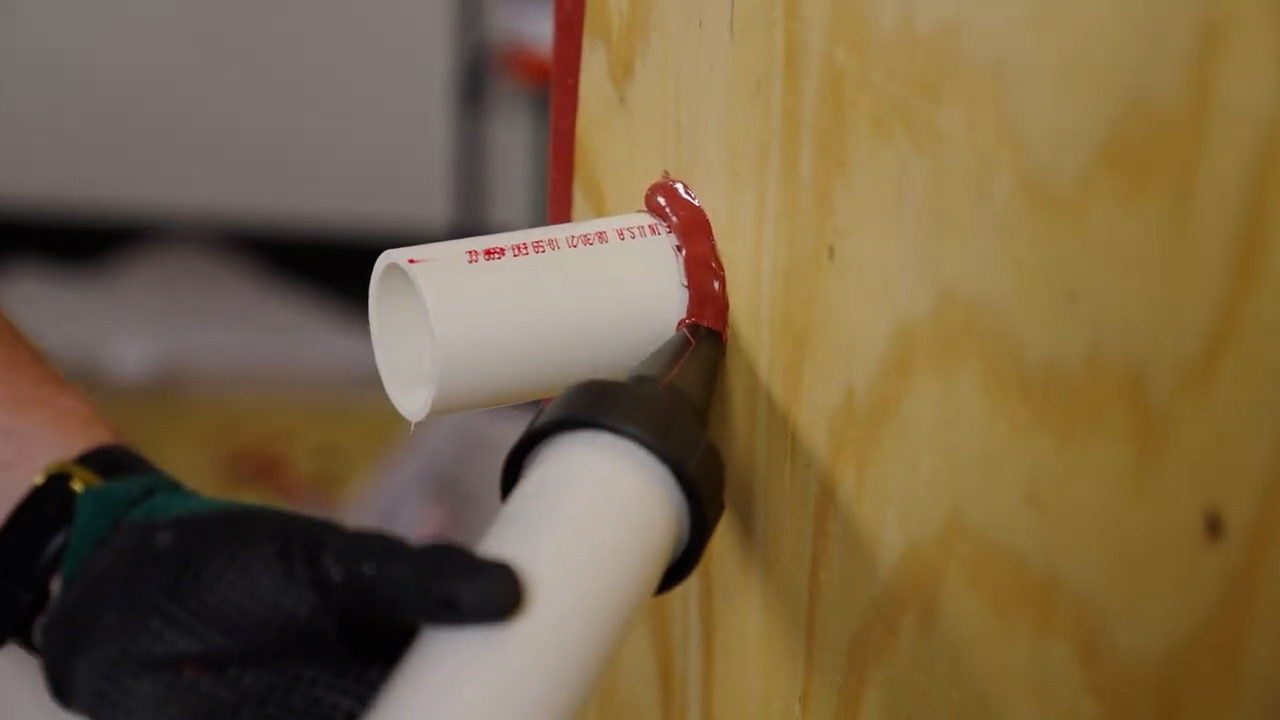
Downey recommends that these penetrations and transitions be sealed with either Joint & Seam Filler or FastFlash.
If you’re replacing windows during this process, follow the steps above before moving on to step 5.
Once you’re at step 5, there’s another decision: Which field coating should I choose?
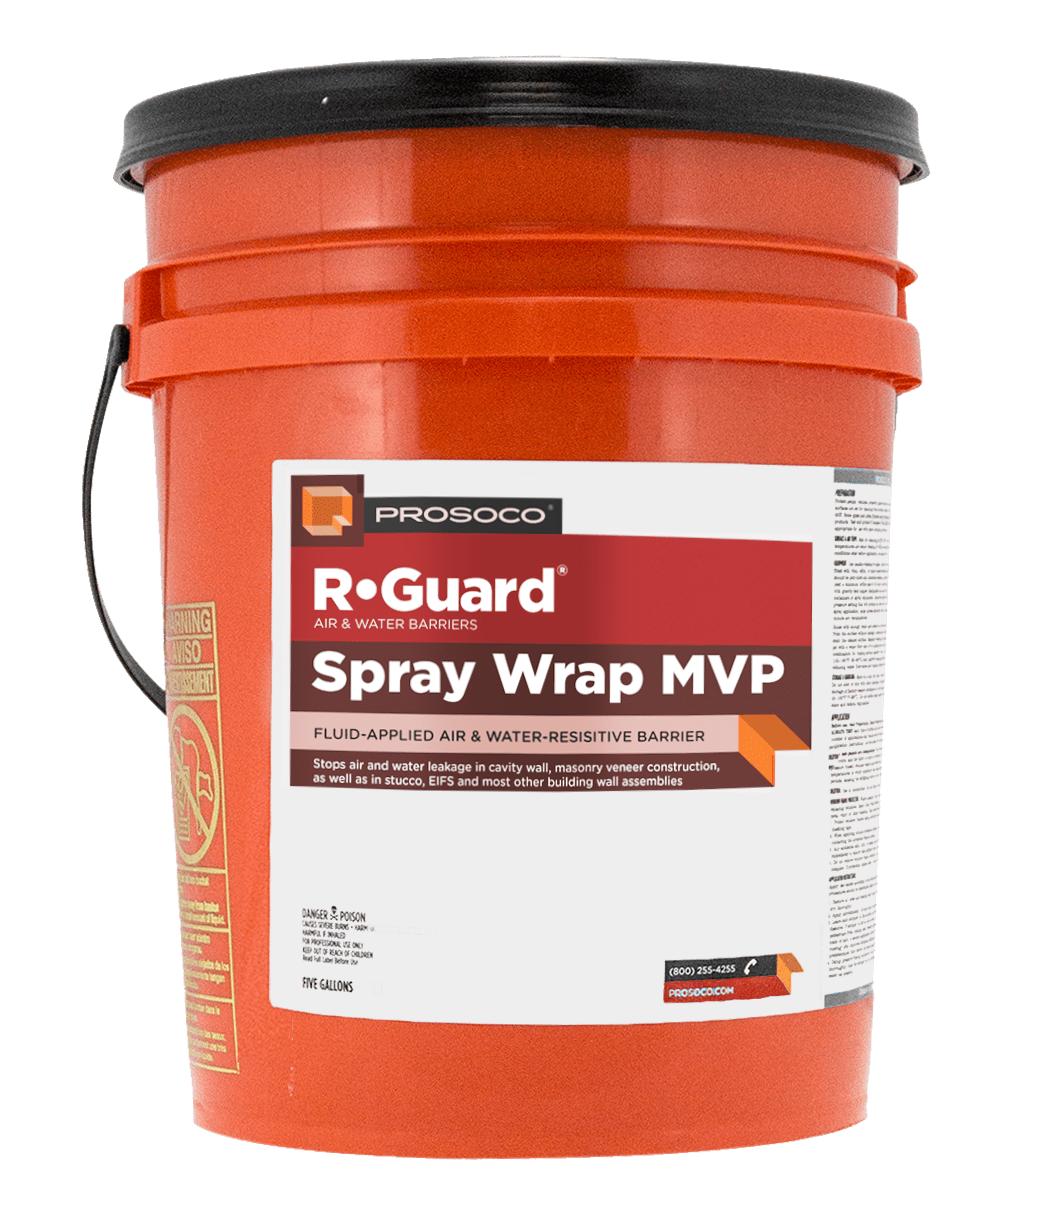
There’s two products Downey recommends, and here are the main differences:


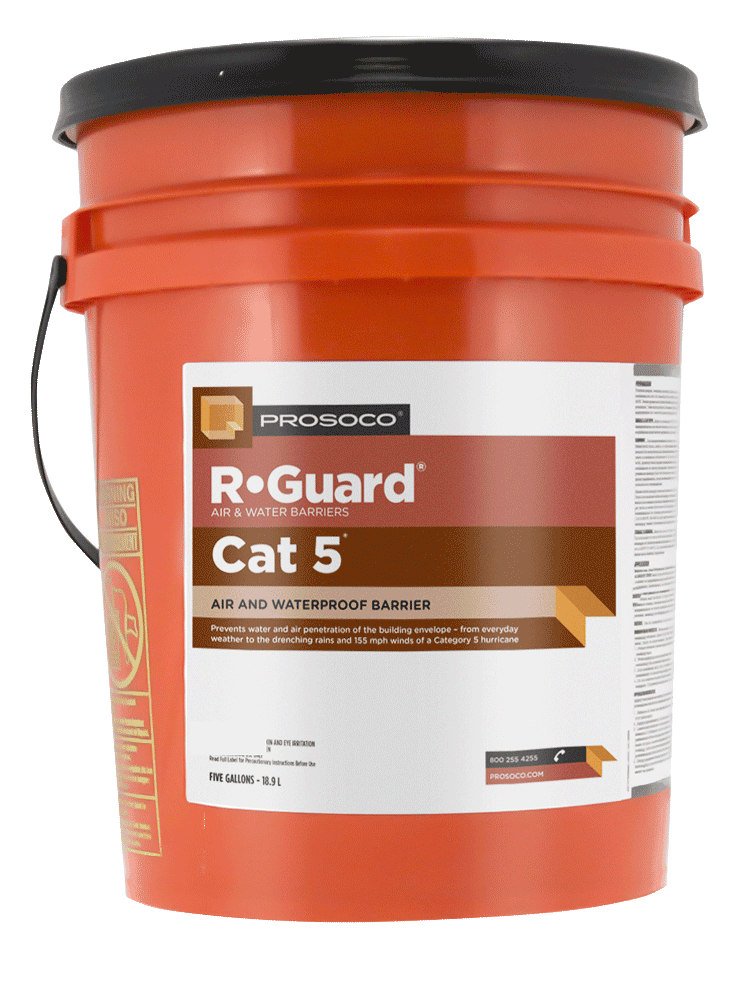
Cat 5, on the other hand, is an air- and water-resistive barrier that’s built with silyl-terminated polymer (STP) technology. That means it’s moisture-cured, so it can be applied when it’s raining or to damp surfaces. Cat 5 gives building envelopes premium protection against extreme weather, including wind and rain conditions of a Category 5 hurricane.
Spray Wrap MVP is a great choice in most climates, but Cat 5 is the field coating Downey recommends in especially humid, rainy and coastal regions.
“I’ve had multiple people put Cat 5 on the side of the house that faces the ocean, because that’s the side that needs extra protection against the salty air and humidity coming off the water,” he says. “Then for budgeting, they’ll put Spray Wrap MVP on the non-weather sides. You can mix and match the two products.”
“Another time, a large home was budgeted for Spray Wrap MVP, but the project got pushed into September and the rainy season. Under these conditions, they’d have to tent the house to stay on schedule with the field coating application, so I recommended finishing the job with Cat 5 in the rain, which was still much less expensive than tenting the building,” he says. A tent allows you to keep working, but it can quickly eat into the budget in one swoop. On a typical condo project, Downey estimates a tent can cost up to $500,000.
Either choice can be the right choice depending on the circumstances of your building, materials, region and budget. If you need help deciding, reach out to your R-Guard Building Envelope Technical Specialist or call us at 800-255-4255.
Either way, Downey says you’ll notice the rewards of the work right away.
“After you replace a window, the No. 1 thing you’ll notice is it’s more comfortable,” Downey says. “You can feel the result when you sit by the window and you don’t feel any draft.”
![]()
