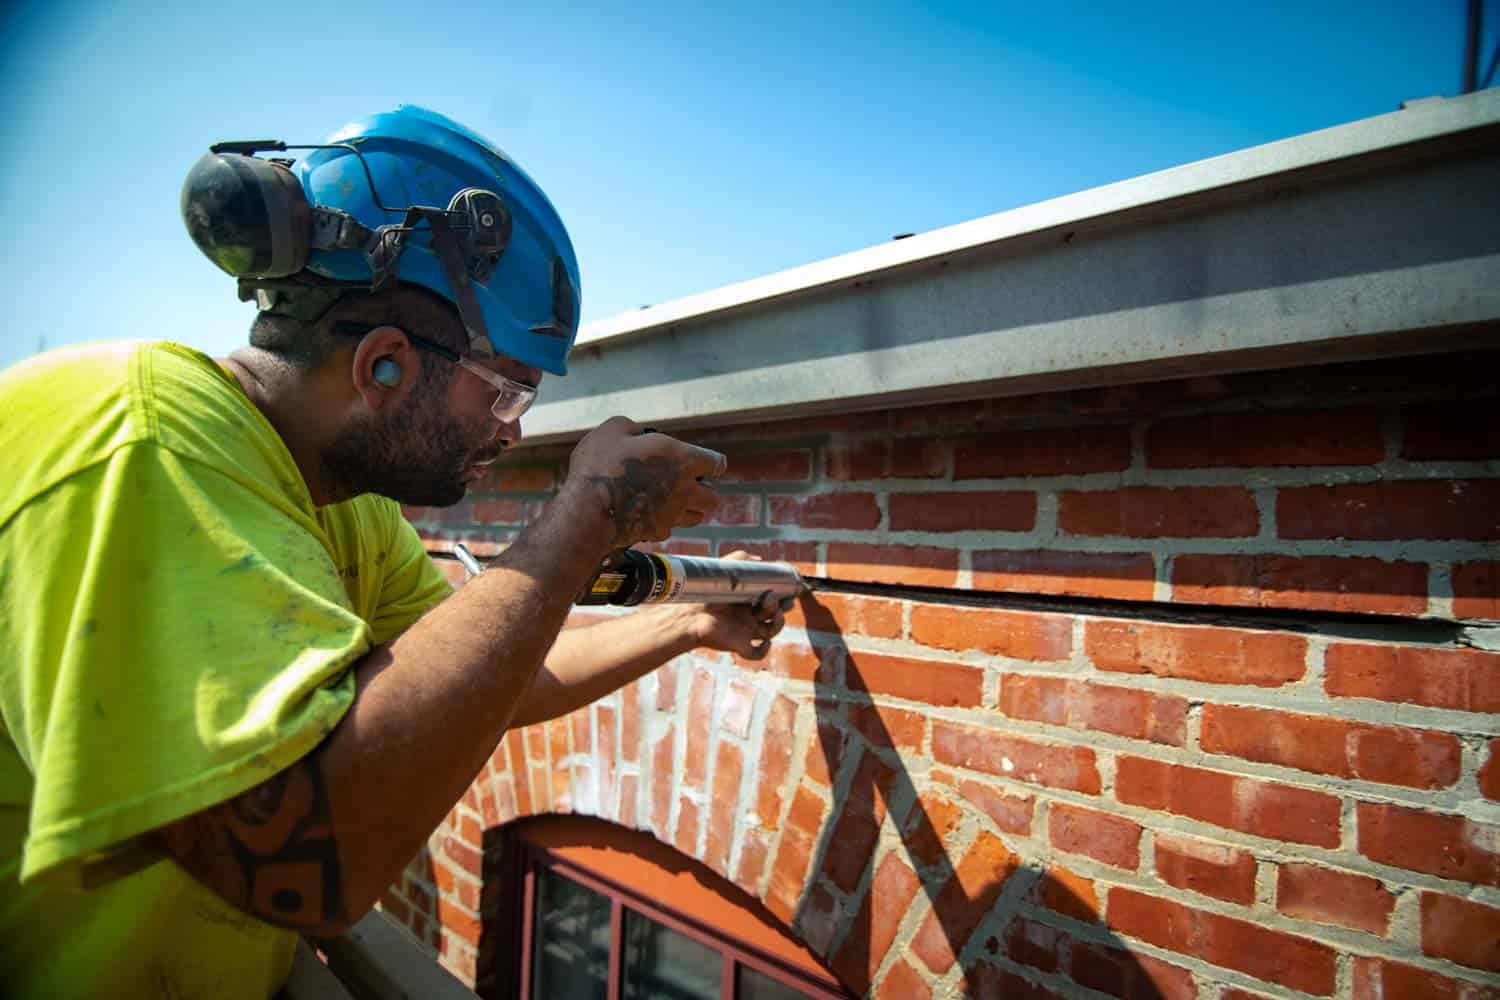
PROSOCO’s Jeff Scarpelli shares what you need to know about this test of wall strength.
Whether a pull test is requested, or required, on your project, you may be wondering why it’s needed, what it measures, and what to do with the results. To answer these questions, we sat down with Jeff Scarpelli, Products Engineer for PROSOCO’s line of masonry anchors and accessories.
Meet Jeff Scarpelli,
PROSOCO's Anchoring Systems
Products Engineer since 2021
- Founder of a drone inspection company
- Earned Master of Science degree from Milwaukee School of Engineering
- Based in Roselle, Ill.
- 10 years of experience in the building enclosure inspection and anchoring industry

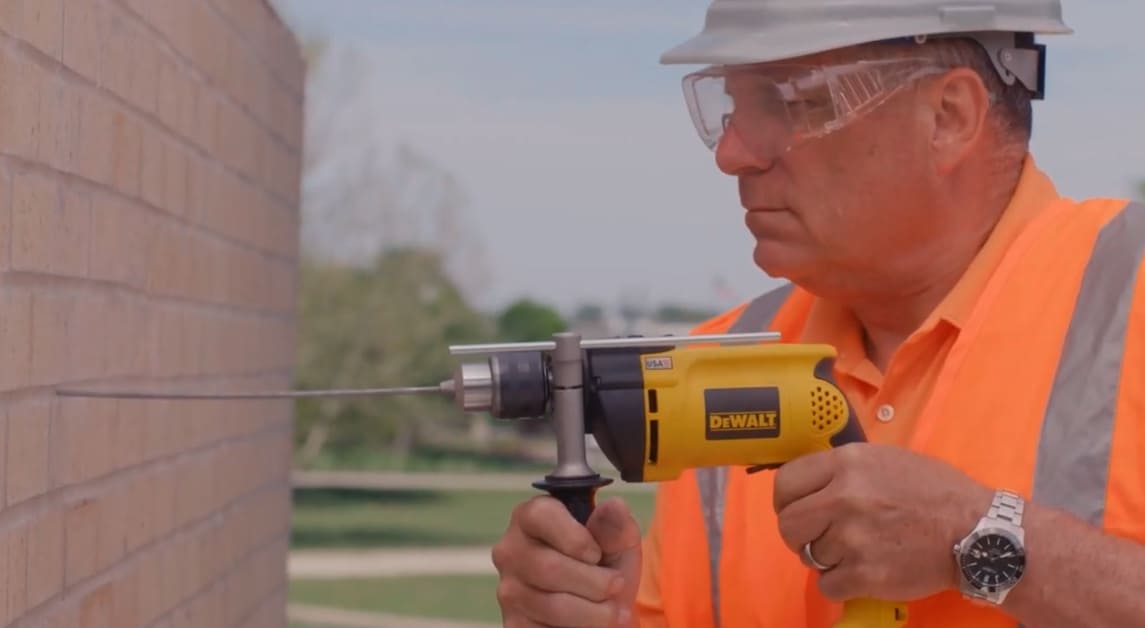
Pull testing measures the strength and durability of wall assemblies, and, in PROSOCO’s case, the pull tests performed in the field by technical reps are designed to specifically test the strength of a wall assembly with an anchor product installed.
When and why is a pull test recommended?
“We’re strong advocates for pull-testing on every wall we anchor, or pin, for a couple of reasons. One is that facade stabilization comes with life safety ramifications, and we take that extremely seriously. Also, we have third-party laboratory test values for anchoring systems, but when you’re working on a retrofit or post-installed anchoring project, the conditions can vary widely from one building to the next, and performance may not meet those laboratory values, or they could even exceed our published values. So, based on different variables like the condition of the mortar, brick, or whatever substrate you’re anchoring into, as well as the material properties of the substrate itself, the solution may differ from project to project and from wall to wall.”
“For example, there is always the chance that when you go on a project and install an anchor, the tested laboratory value estimates an ultimate capacity of 500 pounds, but when tested on-site it has a capacity of 50 pounds. In this case, clearly, you would need a different solution and you could work your way up from there to choose something that’s more appropriate for that project. In some cases, that could mean modifying the installation via drill type (SDS+ vs 3-jaw chuck hammer vs core drill), drill method (rotary-only vs rotary-hammer), or pilot hole size. In other cases, the type of anchor could be changed, either by increasing the anchor’s diameter and in turn its engagement into the substrate, or by switching the style altogether, say from a hammer-set Stitch-Tie helical anchor to an adhesive-style Grout-Tie, or even to a mechanical expanding fastener such as the Grip-Tie product line. Each of these has its own pros and cons, and a cost-benefit analysis could be done to find which anchoring solution is most appropriate for each project.”
Why is it called a pull test?
The portable test equipment PROSOCO uses applies a tension force, which pulls the anchors out of the materials after they have been installed. Not everyone took Structural Engineering 101!
“On buildings, the wind does not only work in one direction. There is not only an inward “pushing” force being applied when the wind hits a building, but also when it goes around or up and over your building, it creates a suction force on the other side, which wants to pull the structure in the direction of the wind. This “pulling” force can rip or break things and cause them to fall off buildings if they are not properly secured.”
“Your anchor needs to be designed to resist both the inward and outward suction force of the lateral wind or seismic event, and in other cases, the downward gravity force needs to be resisted. In most cases, where the existing wall ties have failed or are compromised, there is a project-specific wind pressure or other type of loading that the Architectural Engineer will design to, and then there is an additional safety factor slapped on top of it.”
"On-site tension testing isn’t a service that a lot of other manufacturers offer."
What is a safety factor?
“The safety factor is essentially how many times stronger the system is compared to the design strength. So, for example, let's say a wall tie is designed to resist 35 pounds per square foot, and is installed at a rate of one tie per two square feet. The demand on the tie under normal circumstances would be 70 pounds, but if a safety factor of four or five is required, then you would be looking to test the anchors on-site to have an ultimate capacity between 280 to 350 pounds to ensure the required safety factor is met. This additional factor can help account for uncertainties, variability, and unexpected load conditions to ensure the system can withstand loads beyond those during its normal operation.”
“The safety factor is something that helps structural engineers sleep at night, knowing that the systems they designed will perform, keeping the occupants and passersby safe.”
What are some important considerations during pull testing?
“One thing that’s critical when testing is to isolate the backup material from the veneer material, because if you’re testing them both at once, you’re really only testing the better of the two. Let’s say you’ve got a brick veneer with an old, rotted wood stud backup material. If an anchor is tested, where it is engaging both materials, let’s pretend it has an ultimate capacity of 700 pounds. One might look at that data and say, ‘OK, great. It passes, it is far above my design value and gives me a good safety factor.’ But doing testing in this manner may give false positive readings because it doesn’t provide the whole picture. In practice, the outward load would get transferred to the backup material, where it must resist the full loading applied. Because of this, we must test the materials alone to determine what the weakest link is in the scenario, as the anchor is only as strong as its weakest connection. In this scenario, if we were to isolate the old rotted-out wooden backup material and test it alone, it may be possible that the anchors could be pulled out by hand, providing minimal resistance. If the backup condition was overlooked, anchors could have been installed under the assumption they met the design criteria, but those anchors could lead to a failure. In some cases, the backup structure is the weaker connection, and in others, the veneer connection is the weaker of the two. I always recommend isolating them during testing to determine the weakest link, and using those values for the design.”
"...facade stabilization comes with life safety ramifications, and we take that extremely seriously."
OK, so how should one isolate the backup and the veneer for the test?
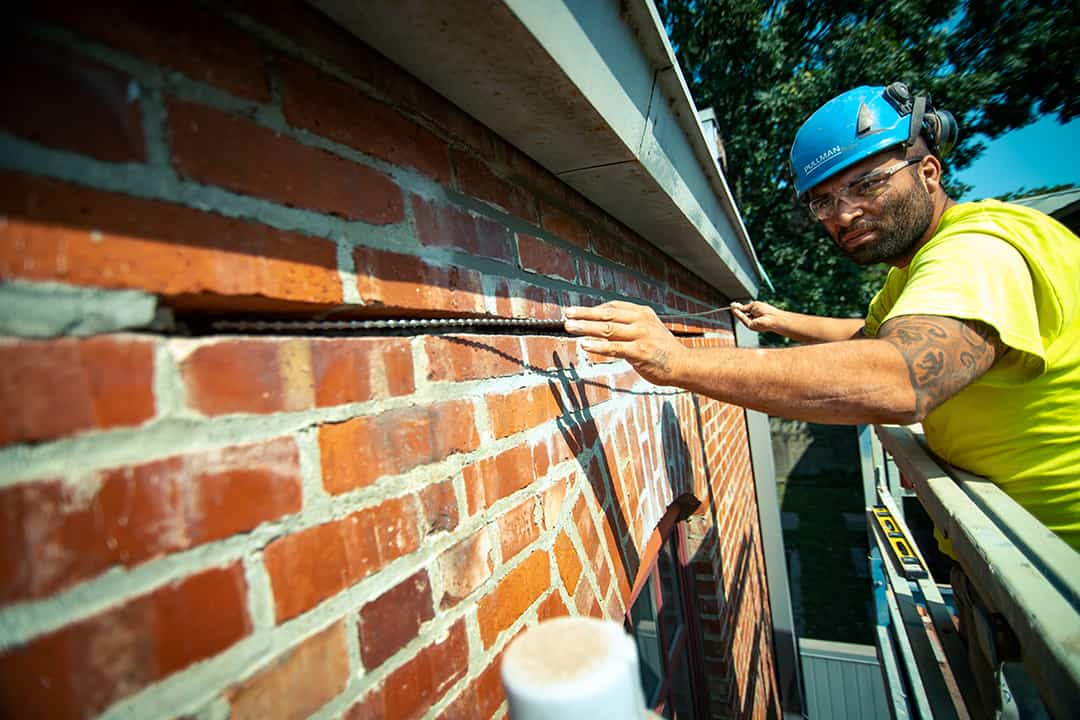
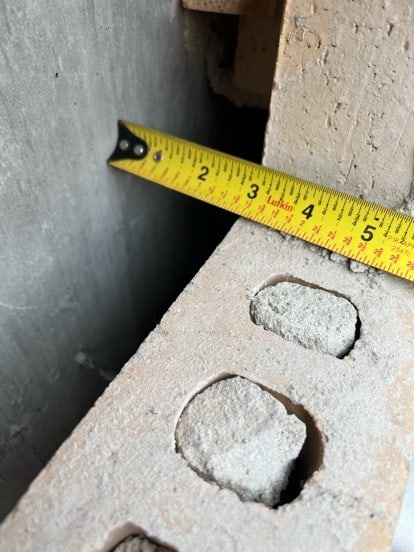
“In some cases, we may have access to the backside of the structure where we could test the backup material independently. In others, inspection openings could have been performed, where existing veneer material has already been removed, exposing the backside of the wall for us to test. If the backside is not accessible in those situations, an oversized pilot hole could be used when drilling to create a bigger hole in the veneer. This makes it so that when the anchor is installed into the backup, the anchor is not grabbing onto that front portion and is only engaging the backup material. And then to isolate the brick or veneer by itself, you just need to install the anchor deep enough so that it only engages that front part.”
What type of equipment do you use for the pull testing?
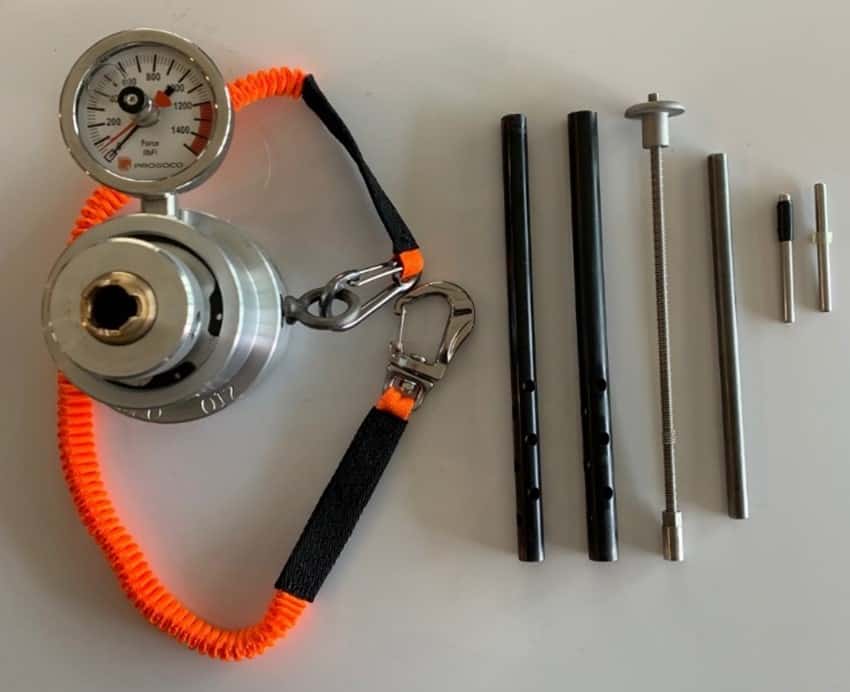
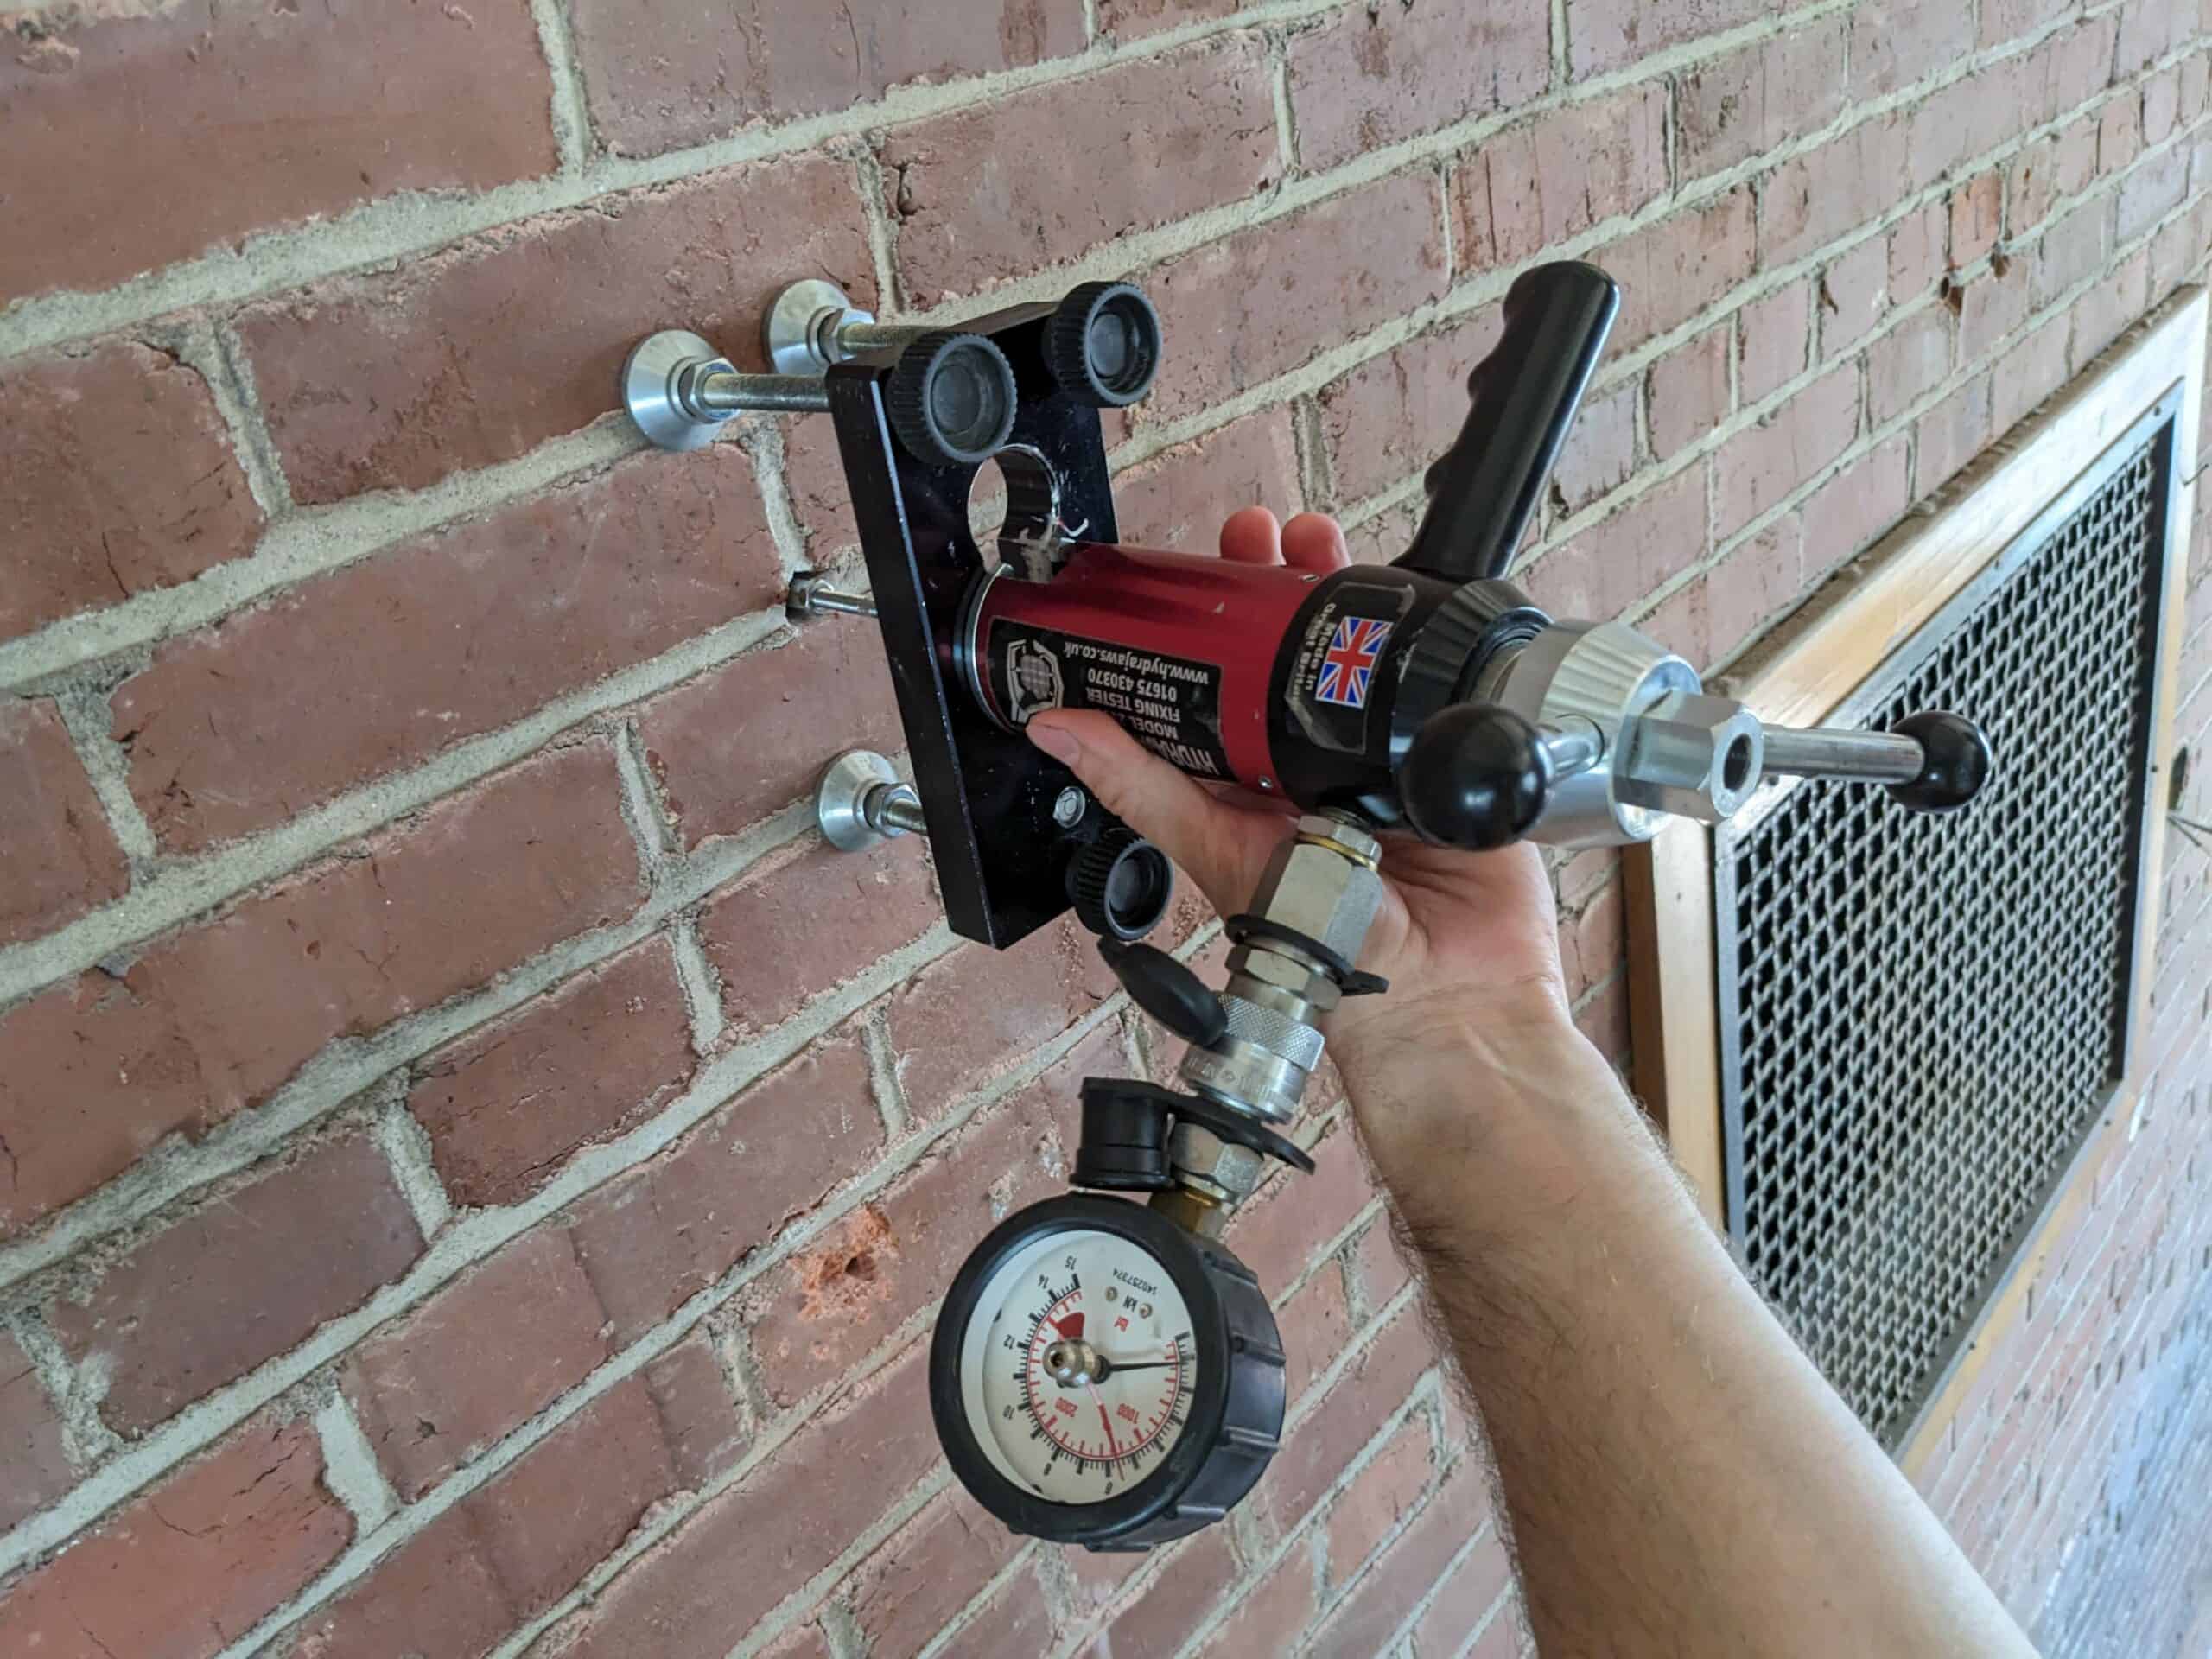
“We use a few different types of pull tests in the field based on the amount we need to test to. The most common one is a small portable “bell test” unit that has a maximum capacity of around 1200 pounds. In some situations where we need to test to a higher capacity, we also have tension test units from Hydrajaws and Com-Ten that can be used, ranging in capacity from 2000 to 5000 pounds. In instances where these test units can’t be used, or if an even higher capacity is required for the testing, we also have hydraulic pumps and hollow cylindrical rams that can be used.”
“All of the units other than the hydraulic system are based on the same technology. The axial tension force is applied by torque through mounting hardware and a hollow core strain gauge. The equipment is connected to the anchor by means of a test key or threaded adapter. As a handle is rotated, applying torque to a threaded rod through the body of the test unit, vertical movement is applied to the test assembly. This movement then transfers force to the reaction base, which results in a tension load to the anchor. The pressure reaction on the base is then measured as a force on the gauge.”
What do I do with the results?
“The pull test report we generate after conducting the test can help determine multiple things. First off, the ultimate capacities can be compared to the design values to determine the safety factor of various anchor spacings. If the anchor tested performs well, the Engineer of Record can space the anchors further apart, where they don’t need as many anchors, providing a cost-effective means of repairing the wall system. If the anchors don’t perform well, a few approaches could be considered. The anchor spacing could be tightened up, a smaller pilot hole could be considered, a different drilling method could be considered (rotary-only vs rotary-hammer or 3-jaw chuck vs SDS+ vs core drill), or a larger or different style anchor could be specified that is more appropriate for the project.”
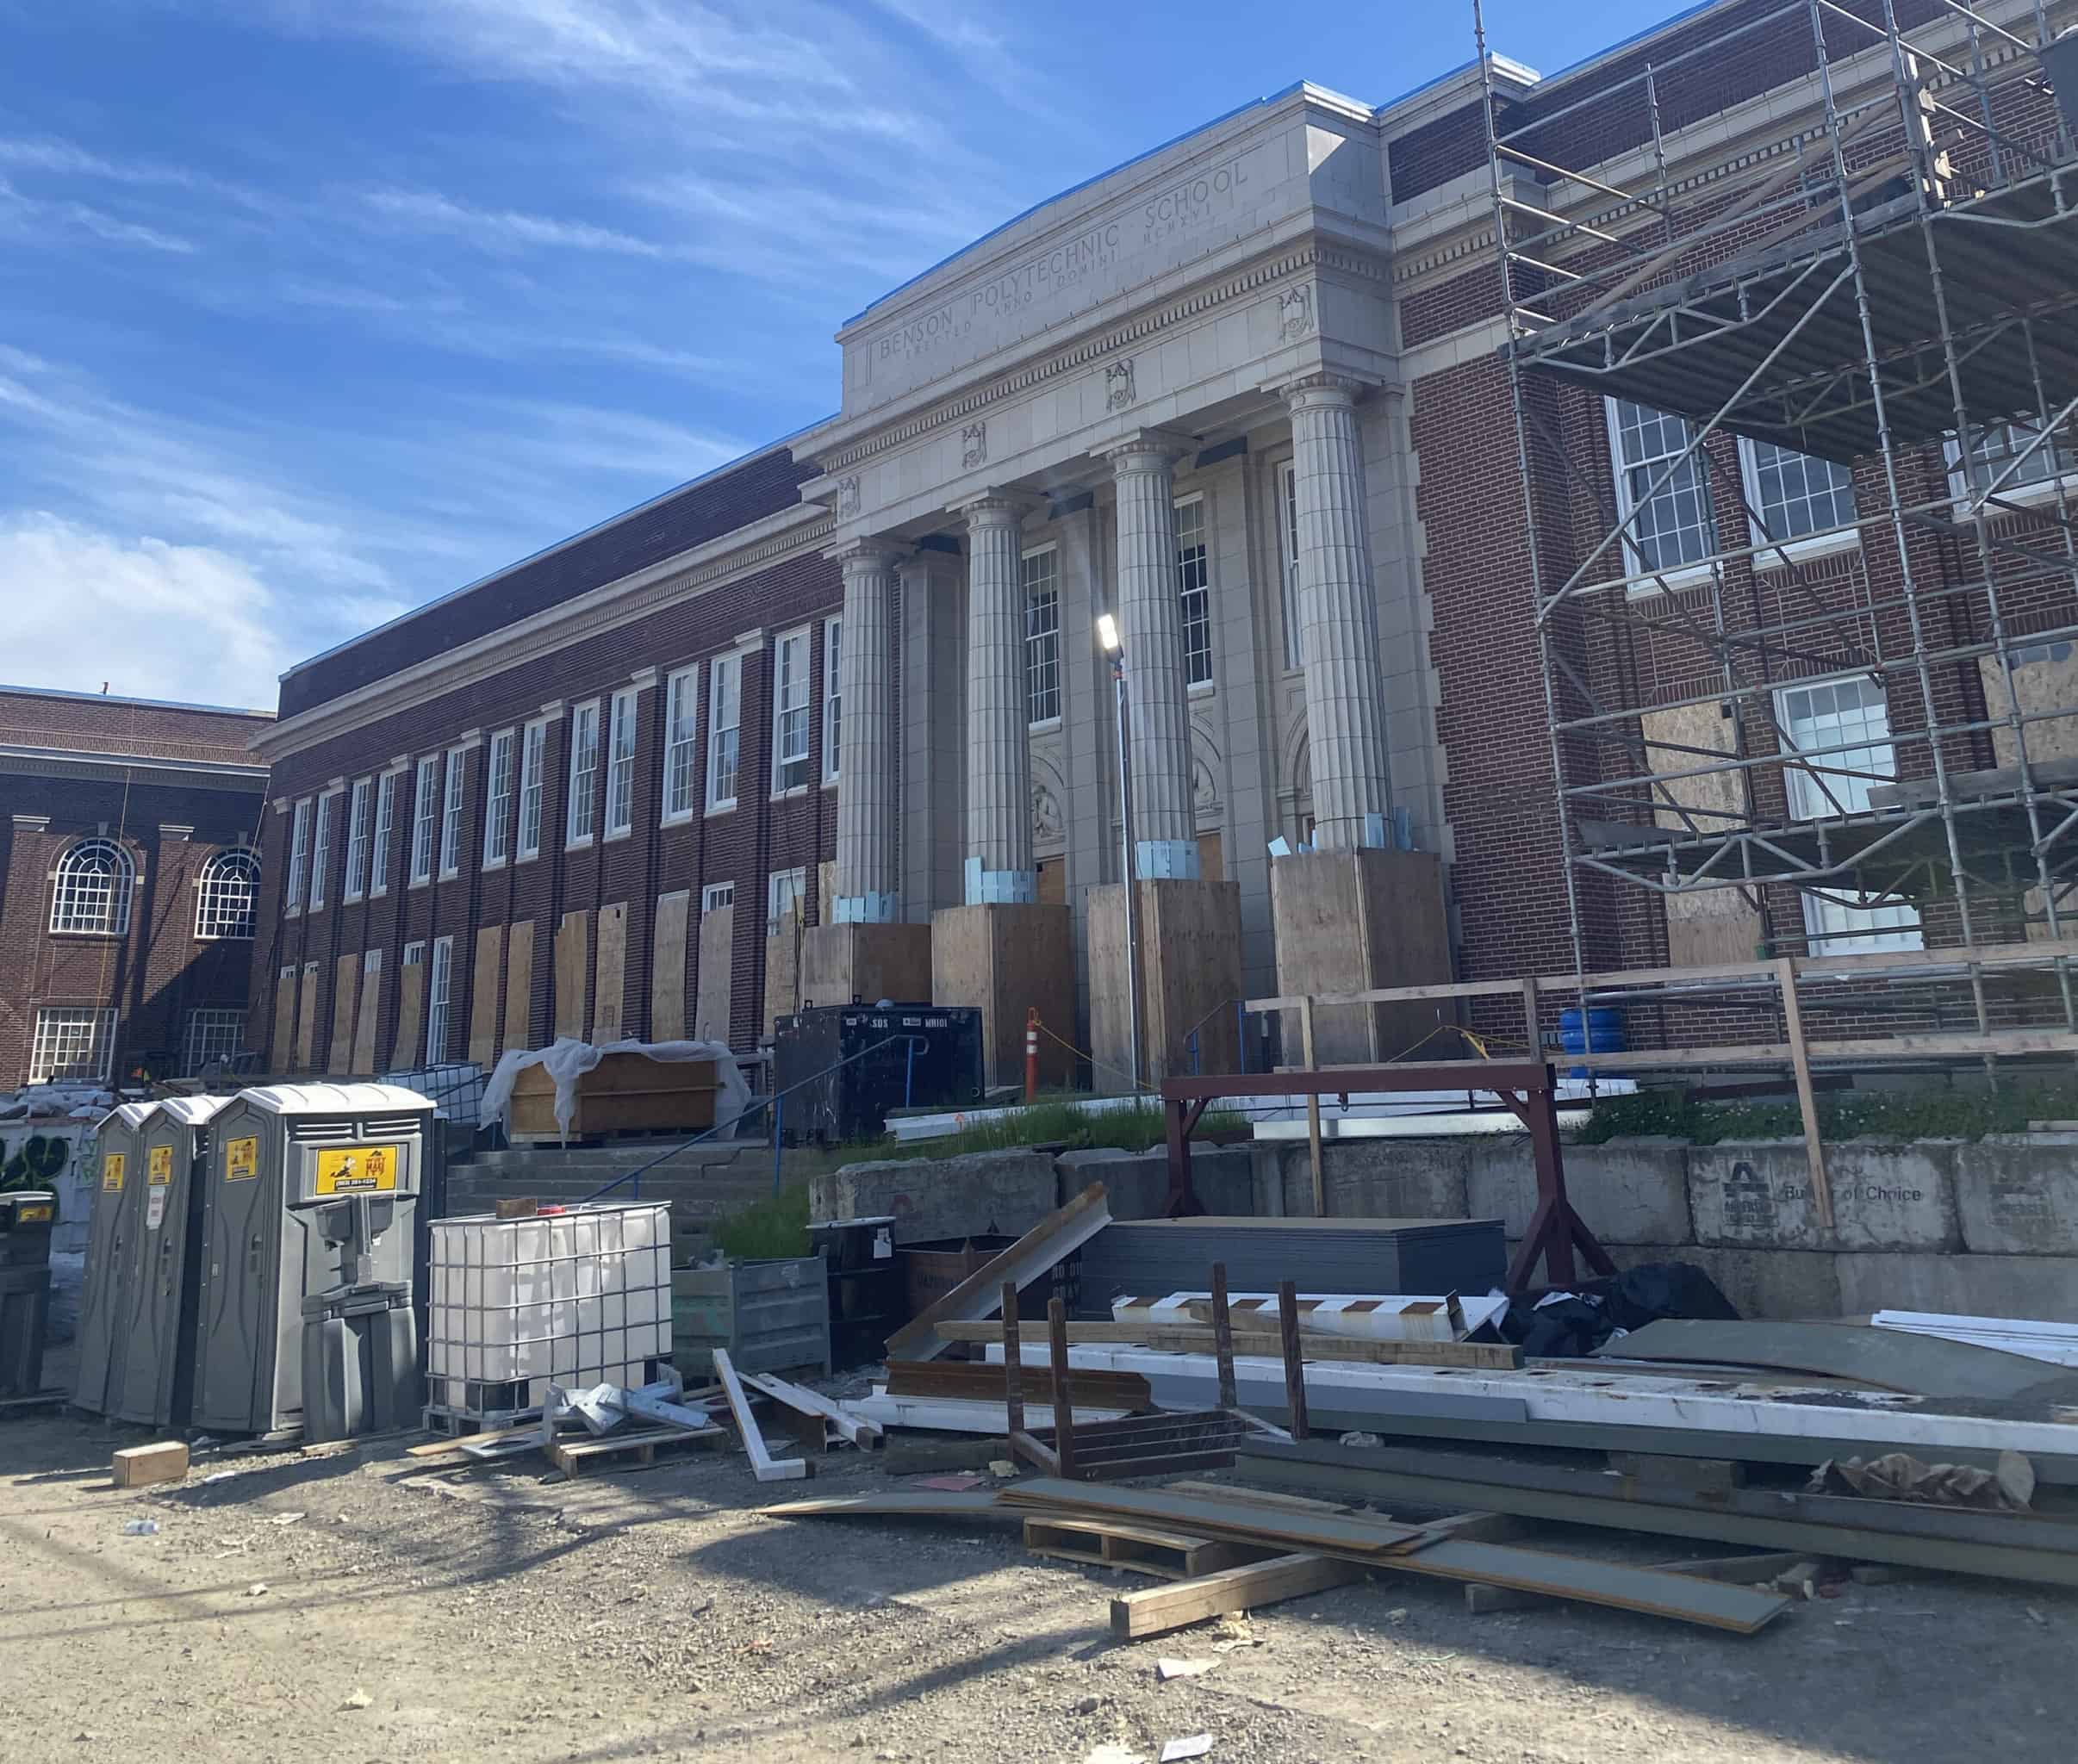
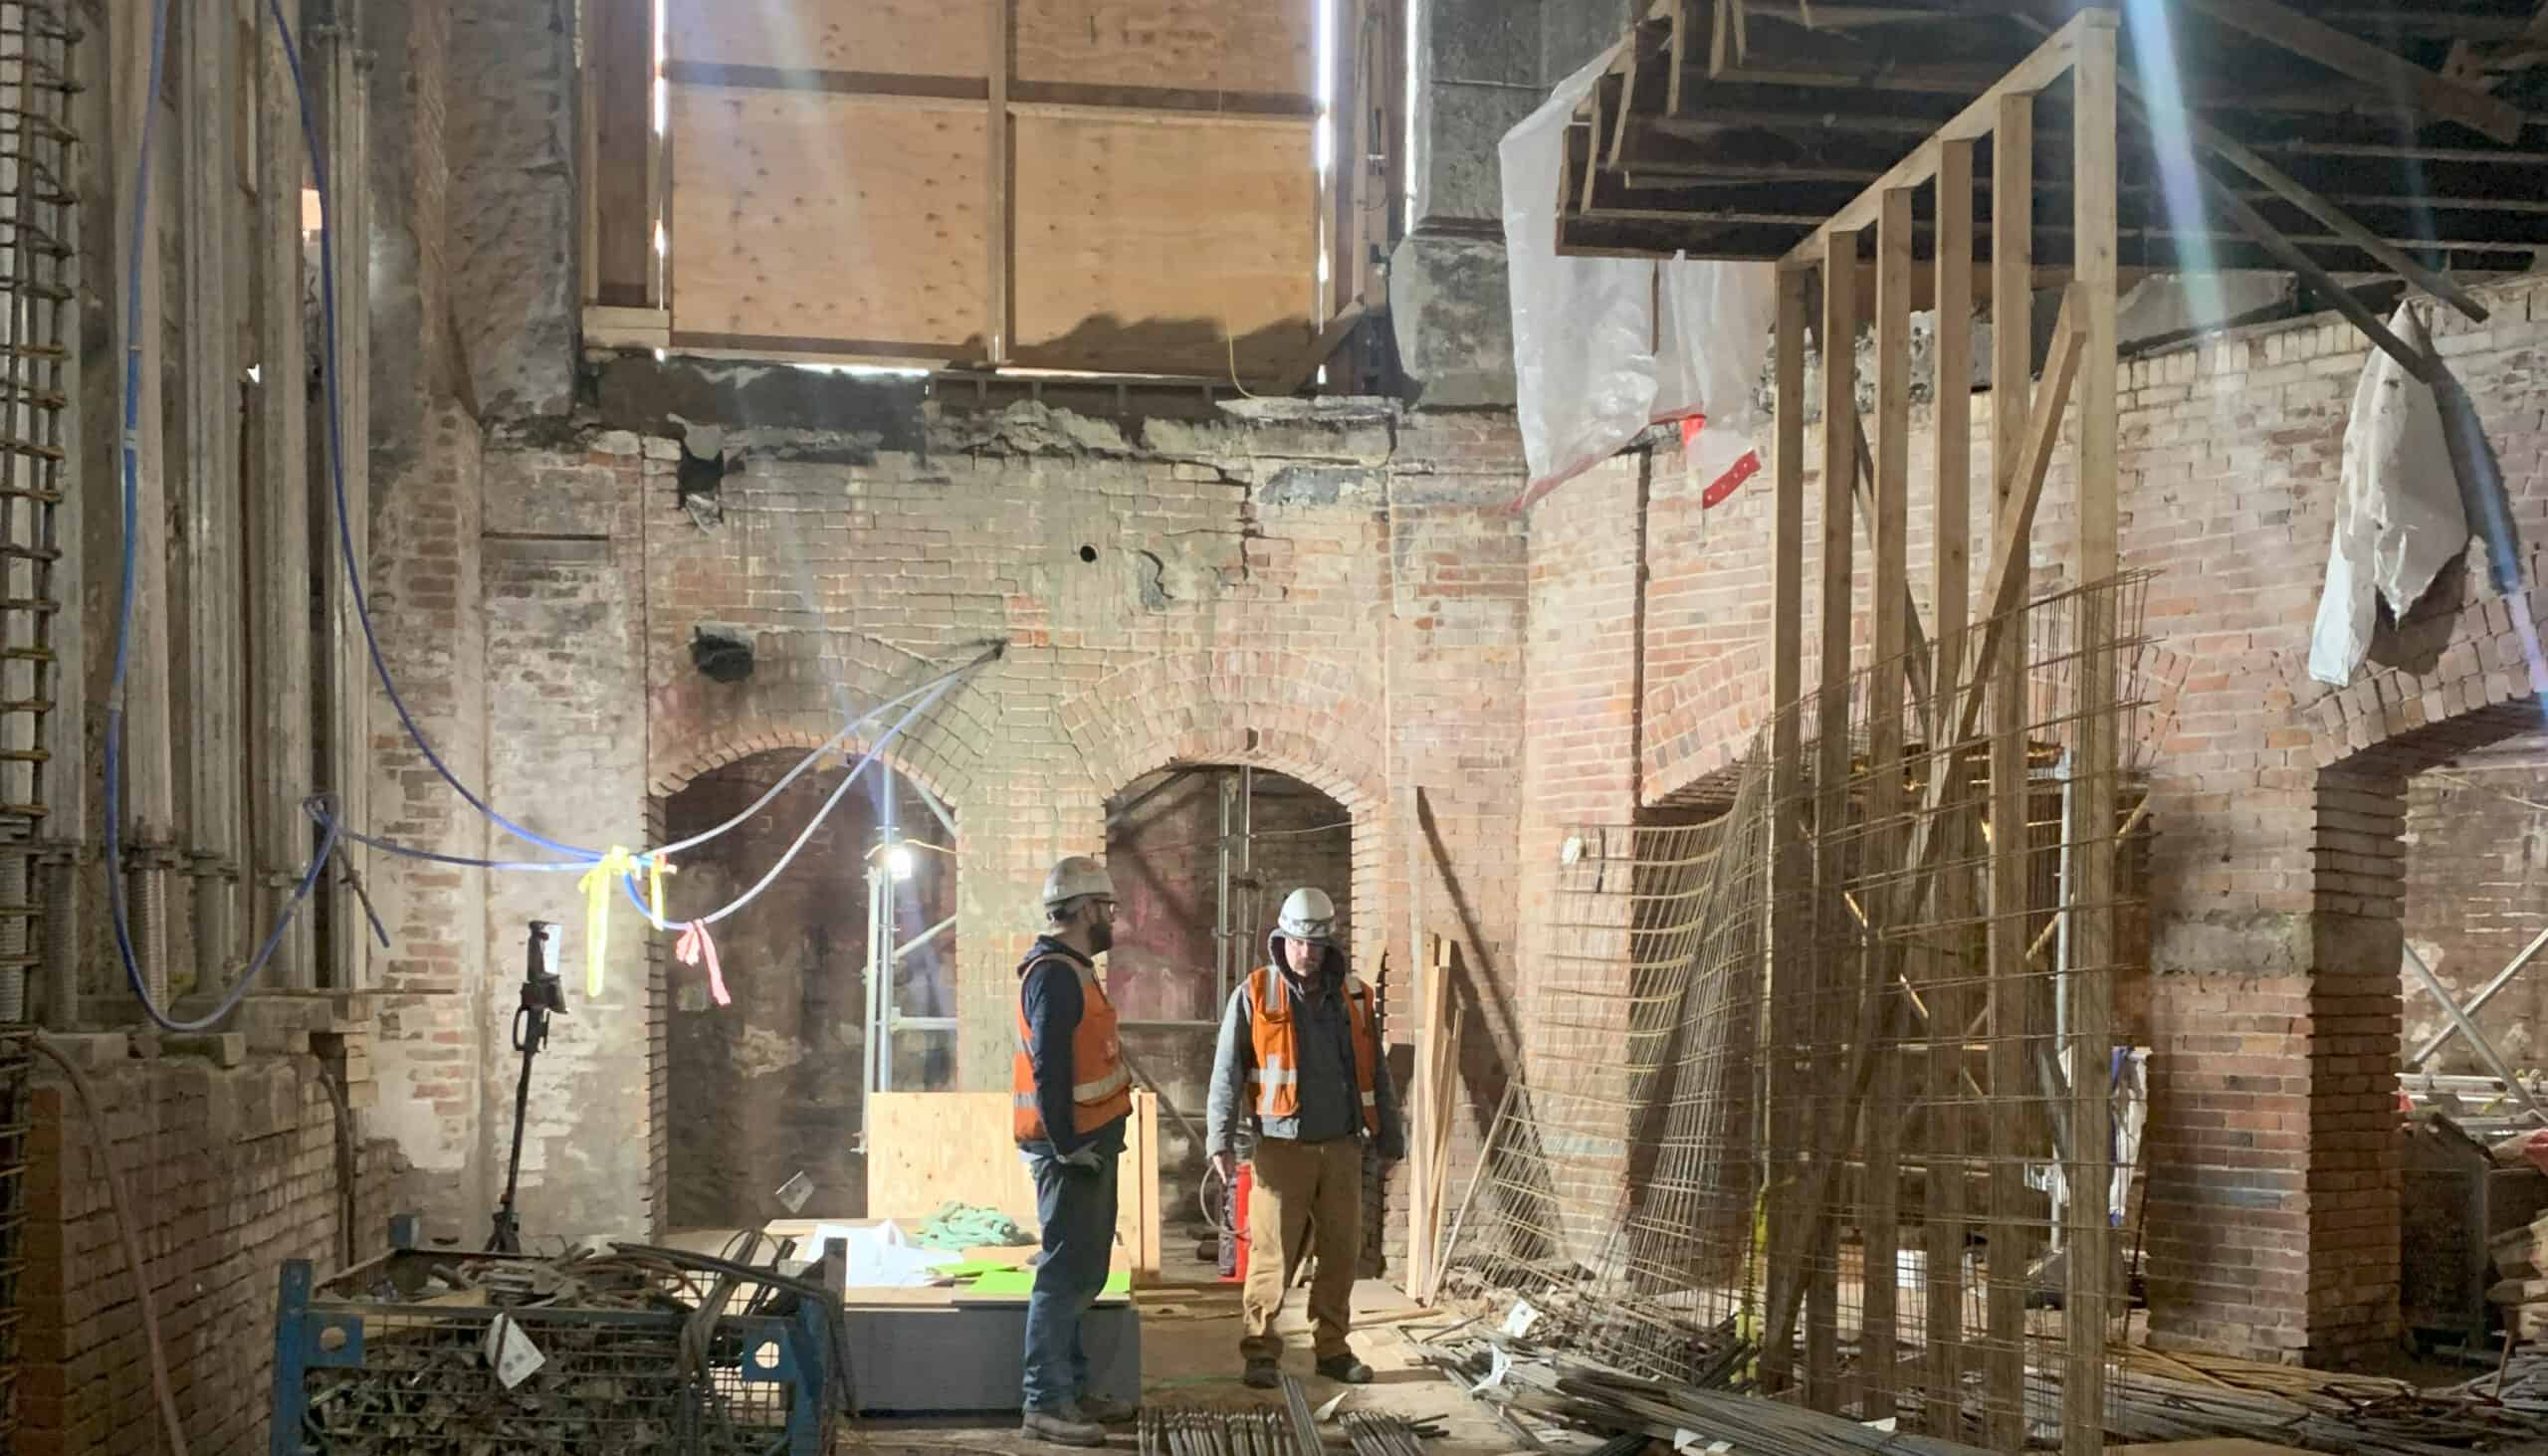
Can you describe what’s going on in these photos?

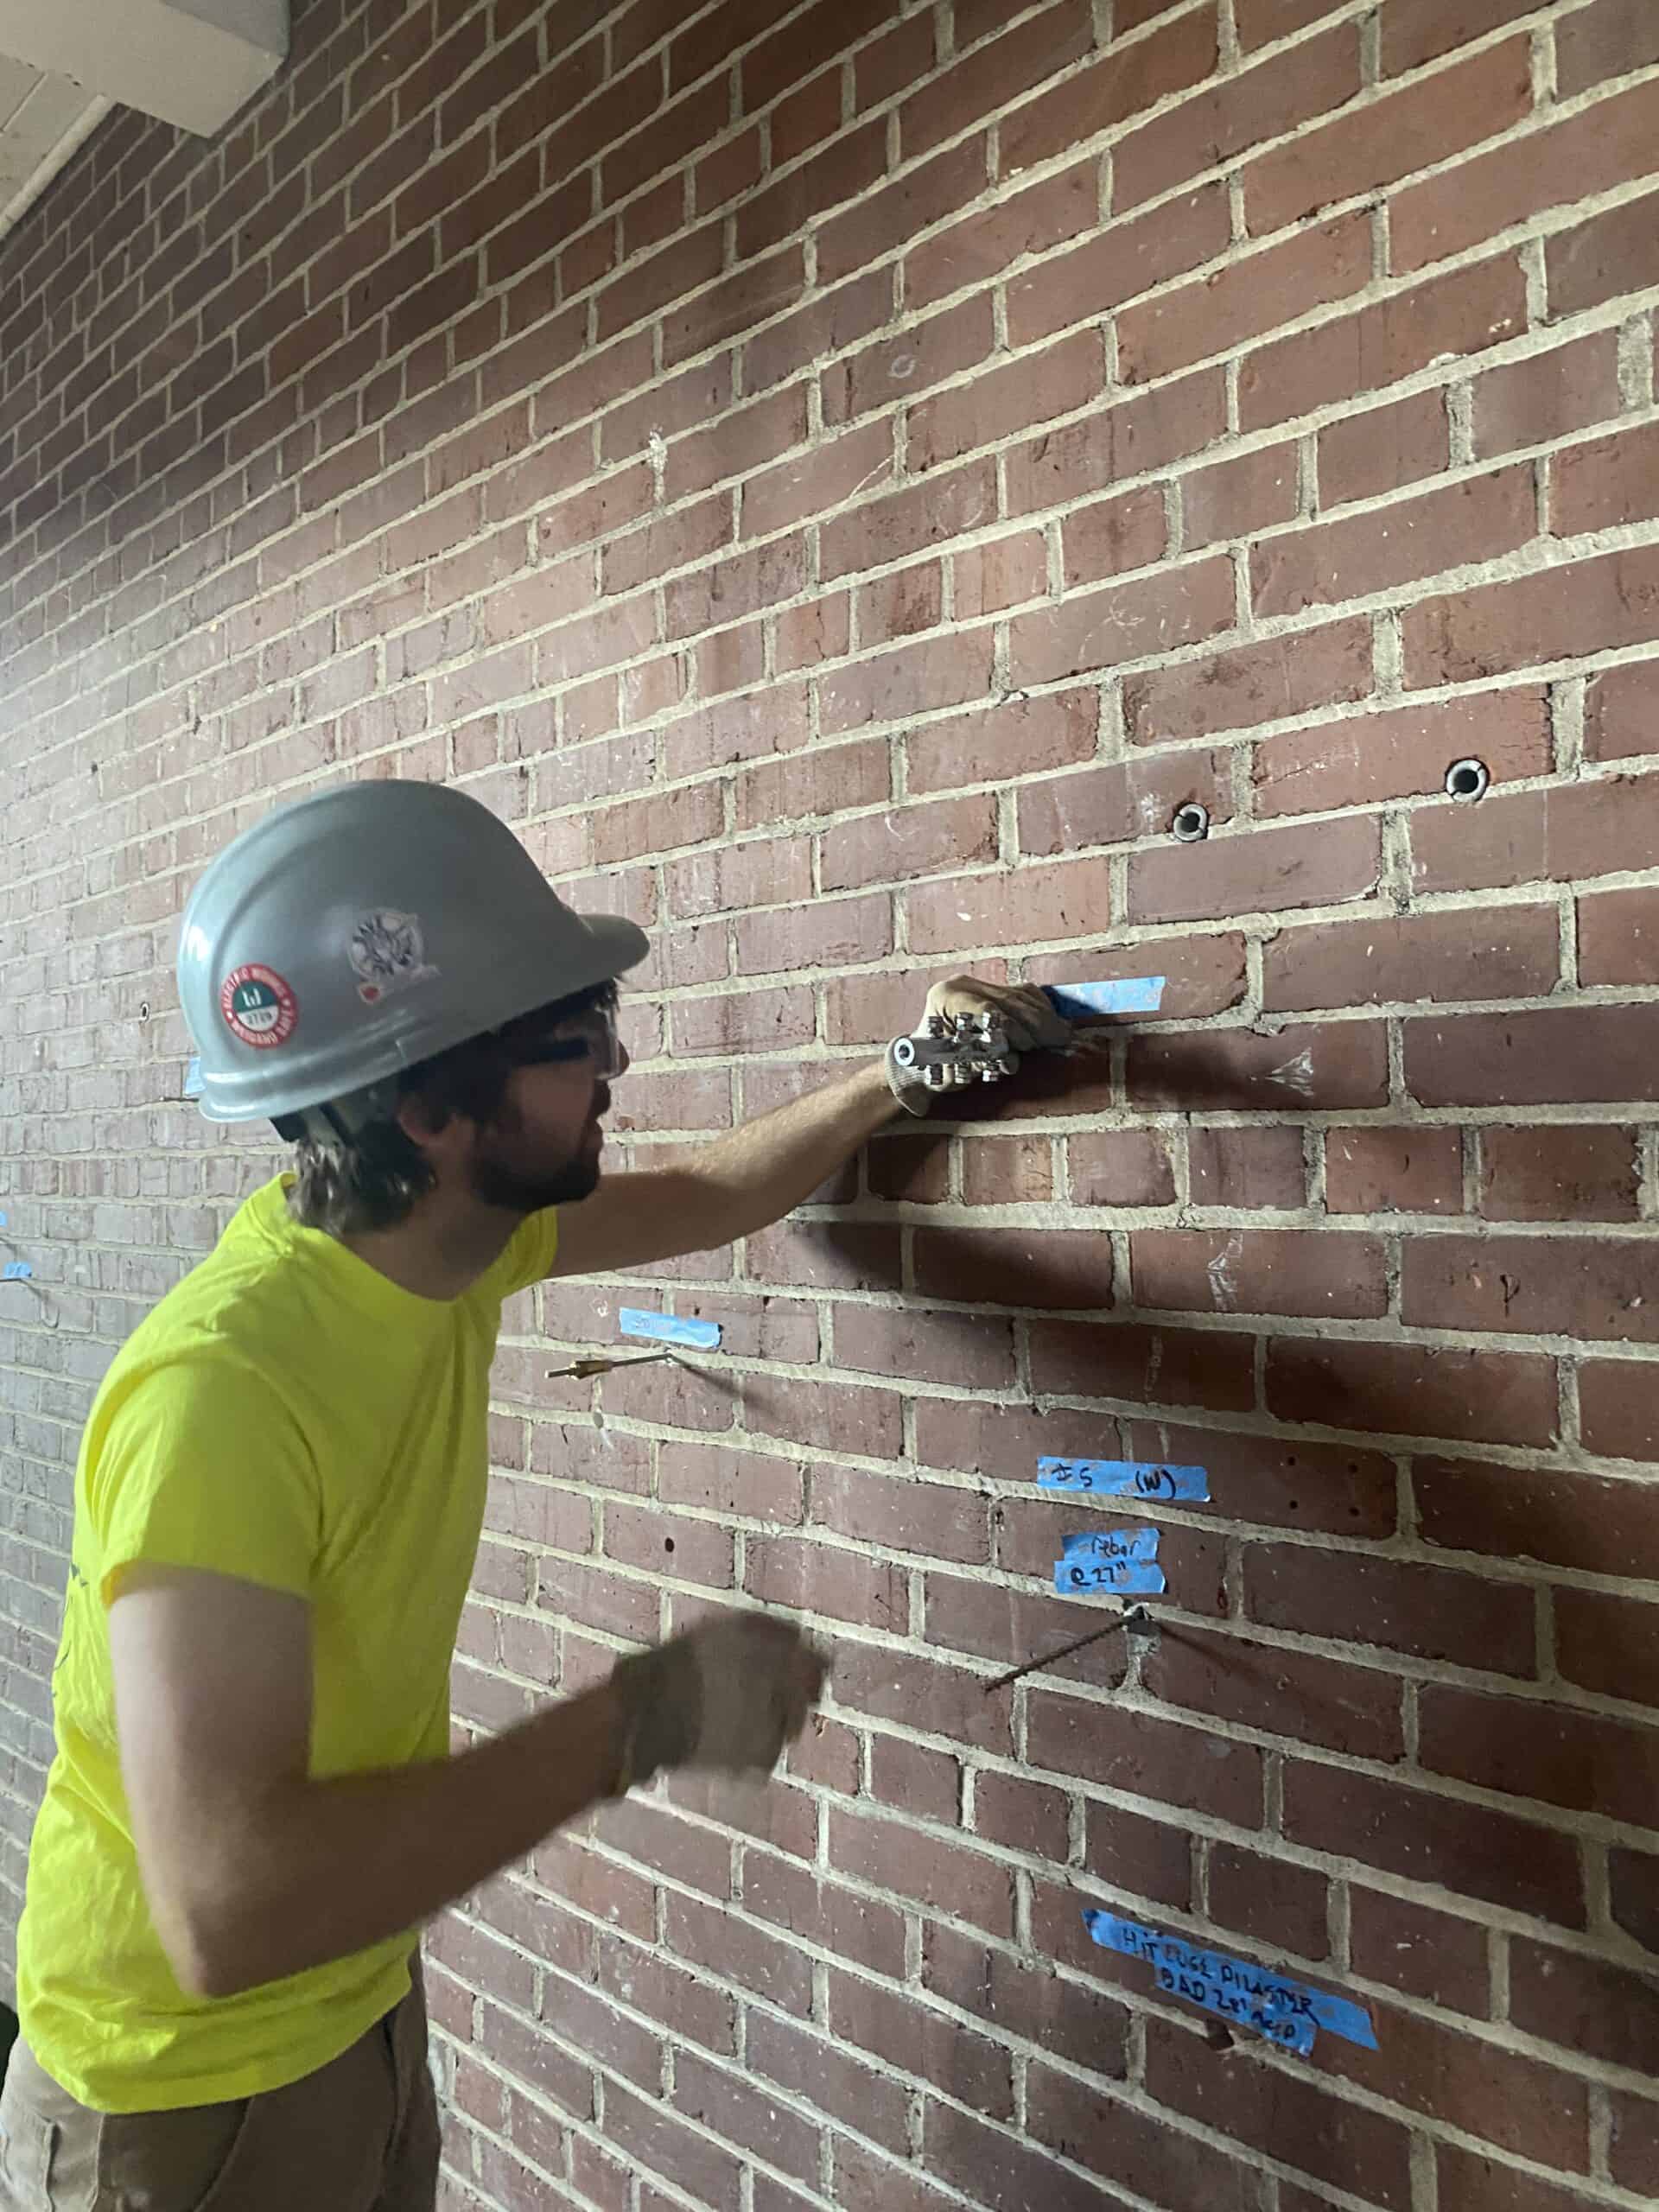
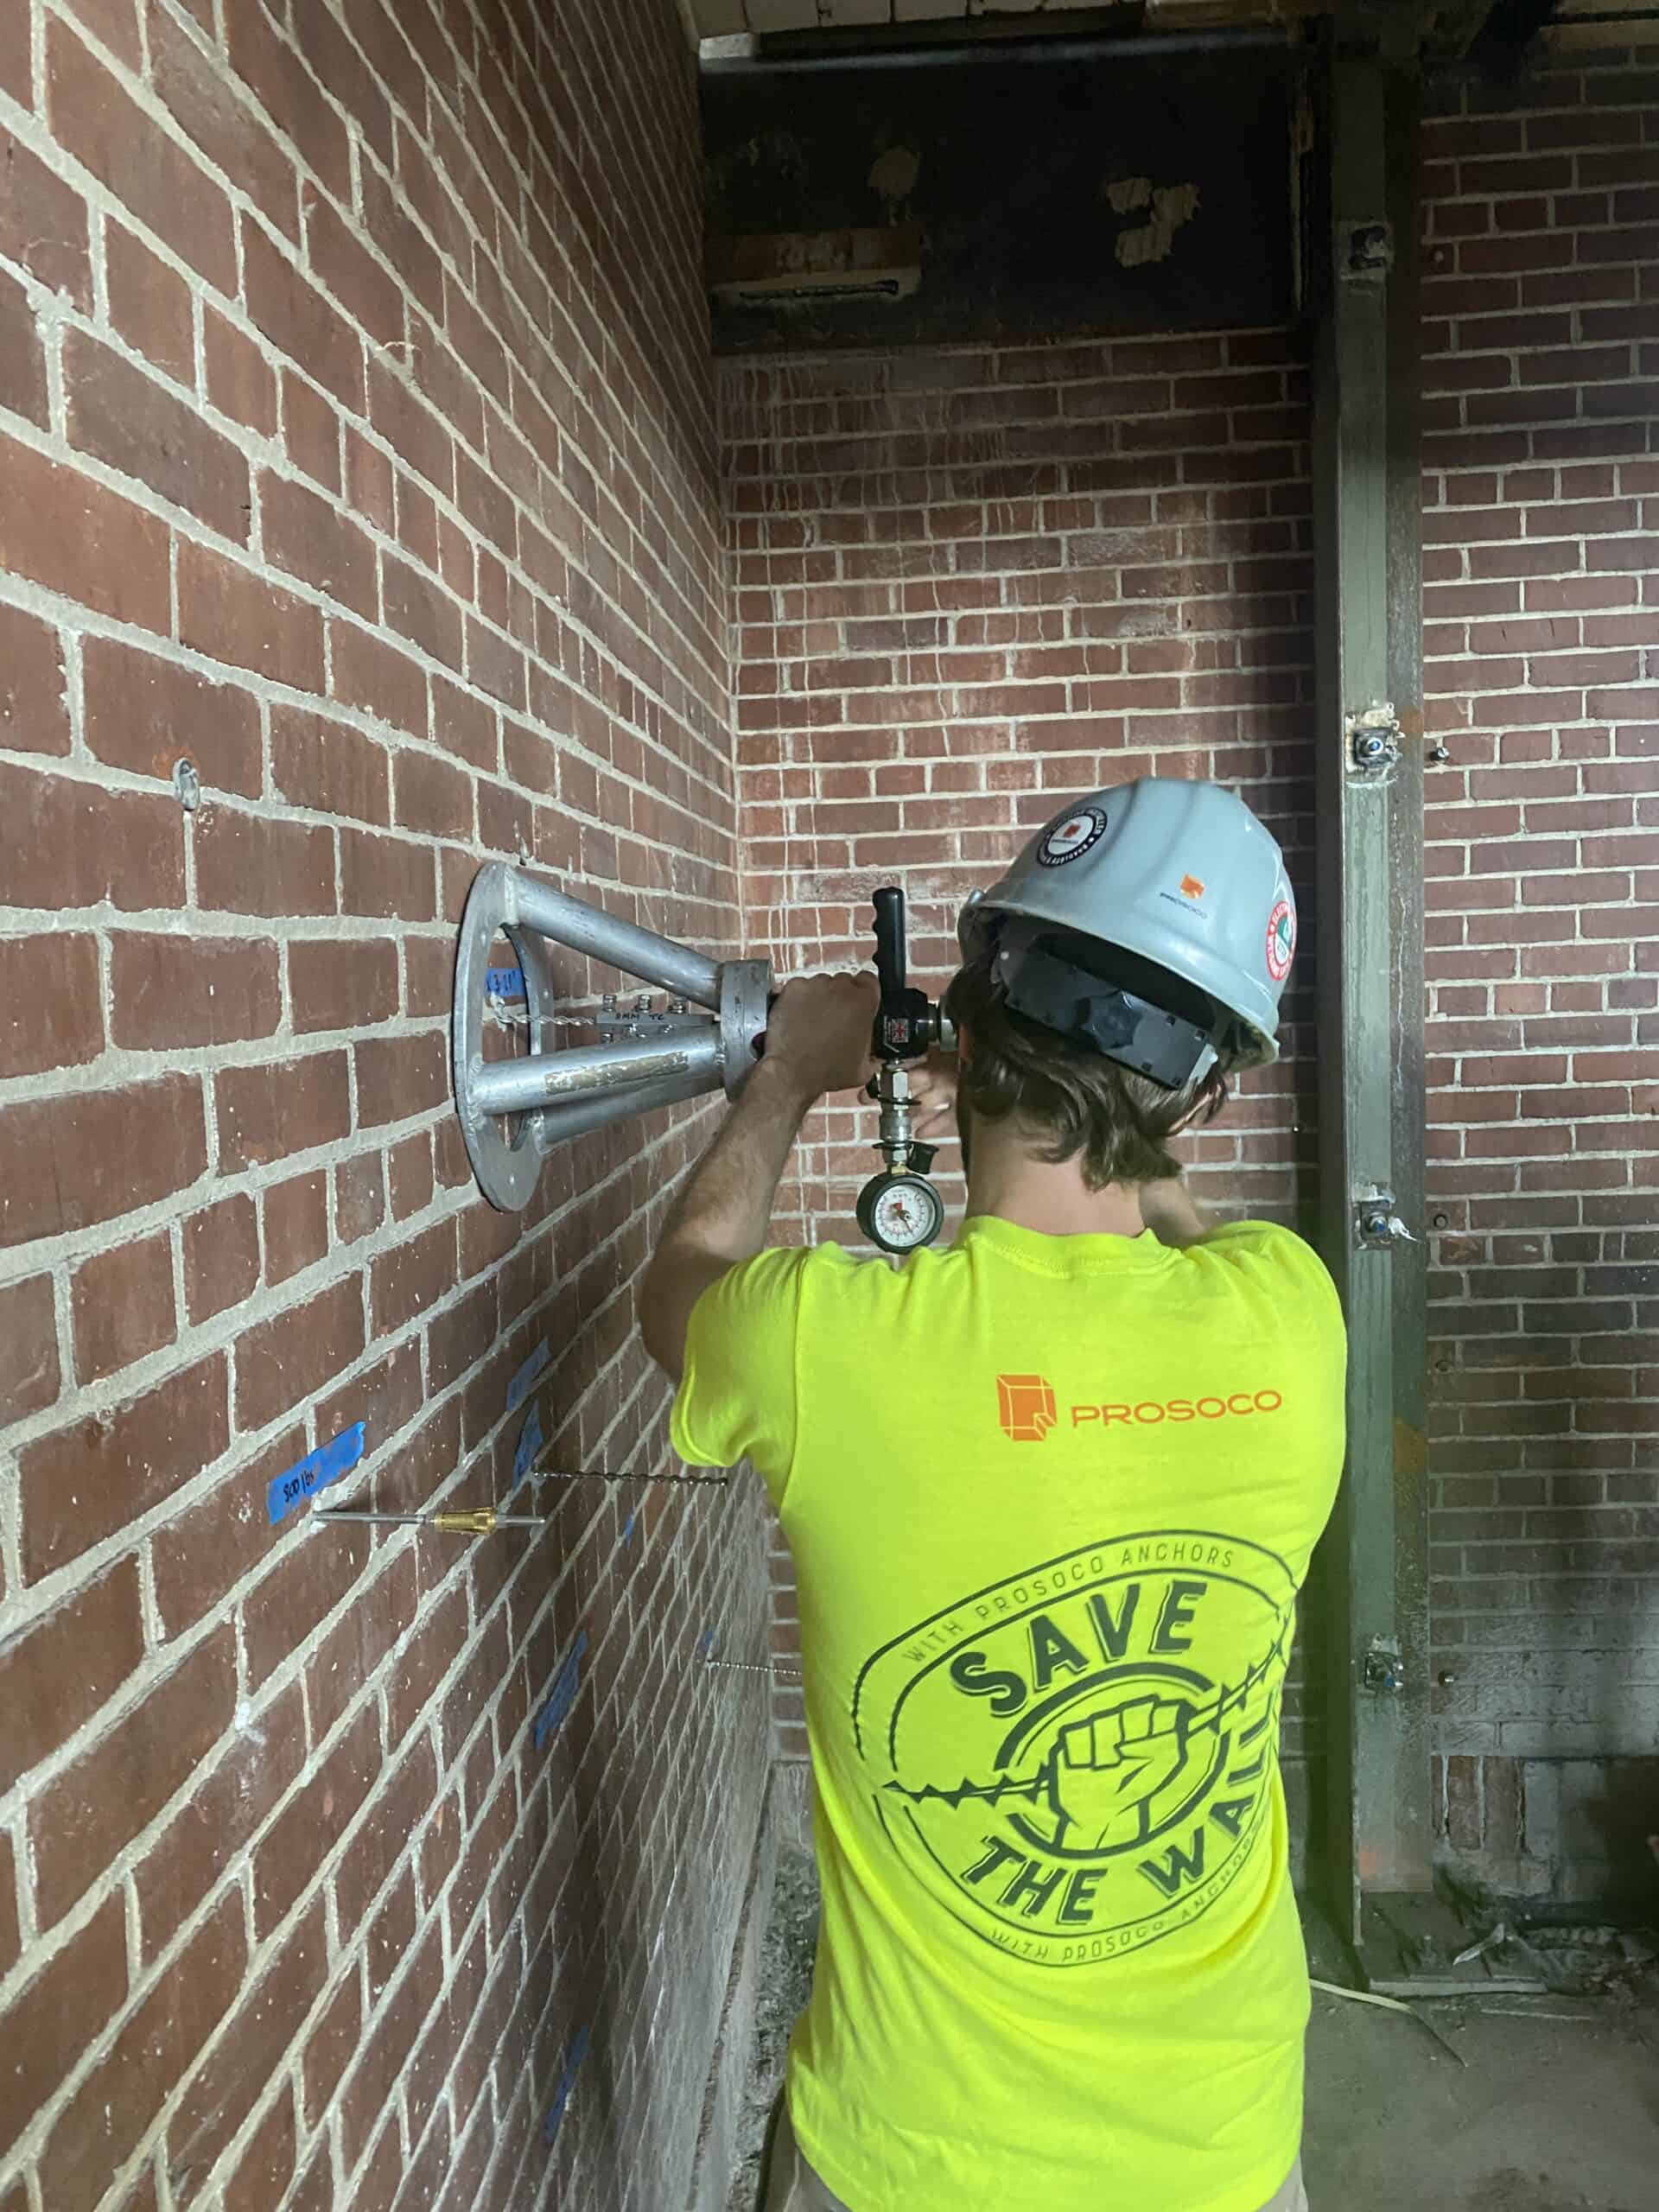
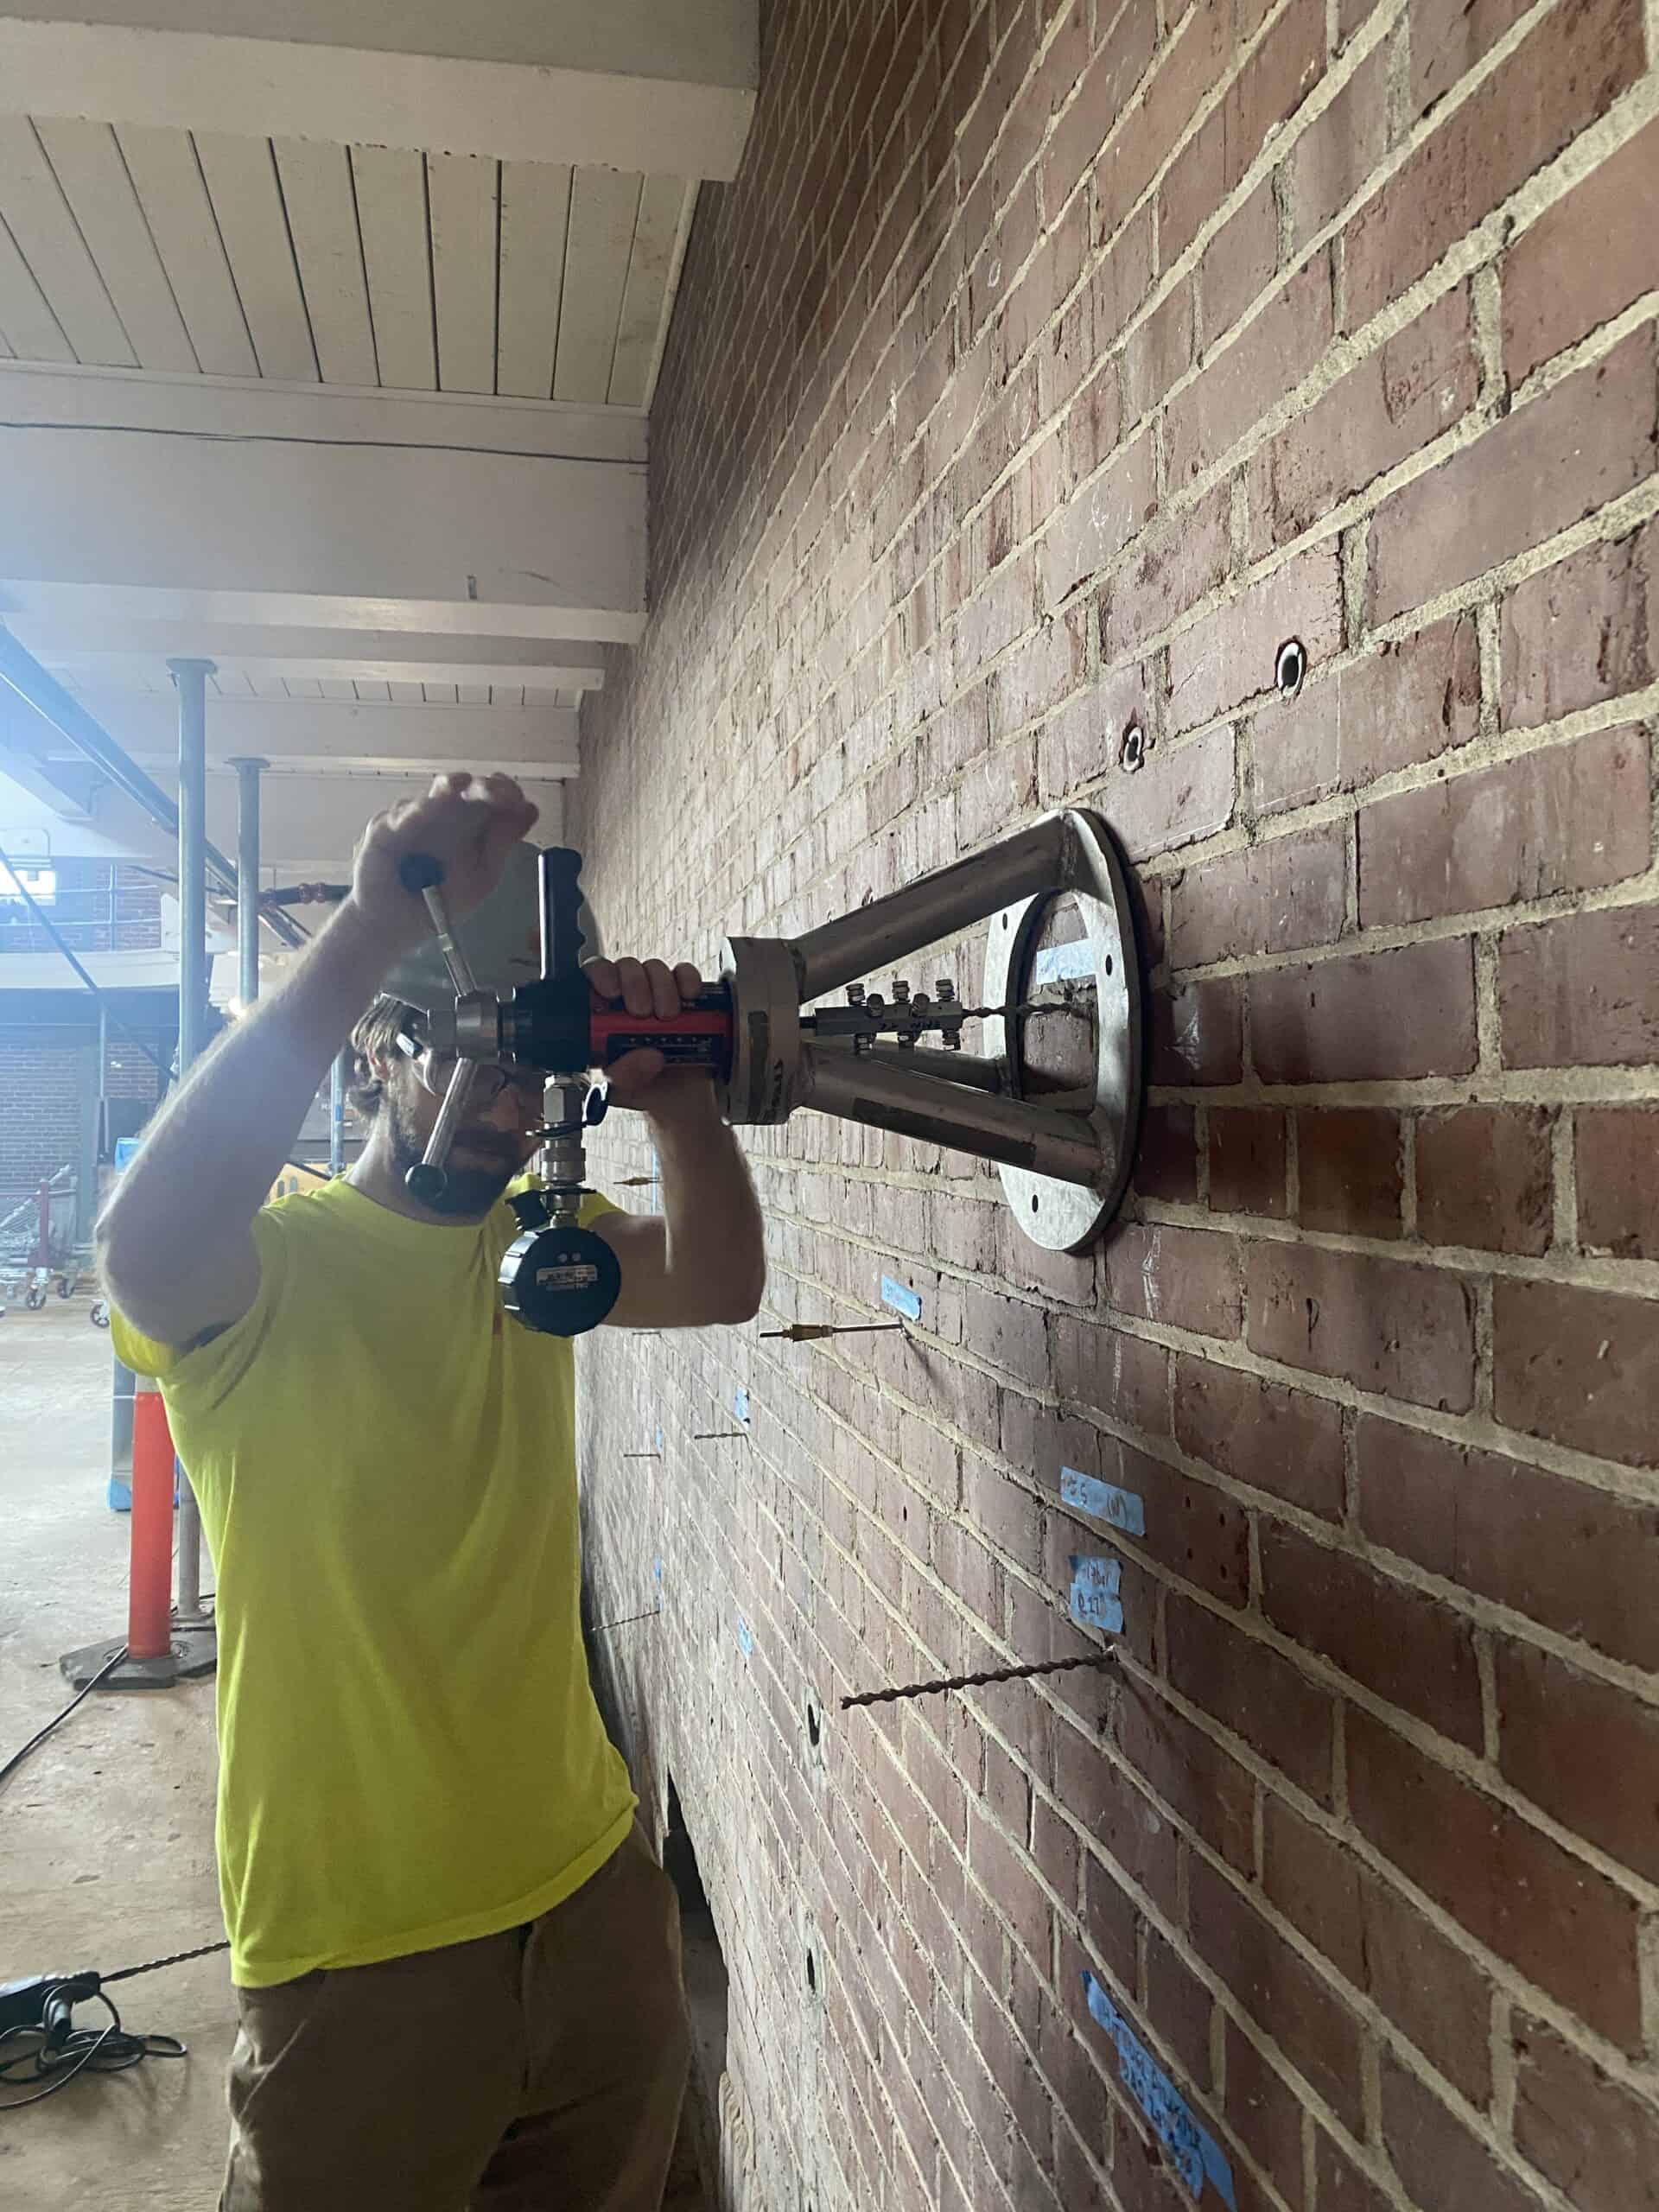
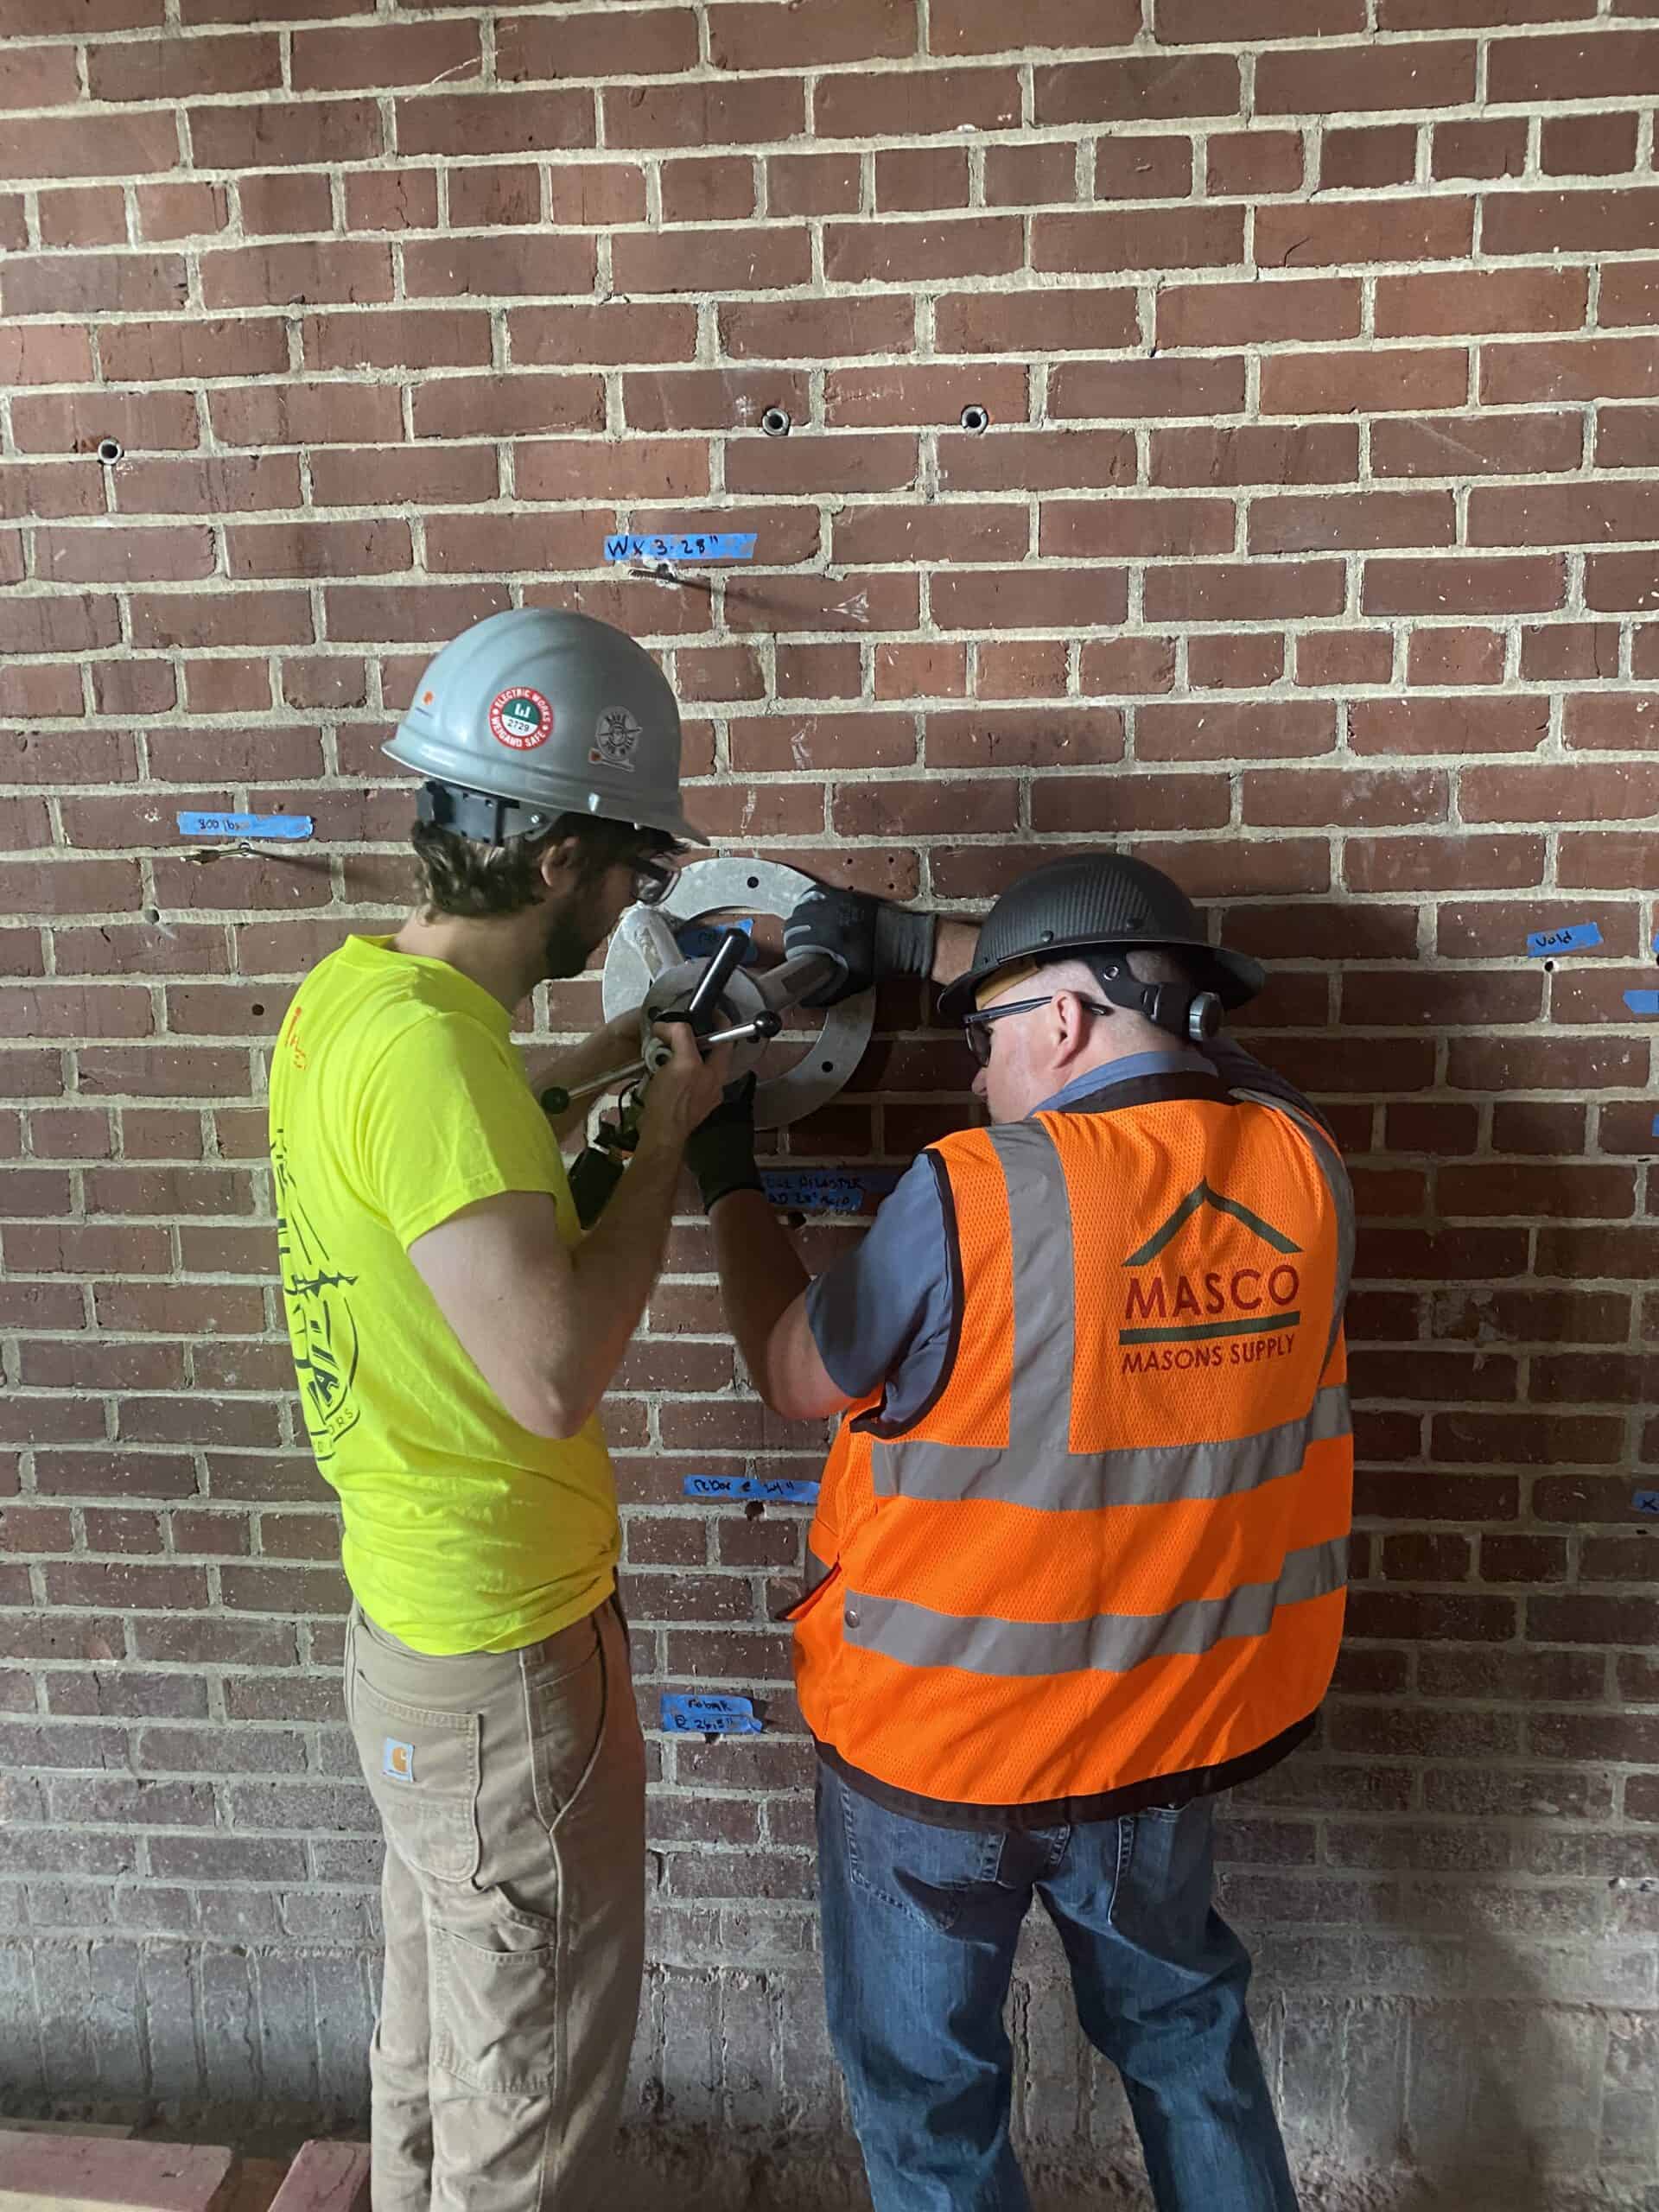
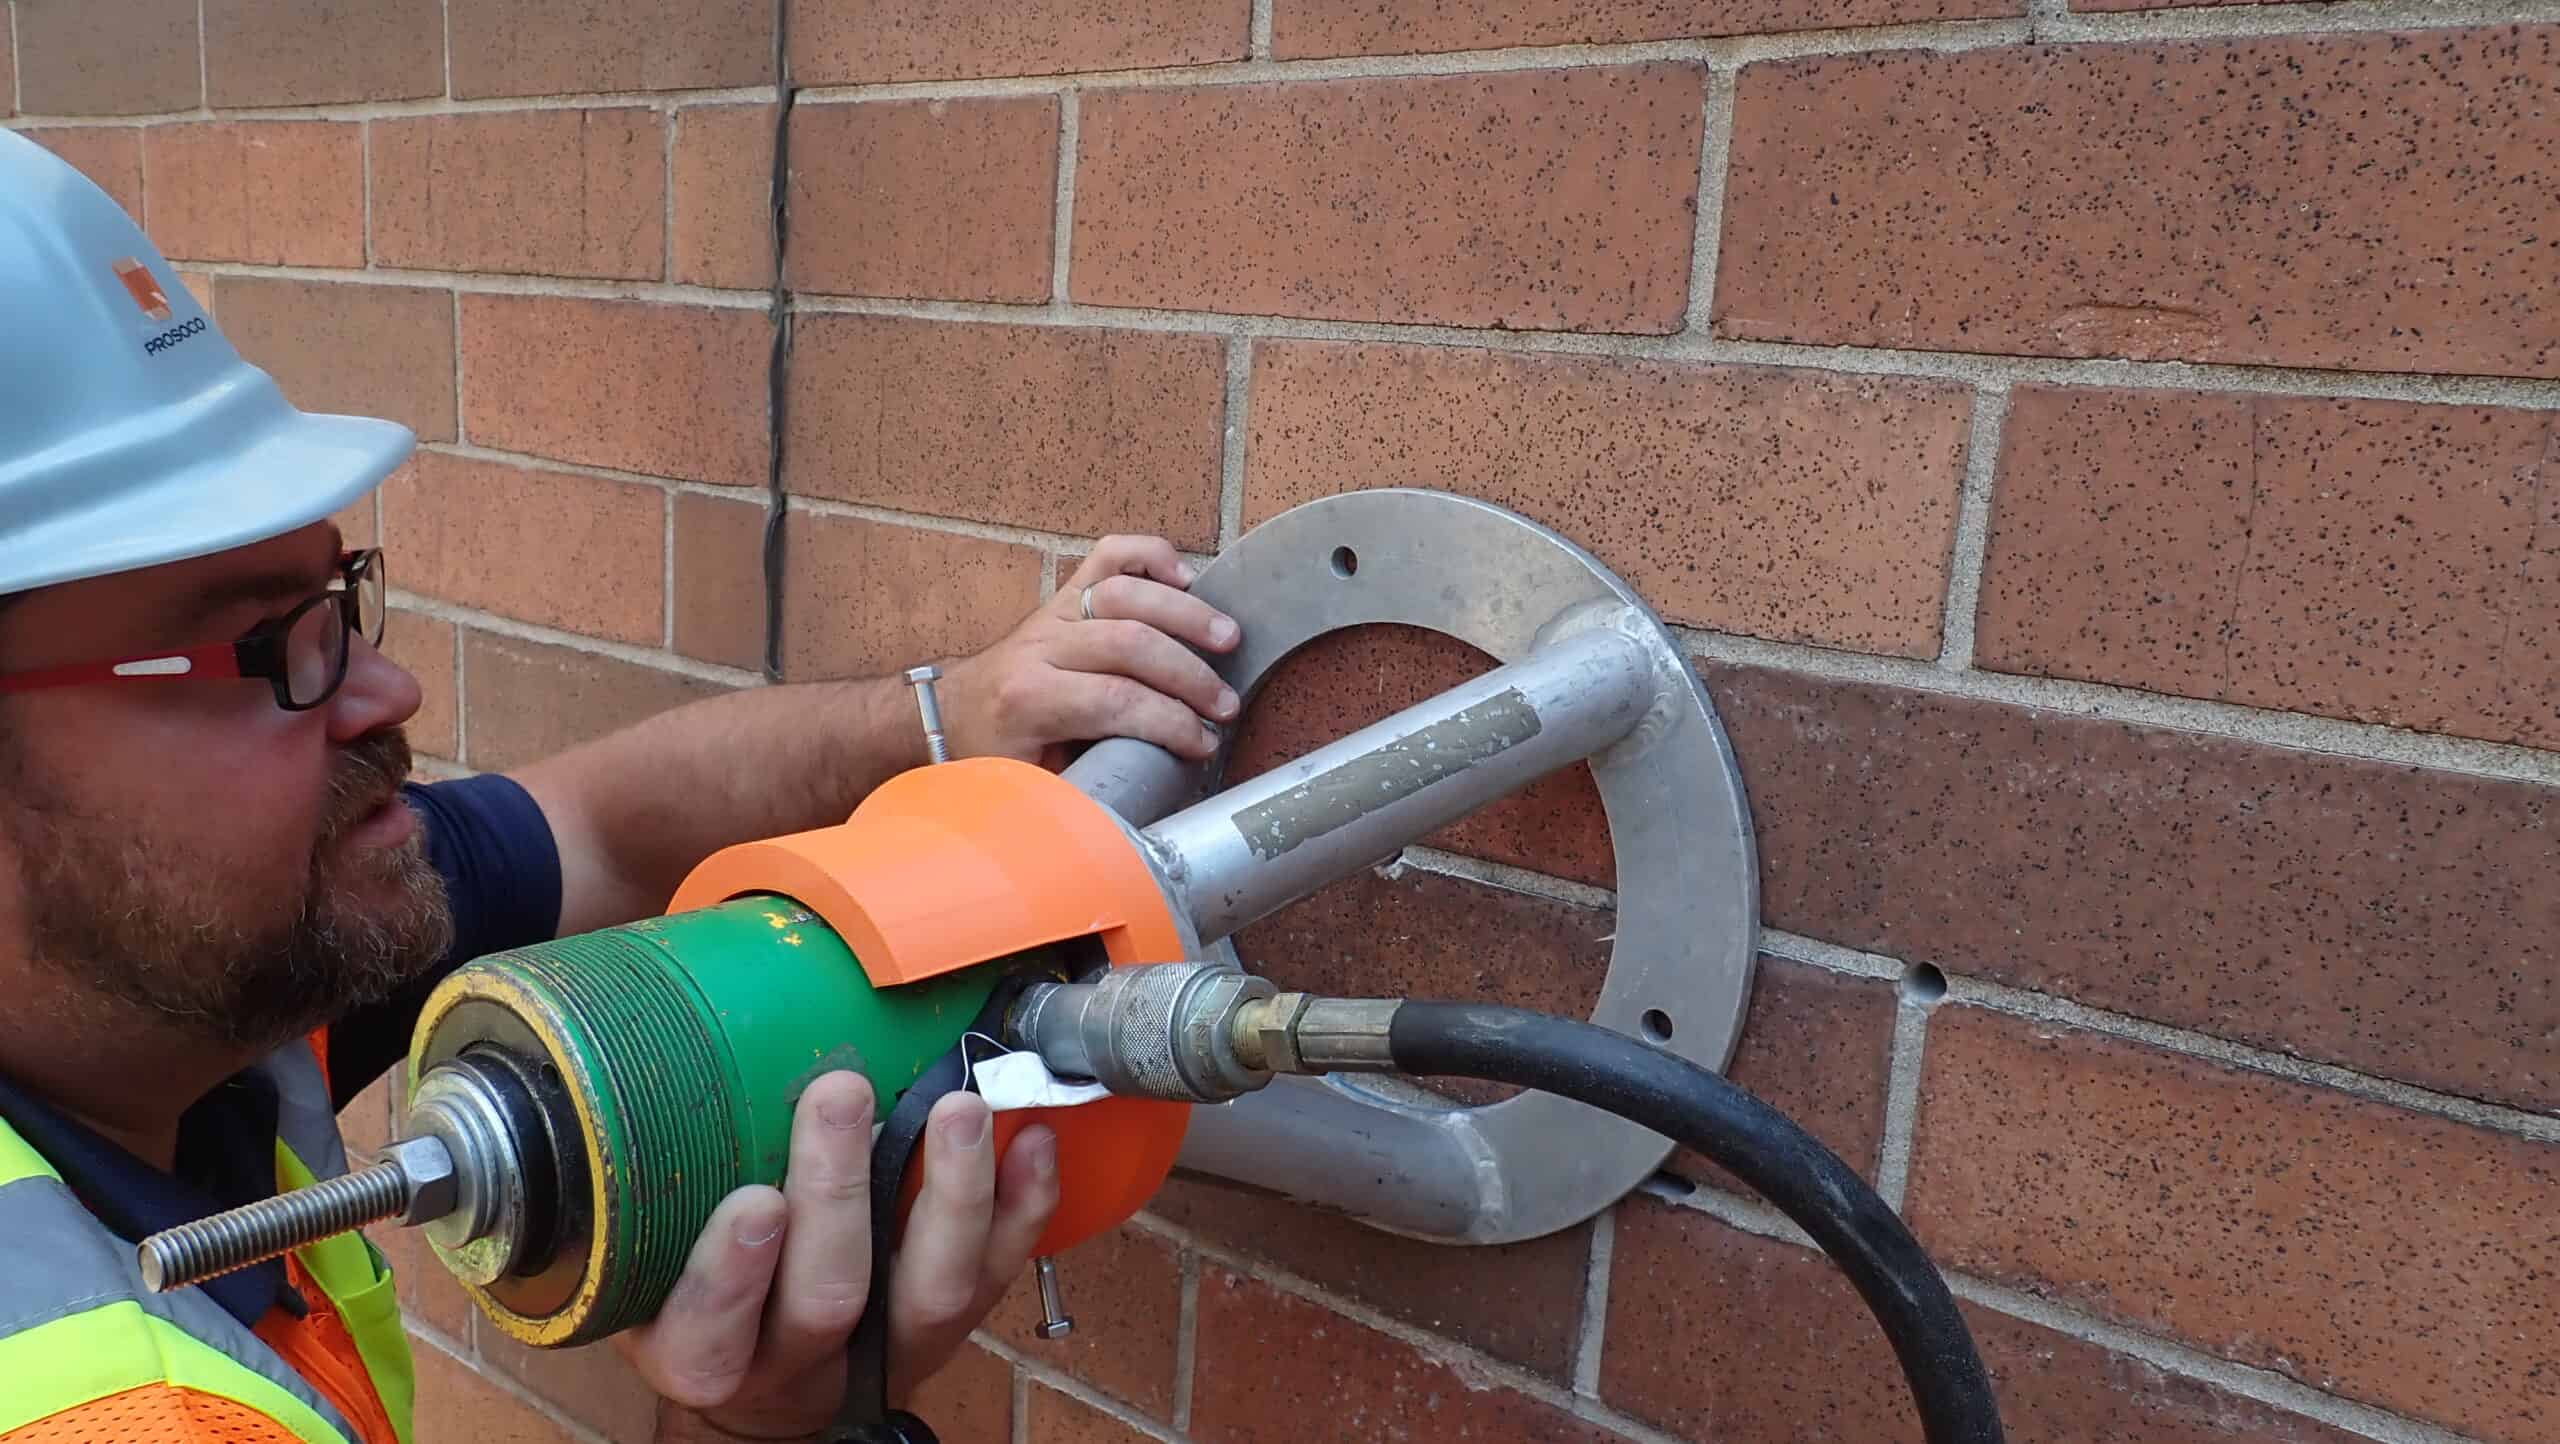
“This is Benson High School in Portland, Ore., where the anchor used on the project was our Grout-Tie, which is an adhesive version of our Stitch-Tie helical anchors. This wasn’t a typical job or test, as the anchors were required to be tested to much higher load values than are typically achievable with our standard “bell style” tension test unit. With the standard unit, when testing helical anchors, a slotted key is used to grab onto the helical anchor, which is then point-loaded. This can cause the fins to bend and twist as the slot bites into the fins of the helical anchor. At higher loads, the key can potentially slip off or shear the fins due to the point-loading being applied. Due to this, we used our Hydrajaws equipment and an adapter I manufactured with many set screws that would allow the higher loads to be reached by distributing the loading along its length.”
“To test the anchor to its ultimate capacity, anchors were installed, and the grout was left to cure fully for 28 days prior to testing on site.”
What else would you want customers, or potential customers of PROSOCO anchors, to know?
“On-site tension testing, or pull-testing, isn’t a service that a lot of other manufacturers offer. Pull-testing comes included as part of the package deal when you work with PROSOCO. We bring the test to you and provide a comprehensive report with our recommendations. We’ll also work with your Engineer of Record to determine the most appropriate anchor for the project. If no off-the-shelf anchors are a good fit, we also have the capability of manufacturing custom anchoring solutions for your project.”
![]()
The test results obtained by PROSOCO are for screening potential anchoring options for evaluation by the Professional of Record (POR) for the building in which the anchors were installed and tested. The test results are applicable only to the PROSOCO anchors installed and tested. The use of this test information is not the responsibility of PROSOCO. The anchor selection and design is the sole responsibility of the POR based on site specific loading criteria, safety factors, and the local governing codes by the authority having jurisdiction. PROSOCO recommends additional incremental testing by the POR or an independent third party at the direction of the POR for quality assurance and quality control throughout the execution of the project.
Also watch: Our grout-injection sock anchoring system used on Seattle's Metropole

