R-Guard Installation Detail
Sliding Glass Door
wood/plywood/OSB construction

Download this detail
1.
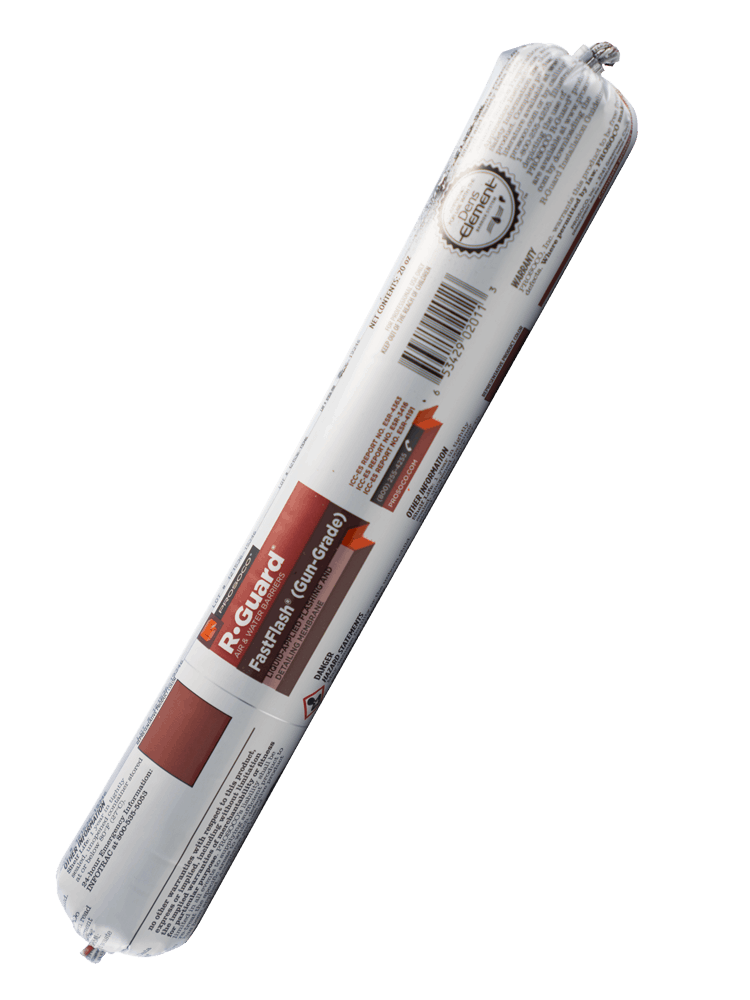
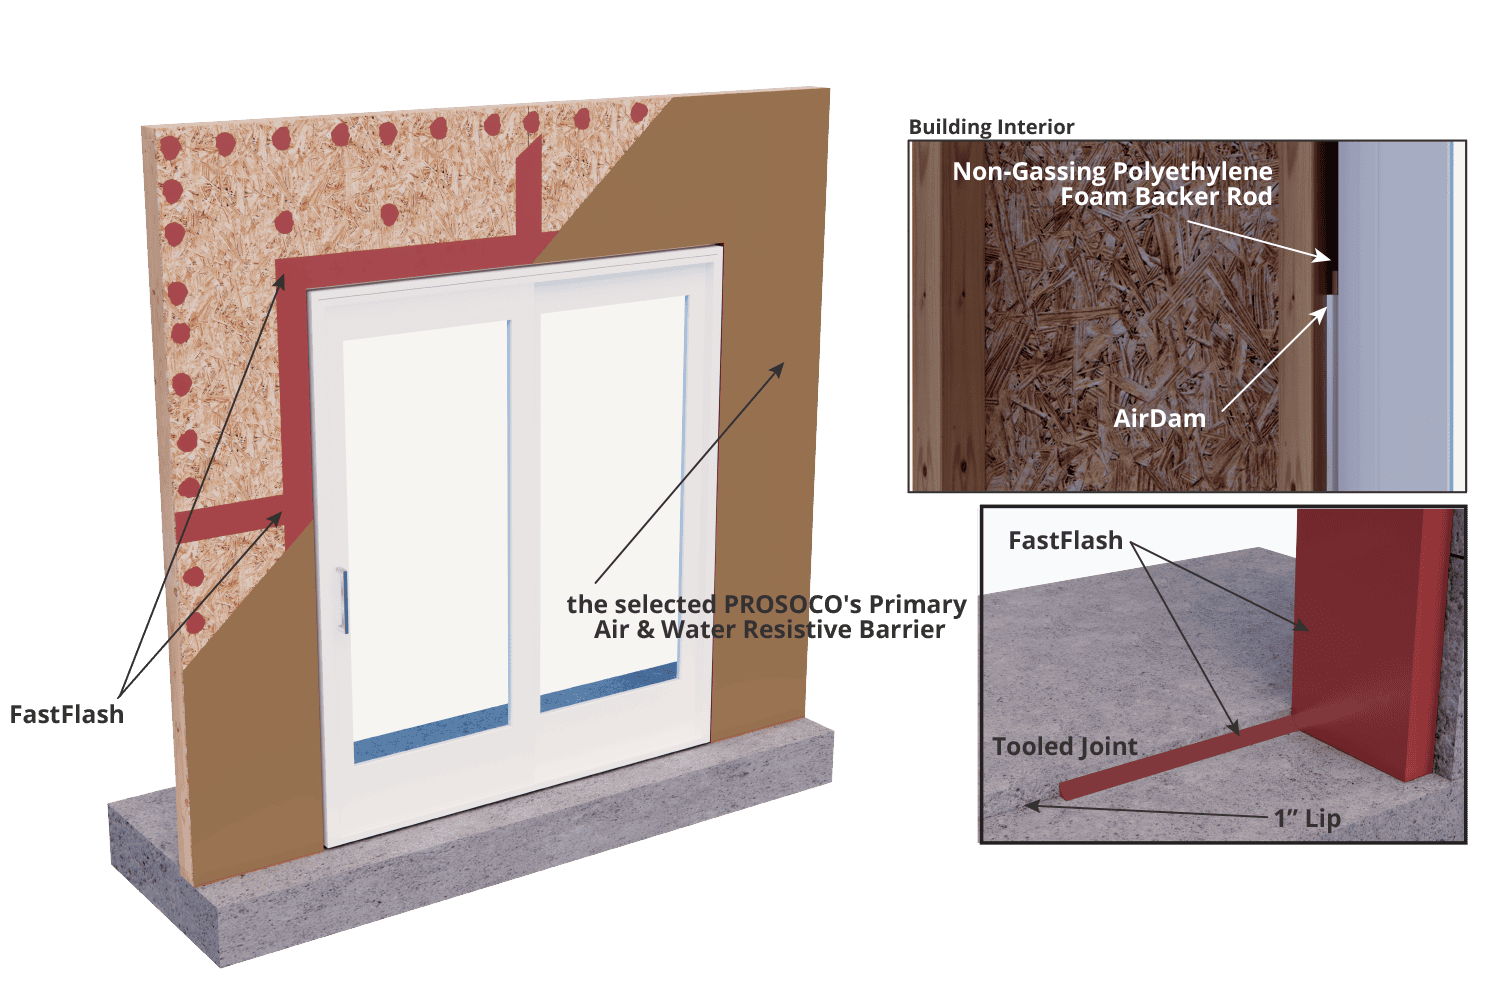
Apply FastFlash to all inside corners, joints and seams, and framing surfaces within the rough opening at a minimum of 12 mils.
2.
Apply FastFlash over the framing inside the rough opening and the structural wall surrounding the rough opening. Use a dry joint knife, trowel and/or chipper brush with bristles trimmed down half-way, to spread wet FastFlash to create a seamless and pinhole free flashing membrane to protect the rough openings and extends a minimum of 4" inches over the face of the structural sheathing.
3.
If the door is leading out onto a deck or roof area that will receive liquid applied waterproofing system or roof membrane, install the waterproofing or membrane product first onto the sill and up the jambs per manufacture guidelines. Allow sufficient time for the waterproofing or roofing membrane to fully cure and then lap FastFlash over the membrane at the jambs a minimum 2". When used in conjunction w/an entire air/moisture barrier system, carry the FastFlash out on to the face of the vertical wall a minimum of 4 inches to facilitate a tie in to an air barrier system.
4.
Install the window “plumb, level and square” into the prepared rough opening.
5.
Use AirDam as the interior air sealant to ensure compatibility with the treated rough opening and create a long-lasting, weathertight seal. AirDam prevents bulk water and moist outside air from entering, and conditioned indoor air from escaping around the window. This ties the window into the larger air and water management system, and prevents water which may collect in the window frame from entering the conditioned space.
Joint Size – Sealant depth should be one-half the width of the joint. Maximum sealant depth should be ½ inch (13 mm). Minimum sealant depth should be ¼ inch (6mm). Minimum joint width should be ¼ inch (6mm).
Joint Backing – A properly sized non-gassing polyethylene foam backer rod should compress by 25-30% when installed. Install backer rod by compressing and rolling continuously into the joint channel without stretching or puncturing. Where joint depth does not permit use of a backer rod, install a polyethylene strip or bond breaker tape over the bottom of the joint to prevent three-sided adhesion. Three-sided adhesion will restrict joint movement.
6.
Installation – Install a continuous bead of AirDam without gaps or air pockets. Tool immediately with a dry spatula to ensure complete wetting of the joint bond surface and produce a smooth, concave joint profile. FastFlash wraps into the rough opening in the structural wall. See detail 4.5.


Ted Barnekoff
Product Support - Air & Water Barriers
READY TO HELP
At Prosoco, real humans answer the phone, so why not give them a call?
