R-Guard Installation Detail
Sliding Glass Door
CMU/cast-in-place concrete wall construction

Download this detail
1.
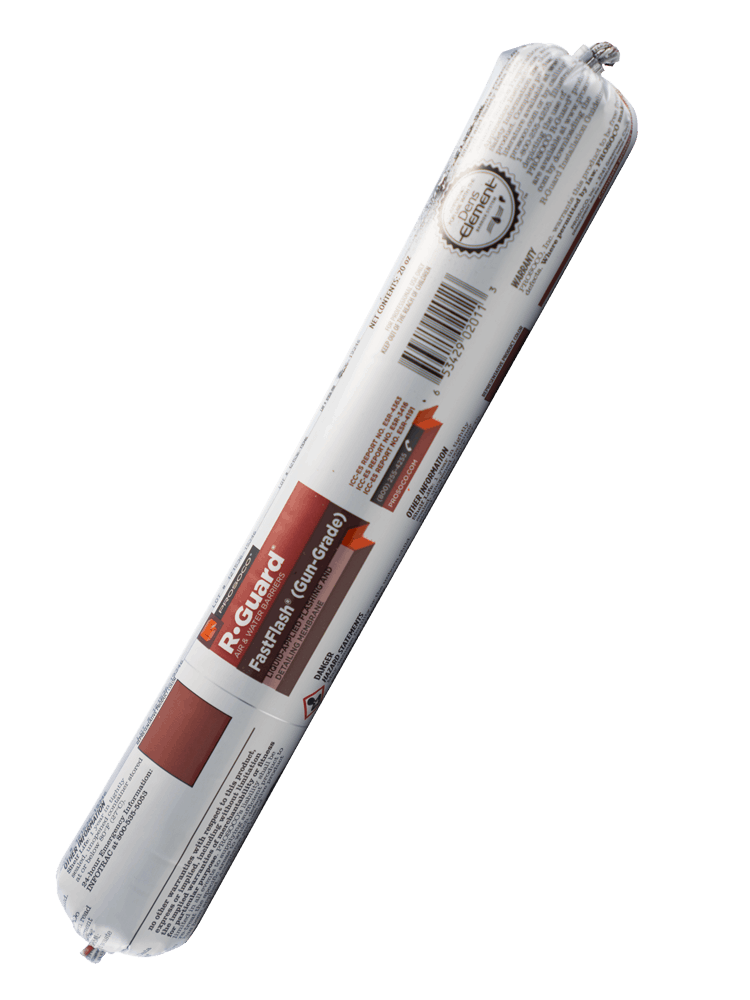
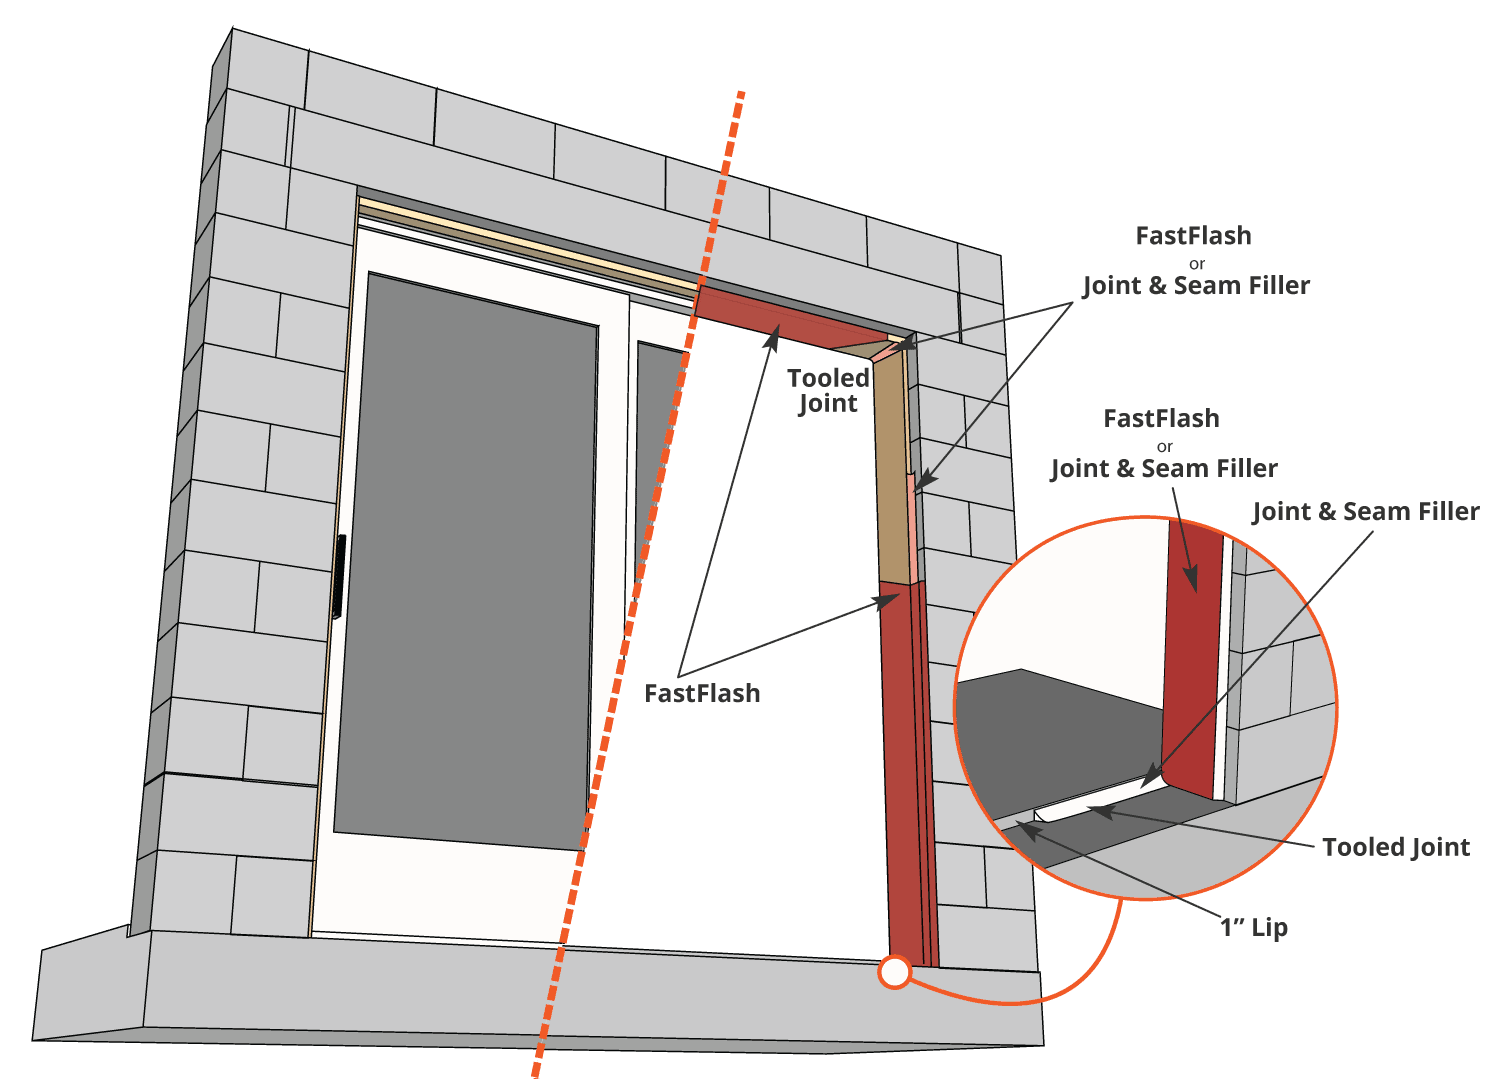
If wood bucks are not already installed, apply FastFlash along the perimeter faces of the wood bucks before attaching to the structure while still wet. Install anchor bolts to secure the wood bucks into the opening. Tapcons/anchor holes should be pre-drilled and blown out with oil-free air in preparation to receive a shot of FastFlash into the hole prior to inserting tapcon/anchor.
2.
If the pre-treated Wood buck is already installed, pre-wipe the wood buck with isopropyl alcohol and apply FastFlash in each corner and in a zigzag pattern over the inside the concrete block rough opening. Use a dry spatula, trowel or chipper brush to spread the wet product to protect the rough opening CMU surface. Apply additional FastFlash as needed to create an opaque, monolithic flashing membrane free of voids or pinholes. Allow membrane to skin over.
3.
After installation of wood buck, spot and cover the installed head of the anchor bolts.
4.
Apply FastFlash to the perimeter joint between the wood buck and CMU wall. Use a dry spatula or trowel to seal the joint. Create a profile that directs bulk water away from the joint. Allow FastFlash to skim over. Apply FastFlash over the inside of the wood buck, extending the membrane out to the edge of the return opening when used for window protection only. When used in conjunction w/an entire air/moisture barrier system, carry the FastFlash out on to the face of the vertical wall a minimum of 4 inches to facilitate a tie in to an air barrier system.
5.
Install the window “plumb, level and square” into the prepared rough opening.
6.
Use AirDam as the interior air sealant to ensure compatibility with the treated rough opening and create a long-lasting, weathertight seal. AirDam prevents bulk water and moist outside air from entering, and conditioned indoor air from escaping around the window. This ties the window into the larger air and water management system, and prevents water which may collect in the window frame from entering the conditioned space.
Joint Size – Sealant depth should be one-half the width of the joint. Maximum sealant depth should be ½ inch (13 mm). Minimum sealant depth should be ¼ inch (6mm). Minimum joint width should be ¼ inch (6mm).
Joint Backing – A properly sized non-gassing polyethylene foam backer rod should compress by 25-30% when installed. Install backer rod by compressing and rolling continuously into the joint channel without stretching or puncturing. Where joint depth does not permit use of a backer rod, install a polyethylene strip or bond breaker tape over the bottom of the joint to prevent three-sided adhesion. Three-sided adhesion will restrict joint movement.
7.
Installation – Install a continuous bead of AirDam without gaps or air pockets. Tool immediately with a dry spatula to ensure complete wetting of the joint bond surface and produce a smooth, concave joint profile. FastFlash wraps into the rough opening in the structural wall. See detail 4.5.


Ted Barnekoff
Product Support - Air & Water Barriers
READY TO HELP
At Prosoco, real humans answer the phone, so why not give them a call?
