
R-Guard Installation Detail
Rough Opening
CMU or cast-in-place concrete wall construction

Download this detail

1.
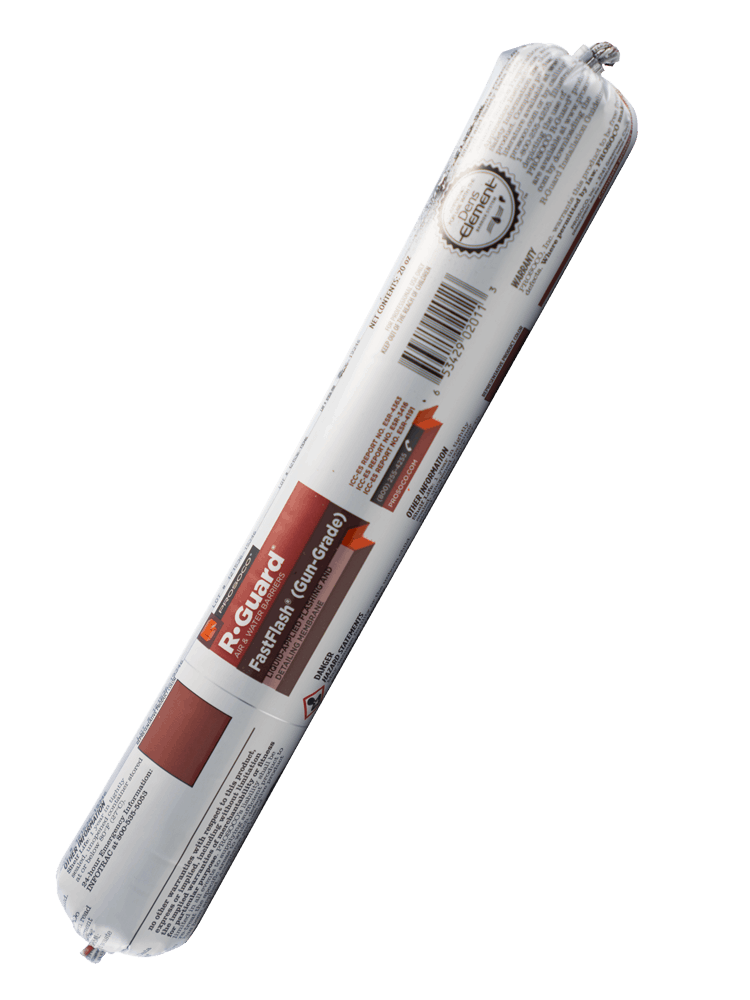
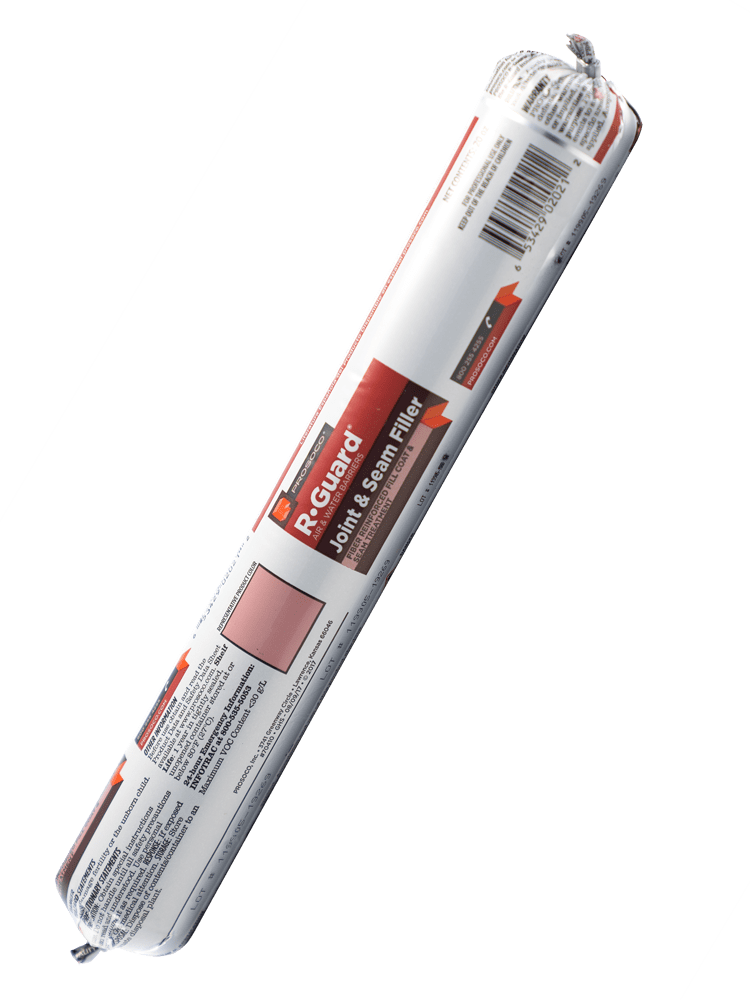
Field of wall -- Fill small voids and cracks (up to 1/2-inch) in the CMU surface with FastFlash or Joint & Seam Filler. Use a dry joint knife or trowel to press and spread 1 inch beyond each side to a minimum thickness of 12 mils (FastFlash) or 20 mils (Joint & seam Filler).
2.
Repair larger cracks or voids with mortar.
3.
Best practice rough opening -- Apply FastFlash in each corner and in a zigzag pattern over the concrete block inside the rough opening and wall face surrounding the rough opening. Use a dry joint knife, trowel or chipper brush to tool the wet product to protect the rough opening with a seamless flashing membrane that extends no more than 1 inch over the face of the wall. Apply additional FastFlash as needed to create an opaque, monolithic flashing membrane free of voids or pinholes. Allow to skin over.
4.
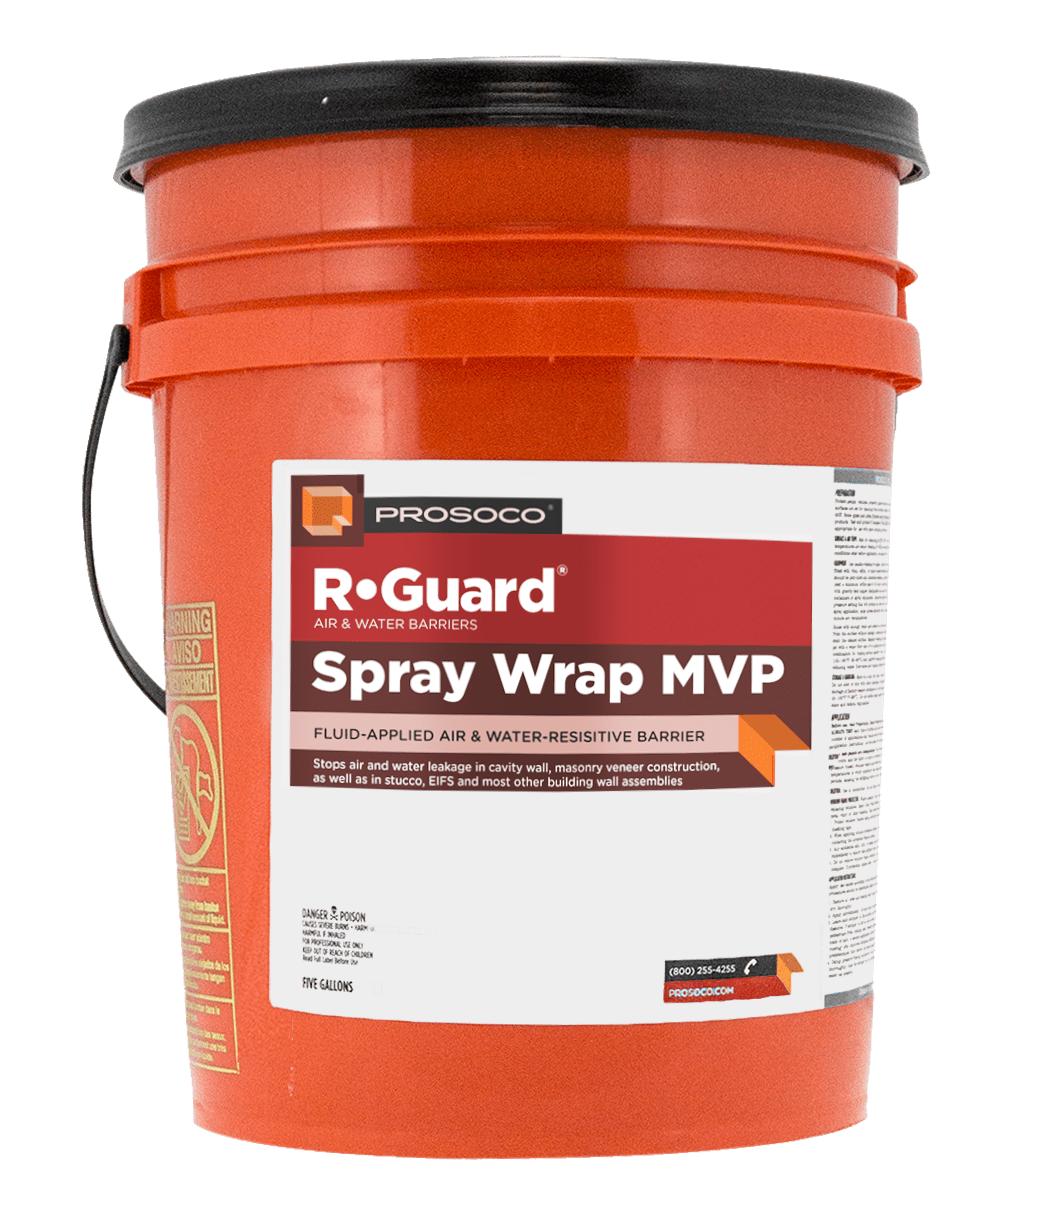
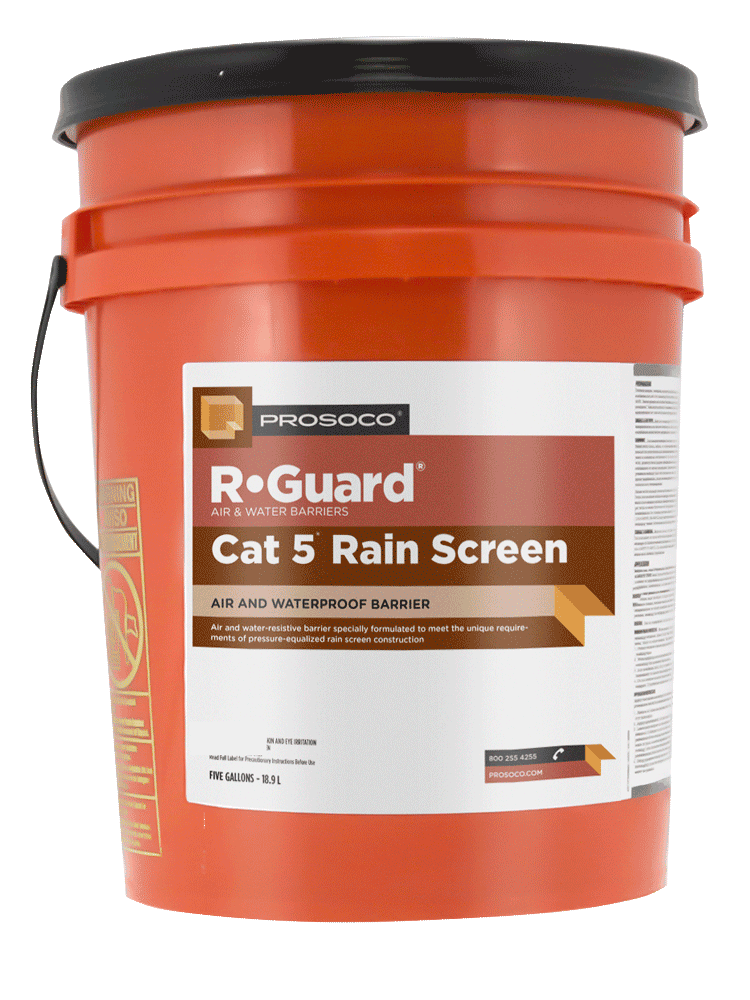
Spray or roller apply the selected R-Guard air and water-resistive barrier over the prepared wall. Apply sufficient product to cover the entire face of the structural wall.
5.
Wood buck -- If wood bucks are not already installed, apply FastFlash or Joint & Seam Filler along the perimeter faces of the wood buck before attaching it to the structure while still wet. Install anchor bolts.
6.
After installation of wood buck, spot and cover the installed heads of the anchor bolts. Apply FastFlash or Joint & Seam Filler to all inside corners of the wood buck. Use a dry joint knife or trowel to press and spread 1 inch beyond each side to a minimum thickness of 12 mils (FastFlash) or 20 mils (Joint & seam Filler).
7.
Apply FastFlash or Joint & Seam Filler to the perimeter joint between the wood buck and the CMU wall. Use a dry trowel or spatula to tool and seal the joint. Create a profile that directs bulk water away from the joint. Allow Joint & Seam Filler to skin over. Apply FastFlash over the inside of the wood buck, extending it onto the wall surrounding the rough opening. Use a dry joint knife, chip brush or trowel to spread the wet product to create a seamless flashing membrane. To ensure the wood buck is adequately protected, make sure the membrane extends no more than 1 inch over the face of the wall. Apply additional FastFlash as needed to create an opaque, monolithic flashing membrane free of voids or pinholes.


Ted Barnekoff
Product Support - Air & Water Barriers
READY TO HELP
At Prosoco, real humans answer the phone, so why not give them a call?