By Jake Boyer
Here’s a question I get all the time: “What do you recommend for graffiti removal?” Sounds pretty straight-forward, right? But most of the time, my answer begins with, “It depends.”

That’s because there are countless variables in every situation that should be considered from square one. After all, if one cleaner worked on all stains and substrates, grocery aisles wouldn’t be filled with countless products for cleaning everything from hair and skin to countertops and floors. Instead, there’s this little thing called “chemistry” which helps us understand how each unique stain is best removed from each unique substrate. Because even within the category of masonry, each substrate is still chemically different. And at the end of the day, there are only two ways to clean anything: Dissolve the stain itself or dissolve the interface where the stain is bonded to the substrate. The latter of which can be irreparable if done incorrectly resulting in degradation of the substrate, and as always, our first goal is to do no harm.
Graffiti, by definition, is “writing or drawings scribbled, scratched or sprayed illicitly on a wall or other surface in a public place.” With this broad a definition, people refer to a lot of different things as “graffiti,” and, by definition, they’re right.
Removal of “graffiti” that is scratched into the plastic walls of a restroom stall requires a completely different approach than removing spray paint from the exterior side of a concrete block wall, or magic marker on a painted metal sign, yet all are considered to be graffiti.
For the sake of our attention spans, I’ll focus today on addressing the most common graffiti types like paint or marker, and the chemical solutions available to remove them. (Stains that are mechanically carved, etched or scratched into surfaces warrant a separate discussion.)
So where do we start? When it comes to “graffiti” or any stain for that matter, your No. 1 objective should be to first, do no harm to the underlying substrate. Using a method or product that’s too aggressive can damage your substrate. If you’re working on masonry, consider yourself lucky. Masonry is one of the most resilient materials available, but those products that claim to be the one and only cleaner for all types have to be aggressive enough for the strongest stains and substrates, which makes them far too aggressive for the more delicate stains and substrates.
Your second objective is to identify the stain and the substrate to which it’s attached. From there we go through a process of elimination to rule out those products that are not suitable for your stain/substrate combination.
Why “it depends” when it comes to your graffiti type
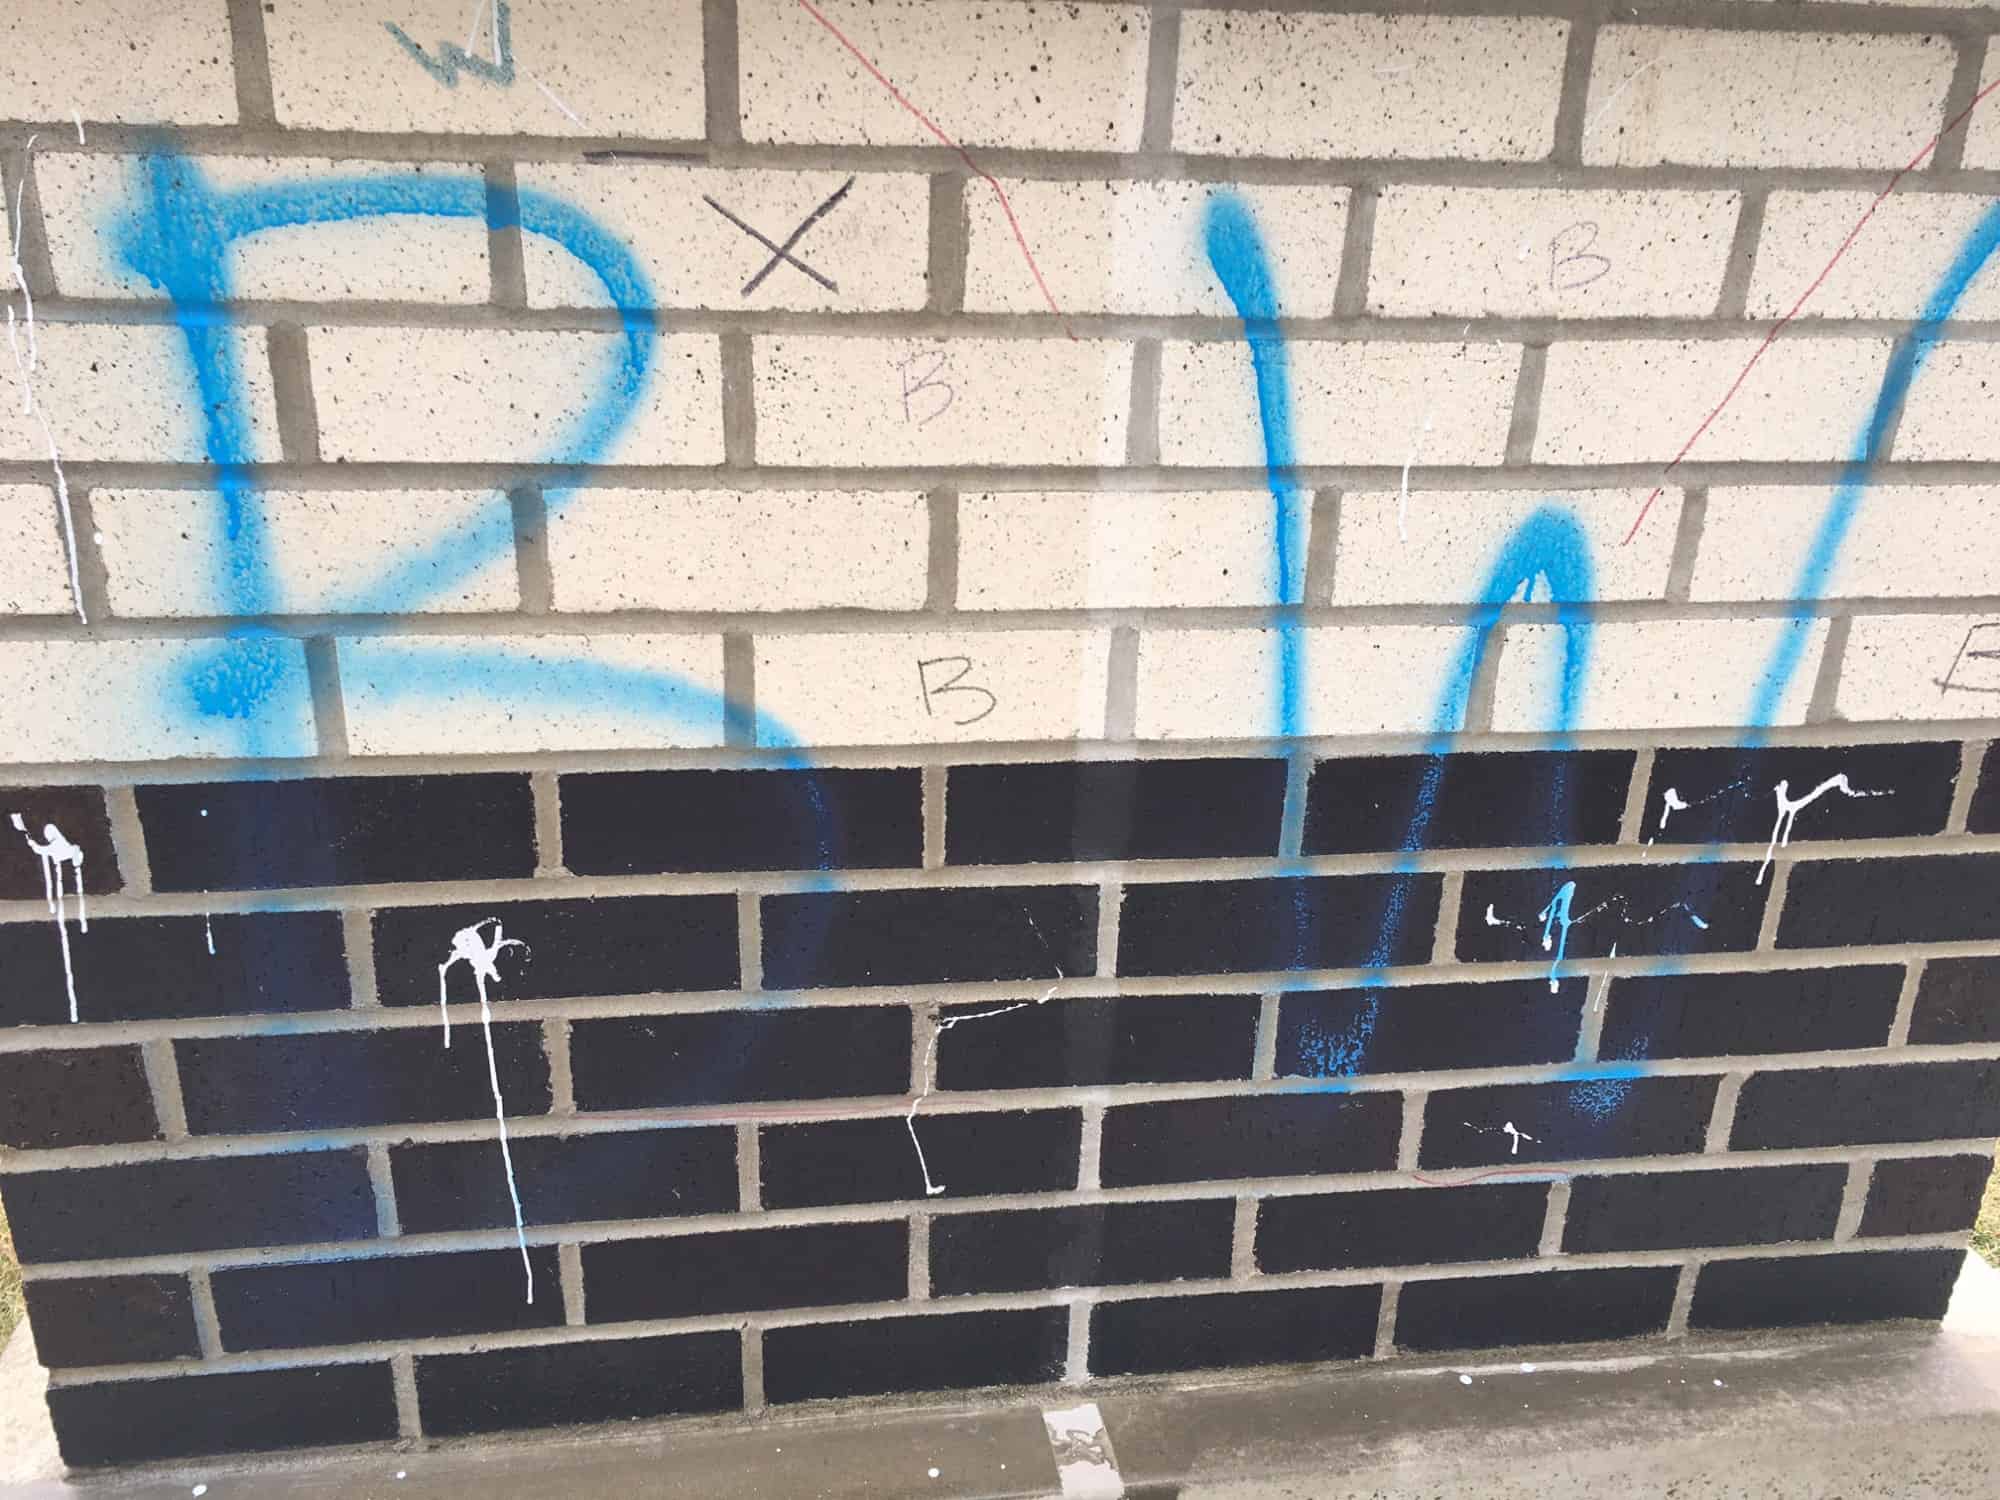
The most common types of graffiti are topically applied, and then cure or bond to the surface. Think about spray paint or markers, even things like adhesives, stickers, white out, lipstick or even crayons – these all have very different chemical compositions and are therefore most effectively removed with different chemical cleaning solutions.
Even within a common type of graffiti like paint, there’s variety of chemical makeups. Spray paints, for instance, can be acrylics, alkyds, enamels, epoxies or others, all of which have different chemical compositions. Think about automotive paint versus house paint. You wouldn’t, or at least shouldn’t, use the same product to remove both types. Not only because the paint is different, but also because the substrates are different.
Unfortunately, graffiti “artists” don’t typically stick around to tell you what kind of paint they used so you can jump right to the appropriate remover. This means we’re left with the task of testing different methods and materials to determine what’s most effective. Another good example of a familiar mantra, “if you’re not testing, you’re guessing.” Just be sure to do your testing in as discrete of an area as possible, just in case.
Why “it depends” when it comes to your substrate
In addition to the graffiti itself, what about the substrate that was tagged? From painted metal signs, to wooden fences, to brick walls and more, graffiti tends to show preference to location over substrate. If you’re lucky, it’s been applied to masonry, which is generally very hard and can withstand a variety of cleaning methods. And if you’re really lucky, it’s been applied to a substrate that was previously treated with an anti-graffiti protective treatment. Still, care should be taken. Even a solid masonry wall should not be approached as if it can’t be harmed. In general, the smoother the surface, the easier it is to remove as the graffiti hasn’t soaked into large open pores. With polished masonry, however, extra care must be taken to ensure you don’t damage the finish while removing the graffiti. Certain products may not be intended for use on polished stone surfaces and using those products may remove the graffiti, but leave an etch or diminished level of shine in its place, making the shape of that graffiti permanent. Personally, I’d rather have the painted letters than the writings permanently etched into my polished façade.
If you have a painted surface, things just got much easier… or much harder. Again, It depends. Much easier if you have some of the original paint left over and can simply paint over the graffiti. But if you need to remove the graffiti and leave the underlying paint intact, now you’re asking a product to remove the paint you want to remove, but leave alone the paint you want to keep. That’s a lot to ask from some liquid in a jug. Maybe some day we’ll have “Smart Graffiti Removers” like we have “Smart” everything else, even water! But for today, we’ll have to rely on testing and chemistry to point us in the right direction.
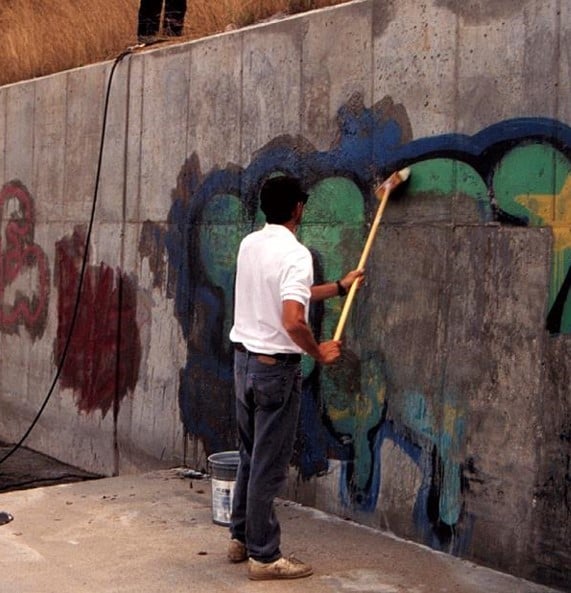
When it comes to masonry, graffiti is much easier to remove from smooth substrates like a glazed brick or burnished block, than it is from a rough surface like split-faced block or fluted brick. The more textured the surface, the more nooks and crannies the graffiti can get into, and the more stubborn it can be when it comes to removal. That’s where the right chemical can be your best friend, but the wrong ones can leave you with a mess.
If you’re real lucky, you’re working on a masonry wall that was previously treated with an anti graffiti protective treatment. There are two types, sacrificial and non-sacrificial, both of which have their place, but should be selected with a few things in mind.
Sacrificial treatments are applied to the substrate, then when it gets tagged, you just wash off the treatment and the graffiti goes with it. They’ve certainly got their benefits, but the list of concerns is longer than with a non-sacrificial. Sacrificial treatments are often times wax based products that are applied in liquid form then cure to a film over the surface. That means the entirety of the surface is covered, which is good when it comes to graffiti, but not so much if there is any moisture in the substrate, or any way for it to get in there as these treatments are notorious for blushing out or turning white in the presence of trapped moisture. That means after washing the graffiti off, you have to allow that substrate to dry completely, then reapply, leaving you susceptible to attack in between cleaning and reapplication.
Blok-Guard Product Family: Which product is right for your project?
**The following products are ranked on a scale of 1-5, with 1 being the lowest performance (OK to use, but not preferred) and 5 being the highest performance (most effective for the task).** Always test to ensure desired results.

Non-sacrificial treatments on the other hand are intended to withstand multiple removal cycles. How many? Well, it depends. This time it depends on the substrate, the chemistry of the treatment and the chemistry of the graffiti and products used to remove it. The good news is that in most cases, when you remove the graffiti, you’re done. No need to reapply. The other benefits of these products, at least some, are that they allow the substrate to breathe and moisture that does get behind the coating will be allowed to evaporate out of the surface. Look for products comprised of RTV silicones or silicone emulsions as most paints and common graffiti mediums have a tough time forming a permanent bond to silicone chemistry. Whatever you do, seek out a product that maintains the substrates natural breathability and provides water repellency and anti-graffiti characteristics all in one product.
Why “it depends” when it comes to your removal method
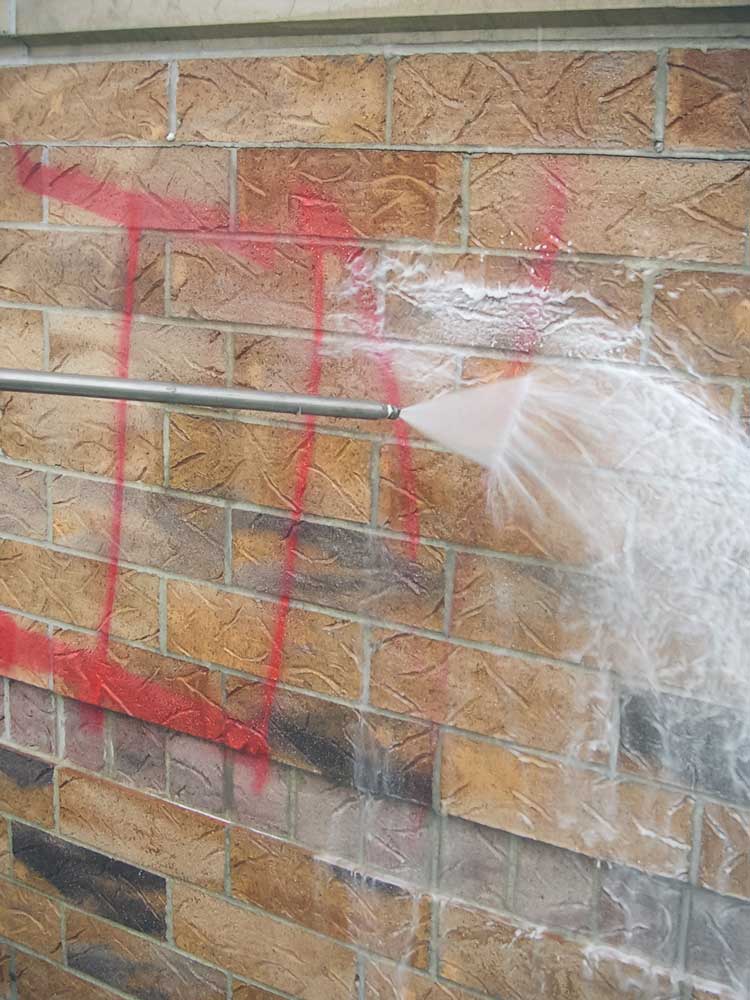
Graffiti removal products can range from alkaline to acidic to solvent-based. Depending on the composition of the removal product, some may leave a dark shadow around the treated area, while others may leave a lighter haze and some won’t affect the appearance at all. Depending on the alkalinity of your substrate and the product used, some may need to be neutralized with an acidic afterwash, or vice versa, to bring the substrate back to neutral and others may just need a good thorough fresh-water rinse. Be sure to check the data sheets of the products you select to avoid replacing one problem with another, and ALWAYS test the materials you plan to use in an inconspicuous spot before overall application.
When testing, be sure to pay attention to the application details. A few of the biggest factors affecting performance of any cleaner are dilution, dwell time and mechanical agitation. I’ve conducted countless tests where the first application or a limited dwell time makes the product seem completely ineffective. Then a second or third application, or the last couple minutes of the specified dwell time, it’s like a switch is flipped and magic happens. Or other times the product is trying to lift the coating, but just needs a little scrubbing action to help break the surface tension, then viola. Be patient and trust the process. When it comes to testing, you should follow the manufacturers data sheet to a T, they tend to know their own stuff pretty well.
Methods like sand-blasting or other abrasive medium should be a last resort in your removal efforts as they can easily cause more damage than the graffiti ever did. As always, start with the least aggressive means available, then work your way up as needed. The last thing we want to do is start too aggressively and cause irreparable damage that’s worse than the graffiti. Using a milder product and method may take a little longer, but your reward is removing the graffiti without degrading the underlying surface.
Why “it depends” when it comes to your unique conditions and location
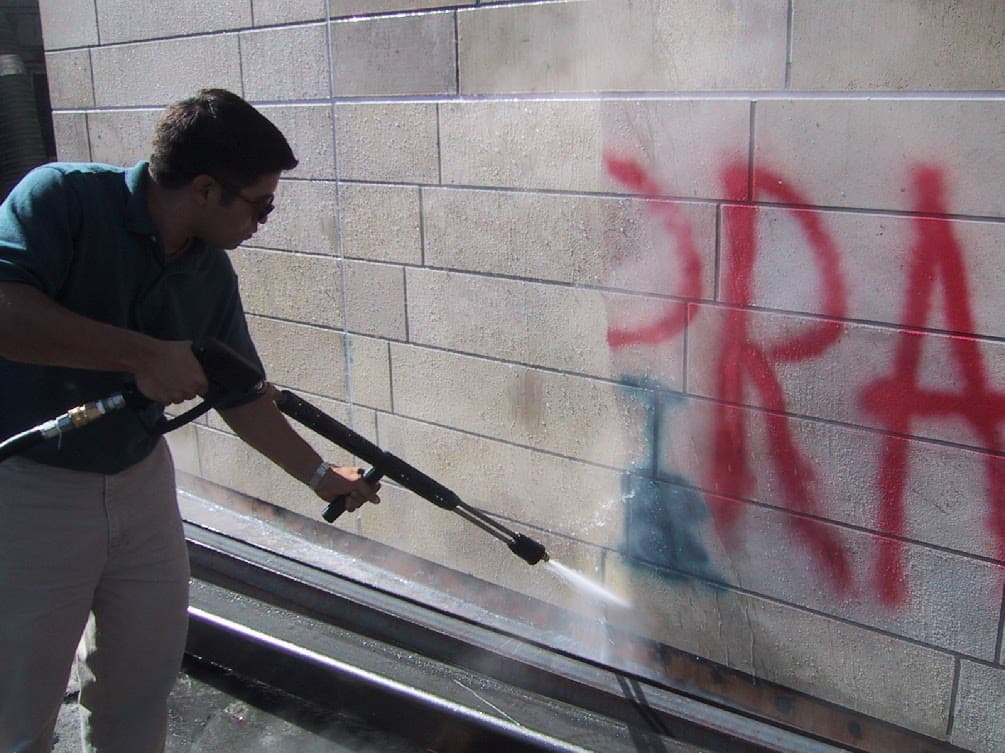
Before you get started, it’s important to consider the conditions of your graffiti-removal project to determine how hard you can go at it. For example, how visible is the graffiti to the public? How valuable is the masonry? If you’ve got a plain concrete block wall in a back alley and you want to remove some offensive graffiti simply to reduce the likelihood of it happening again, you may be set to take a more aggressive approach. If you’ve got a polished stone base on a national monument or historic building, you’re going to want to take some additional precautions to ensure you don’t cause damage to the structure.
Don’t forget about your surrounding elements. Are you working in an area that has high levels of pedestrian traffic? Vehicular traffic? Plant life and vegetation? Where will the rinse water go? What about adjacent materials? Maybe you’re working on a masonry wall, but it’s directly above a painted substrate. I’ve never finished a project and thought to myself “good thing I didn’t waste all that time masking,” but many times over I’ve cursed myself for not taking the time to protect things… As I spent twice as long to clean up the mess I made.
Answering these questions will make your job easier in the long-run
All these factors combined demonstrate the need for professional consultations when it comes to removing graffiti. It should not be left to the untrained or the average joe with a pressure washer. Of course, that’s what PROSOCO is here for and that’s why we have so many technical reps positioned all across the US and Canada. And that’s why we truly live our slogan of “You. Us. The Project.”
In addition to anticipating my standard reply, “It depends,” be prepared to answer some questions so I can help you get the graffiti removed without causing more damage.
1. Do you have pictures?
This is always my first question because it can eliminate the need to ask subsequent questions.
A picture is worth 1000 words… at least. Pictures can often tell me what the substrate is, what the medium of graffiti is, and how severe it is, taking a giant step in the right direction. A word spray painted on a surface in a single sweeping motion by a vandal in a hurry is much easier to remove than a mural painted in multiple colors and layers.
When taking project photos, you’ll want to take a few up close, as well as some from a distance to show scale and surrounding elements that need to be considered.
2. What’s the substrate?
Different materials may be subject to secondary staining from certain cleaning products. The wrong product can make you wish you left the graffiti alone.
Different porosity contributes to the strength of bond and depth of penetration.
3. Do you know what medium the graffiti is?
Spray paint, marker, lipstick, etc. Any clues you can provide will be helpful in determining the method to remove the graffiti most effectively.
Liquid-applied graffiti like spray paint tend to penetrate deeper into the pore structure of the substrate than other more topical forms.
Look around the site. If you’re lucky, they left the can behind for you to quickly identify the type and then the solution.
4. How long has the graffiti been there?
In general, the quicker you get the graffiti off, the easier it is to remove. If it’s been there for weeks, months or longer, and has baked in the sun or been coated over again by another vandal, it’s going to require a different approach to remove.
Also, the quicker you get it off, the less likely it is to return. Vandals like their work displayed for as long as possible. If they come back the following day and their hard work has already been washed away, they’re more likely to move on to another target.
5. Was it previously protected with an anti-graffiti protective treatment or other coating?
If previously protected, the protective treatment inhibits the bond of the graffiti medium, making the graffiti much easier to remove.
If the substrate was painted, it may require a completely different approach to remediate. Often times repainting is a better solution than attempting removal.
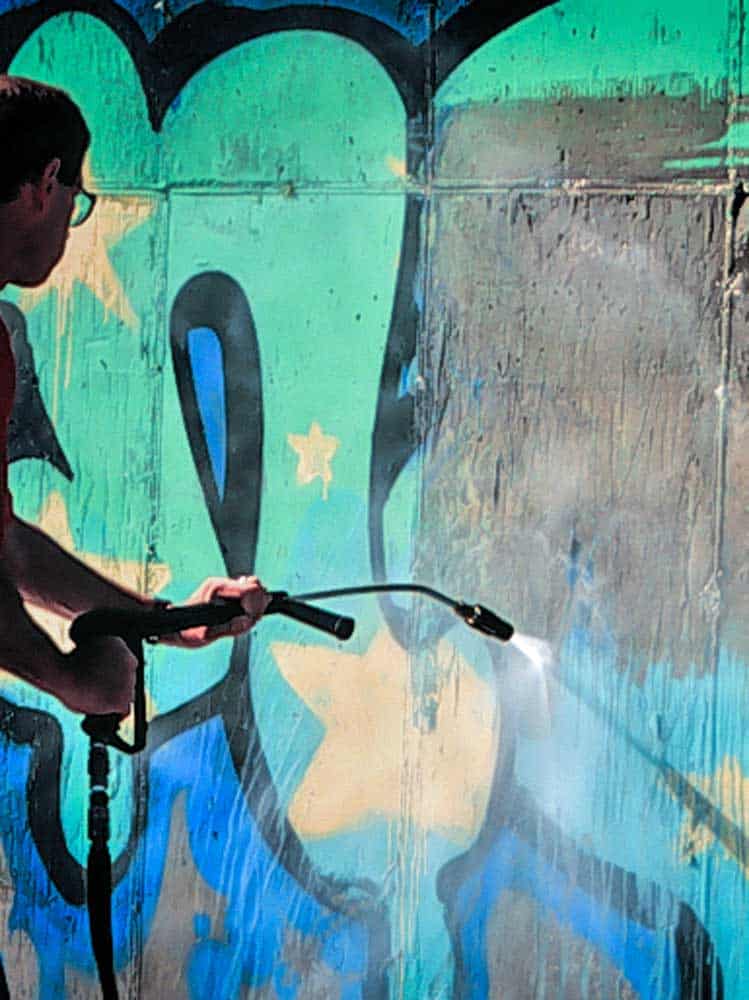
The answers to the above questions can significantly cut down on the required testing and point you in the direction of a solution much faster. If you don’t have the answers to any, or many of the questions, the next approach is trial and error. All too often, this results in taking the “that’ll DEFINITELY get it” approach, meaning taking the most aggressive means available so not to waste time with the milder options, which, again, can result in irreparable damage to the underlying substrate. For this reason and many more, never go it alone. Contact your local PROSOCO rep and they will be more than happy to visit your site and assist with testing to get you headed in the right direction. When you work with PROSOCO products, its always You. Us. The Project.
![]()
