
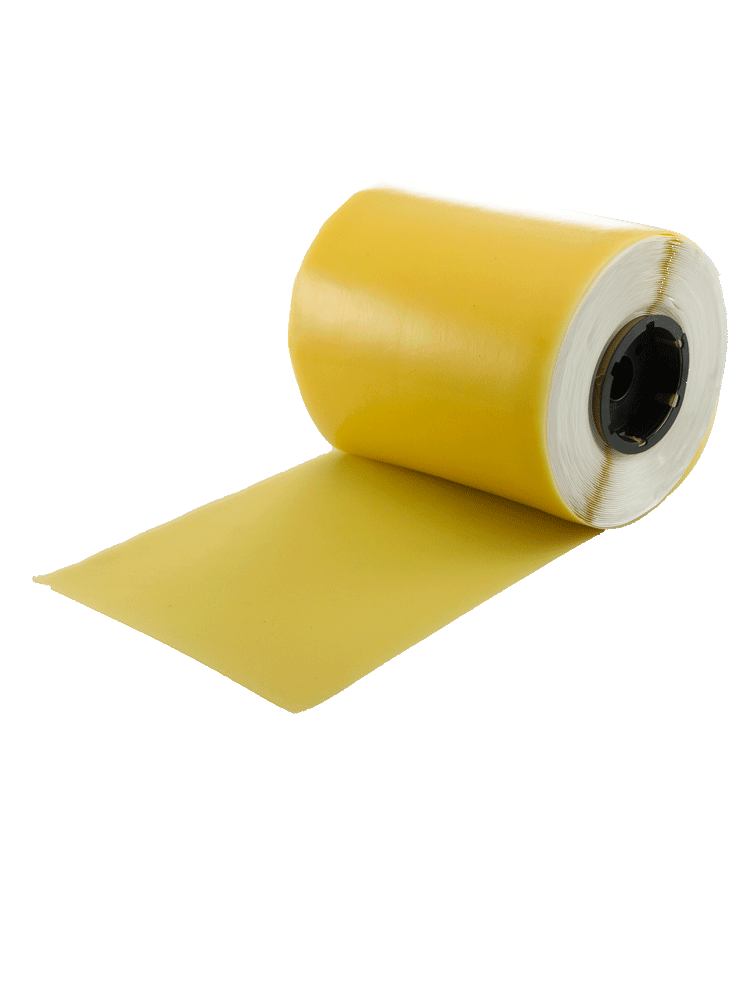
When waterproofing joints that are subject to significant movement—like seismic joints, deflection joints, or pressure plate connections—you need a material that is flexible and durable. SureSpan EX is a 100% silicone membrane designed to handle these challenges with ease. Its high elasticity and shape memory ensure that it consistently returns to its original form, making it ideal for dynamic joint conditions.

Here’s a step-by-step guide on how to properly install SureSpan EX to ensure long-lasting performance:
Step 1: Cut the Membrane
Start by cutting the membrane to size. Make sure it extends at least 1 inch beyond the width of the joint on each side. This extra margin ensures that the membrane can properly bridge and accommodate movement across the joint.
Step 2: Mark the Substrate
Next, mark the substrate using the membrane as a template. Trace the outline of the area that the membrane will cover. This gives you a clear guide for applying the adhesive and aligning the membrane.

Step 3: Apply the base layer of SureSpan Adhesive
Using SureSpan Adhesive, apply a continuous bead directly onto the substrate, staying within the marked area. This is called a “wet-set” application, where the membrane is installed onto fresh adhesive.

Step 4: Install the SureSpan EX membrane
Carefully lay your already-cut SureSpan EX membrane onto the adhesive while it's still wet. Gently press it down by hand to make sure it goes at least one inch beyond the joint.

Step 5: Press and Smooth
Using a Bondo knife or roller, apply firm pressure to the membrane to ensure complete contact and adhesive spread underneath. Thanks to the translucent color of the SureSpan EX, you can visually confirm that adhesive coverage is complete and consistent.

Step 6: Counterflash with another SureSpan Adhesive Layer
Once the membrane is secured, run another bead of SureSpan Adhesive over the top edge of the membrane. Use the Bondo knife again to flatten and smooth this layer for a clean seal.

Step 7: Allow to Cure
Let the adhesive cure. When it is cured enough to not be wet to the touch (it will remain tacky), it is ready to transition to the final layer.
Step 8: Apply the Air Barrier
Finally, install the air barrier, ensuring a minimum 1-inch overlap over the SureSpan EX. This provides a continuous and durable seal that integrates the joint protection with the surrounding building envelope.